Download
1 / 2
20 likes | 122 Views
http://download.cnet.com/PhotoBulk/3000-2192_4-75811045.html

E N D
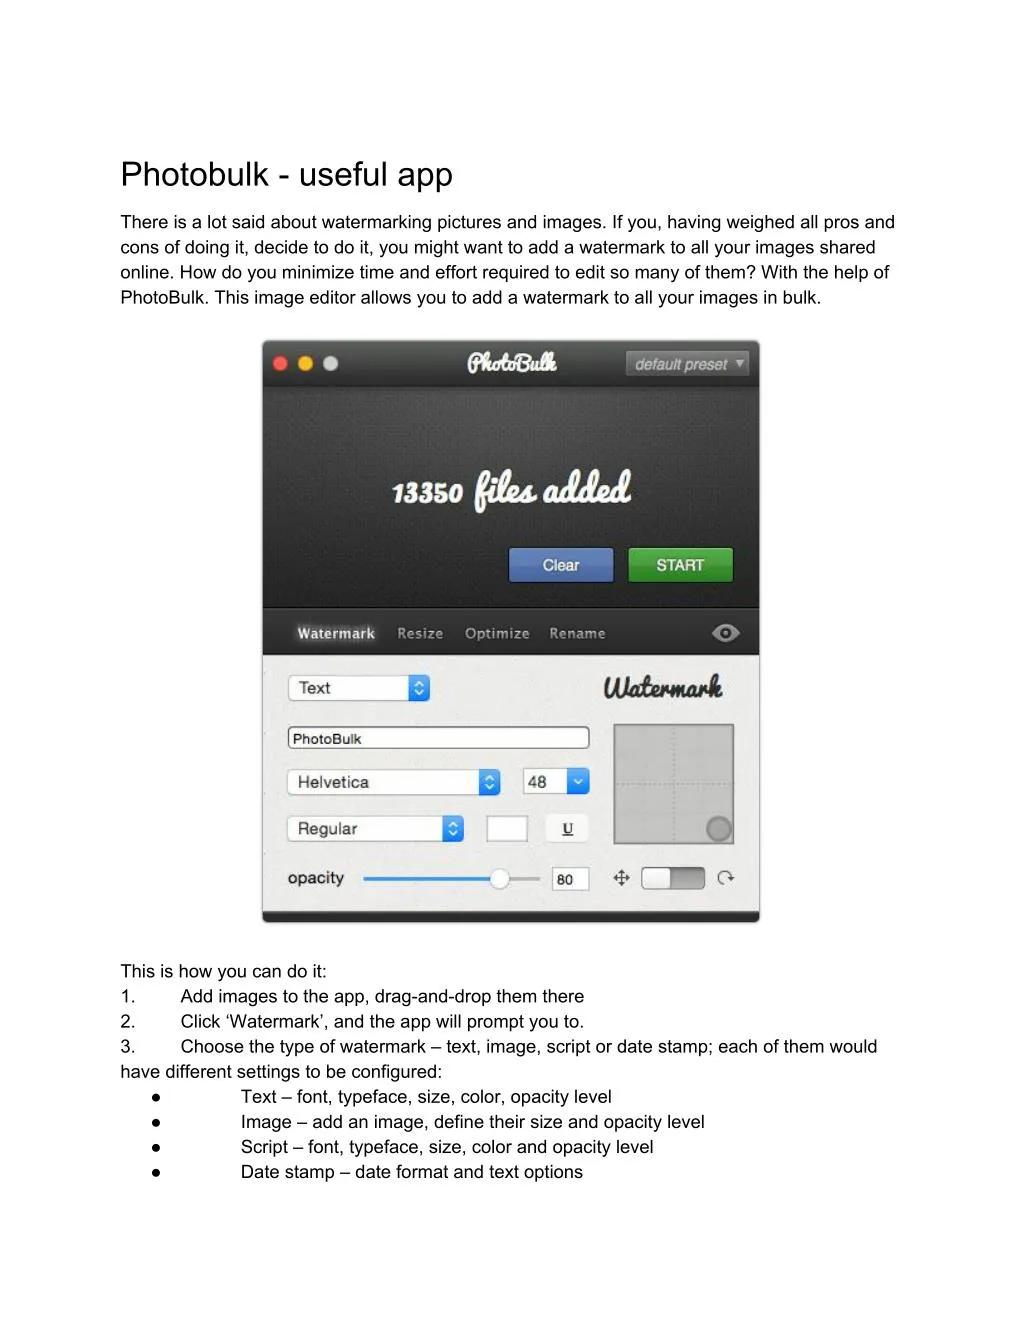
Photobulk useful app There is a lot said about watermarking pictures and images. If you, having weighed all pros and cons of doing it, decide to do it, you might want to add a watermark to all your images shared online. How do you minimize time and effort required to edit so many of them? With the help of PhotoBulk. This image editor allows you to add a watermark to all your images in bulk. This is how you can do it: 1. Add images to the app, draganddrop them there 2. Click ‘Watermark’, and the app will prompt you to. 3. Choose the type of watermark – text, image, script or date stamp; each of them would have different settings to be configured: ● Text – font, typeface, size, color, opacity level ● Image – add an image, define their size and opacity level ● Script – font, typeface, size, color and opacity level ● Date stamp – date format and text options
Position your watermark you can either use a mouse or arrow keys. Position your watermark you can either use a mouse or arrow keys. 4. Please note that a script watermark fills in the entire picture, so you can also tweak the angle at which it is displayed. Use the switch under the position controller to do it. 5. Preview the images before making final changes. 6. Click ‘Start’ and choose a destination folder for the edited images. 7. Define conversion settings if required. 8. That’s it – go to the destination folder to browse your watermarked images. ● You might have tried some image editing software, but quite often the problem with it is that it is overloaded with features. Half of them are redundant, and some of them are just too complicated to figure out how to use them.