Download
1 / 32
860 likes | 1.66k Views
What is Google Earth?. Google Earth Free Google Earth Plus Google Earth Pro. What is Google Earth?. Google Earth is free program which allows users to: Explore geographic locations both on Earth and in space. View Buildings in 3D View Featured Content

E N D
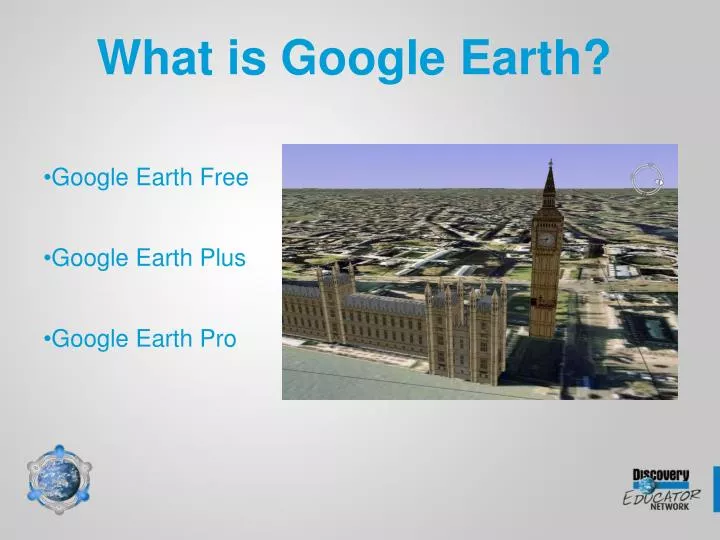
What is Google Earth? • Google Earth Free • Google Earth Plus • Google Earth Pro
What is Google Earth? Google Earth is free program which allows users to: • Explore geographic locations both on Earth and in space. • View Buildings in 3D • View Featured Content • Create interactive projects which include, images, text, video and sound.
For Free Google Earth Pro license (for educators) GEEC@google.com You will be sent a qualifying questionnaire.
Why use it? Students can use Google Earth to: • study natural and political maps • learn map reading and navigation • visually explore historical, news, and census data • annotate locations and share with others • create their own 3D models to overlay on maps • download geographically-referenced information
Tips for Projects • Have students design a storyboard prior to beginning their project. The storyboard should contain the locations they are going to select, and the images, sounds or video, they will be adding to the location. • Keep all images in a single folder, keep image names as short as possible. • Make sure images are resized to less than 3” for a better fit and reduce the resolution. 72 dpi is perfect for web viewing.
Google Earth Quick Start User Guide • Search Panel- Use to find places and directions • Overview Map- Use for an additional perspective • Hide/Show sidebar- Click to conceal or display side bar • Placemark- Click to add a placemark • Polygon- Click to add a polygon • Path- Click to add a path • Image Overlay- Click to add an image • Measure- Click to measure distance • Email- Click to email view or image • Print- Click to print current view • Navigation Controls- Use to tilt, zoom and move • Layers Panel- Use to display points of interests • Places Panel- Use to locate, save, and organize placemarks • 3D Viewer- View the globe and terrain • Status Bar- View streaming status
The Google Toolbar Add Path Add ruler Sky View Add Polygon Full Screen Printer View in Google Maps Create a Place mark Add Image overlay Earth day view
The Google Sidebar Search bar Tour Player My Places Set transparency level of overlays Sightseeing Layers Tour player
Navigation Tools • Zoom in • Zoom out • or Double click
Navigating Google Earth North Return Look Joystick Move Joystick Zoom Slider You can also use the arrow buttons on the keyboard to navigate
Navigation Tools • Tilt Down • Tilt Up
Navigation Tools - some advanced controls • Try this for accents
Menu Panel: Ruler • To find out distance traveled, from the menu bar select “Tools” then “Ruler” • By clicking different points with your mouse you can create a line or a path. • A Line measures distance between two points. • A Path measures distances on a path with many points. • To convert units of measure select from the drop down menu. Other 20% Network A Path is the way to connect Placemarks or Image Overlays on a Google Lit trip or Google History Expedition, etc.! Kids or teachers can build them.
Adding Placemarks Other 20% Network 80%
Adding Place Marks • Place Marks are like pushpins which help identify a specific location. • Key the location address in the “what you are looking for” text box and click the magnifying glass. • You can use the navigation controls to zoom in, out or change direction. • Click on the add placemark icon to add a placemark. • You can change the icon for the placemark by clicking on the icon button in the dialogue box. • You can add text information to this placemark by keying the information in the description area. • This is also the location you will add additional multimedia.
Adding Placemarks that play video from URL links - Free sites 1 • Adding Sounds or Video from free sites • Find media online • Click to Stream. • As it streams Right Click, then click properties, and copy location. • Paste in Google Earth Placemark Description box. 2 Other 20% Network 80% 80% 3 4 http://www.archive.org/video/28786/prg28786_256k.asf http://www.archive.org/video/28786/prg28786_256k.asf
Adding an image to the placemark • You can add an image to a placemark. Google earth supports the following: JPG,BMP,GIF, TIFF, TGA, and PNG formats. • The most common issue when inserting and image overlay is the size of the image. It is important to keep this in mind when designing your project or edit graphics in a graphics editor prior to adding to the project. Larger images can also be memory intensive. Images less than 3” in size and saved at 72dpi is prefect. • All objects added into the placemark, must be added using hypertext markup language (HTML). I have prepared a cheat sheet to assist you with the basics. • In the preplanning we saved the images in a folder, and gave them a short name. To insert the image in the placemark you will need to know the location path to the image. To get this path, you will right click on the image and go to properties. Highlight this path, right click and choose copy. • You will need to start the line by keying <imgsrc=“paste path add\name of image.ext”>
Adding Image Overlays There are two kinds of Image Overlays: From the Web - works anywhere in the world From your hard drive - works only on your computer • To add an Image Overlay press (Ctrl+Shift+O) or from the menu bar click “Add” then “Image Overlay” • Web - Right Click on web image, then click properties and copy and paste address. (Note: Make sure you get all correlating lines of the address) • Hard Drive - Browse to the folder with images. (Note: Don’t move them later!) • Adjust green box to desired image size • Paste image address in the link box Other 20% 80%
Adding Placemarks to play audio • Adding Sounds, Stories, or Streaming Podcasts • Copy location from Properties window or from the web address line in the browser (e.g., Explorer) • Paste in Google Earth Placemark Description box. 80% 3
Saving and sharing You can share your Placemarks, Overlays, and Description boxes with videos, webcams, and text. Just save the file. It will be small. Then email it, post it, leave it on the shared drive or otherwise share it!!
Preferences: Touring • You can control the flying speed • You can control or eliminate pauses • You can repeat the tours (for Open House) or reinforcement You can open information balloons on tours Other 20% Control Driving Tours here Network 80%
Google Earth Hidden Features • Flight Simulator • Macs Apple + Option + A • Windows Control + Alt + A After the first trip, it appears in tools
Fun Stuff Geo Greetings
Where can I learn more? • • Google Earth • • Google Earth Community • • Google Earth Blog • • Juicy Geography • • Google Littrips • • GELessons • Google Earth Tours
Geo Tagging in Picasa • Picasa is another program owned by Google. Picasa is a graphics organizer which will gather all graphics located on your computer and put them into one location. • To “tag” a graphic in Picasa, select the photos you want to use, then click on Tools in the Menu bar, then select, Geotag, Geotag with Google Earth. This will bring the photos into Google Earth. • Navigate to the location you want to place the photo, make sure the cross hair is over the location you want the photo to appear. • Click on the Geotag button, then done. The photo will be placed on the map in Google Earth, once it appears, the item can be edited to appear as a place mark by right clicking on going to properties.
“Geotagging” in Google Video • If you create a video and save it to Google Video’s it can be Geotagged for use on Google Earth. • Upload the video to Google Video. Once the video has been uploaded, click on the Embed Video link, a drop down box with coding will appear. Copy this coding and paste it into your properties area of the place mark in Google Earth. This will embed the video into the place mark.
Flash movies to embed into description box for Google Earth First, add Placemark. Second, paste code into description box. Note: Windows only as of 7/2008 <object classid="clsid:D27CDB6E-AE6D-11cf-96B8-444553540000" codebase="http://download.macromedia.com/pub/shockwave/cabs/flash/swflash.cab#version=6,0,0,0" width="637" height="421" id="game" align=""> <param name=movie value="file:///C:\Converted Video\sthelens.swf"> <param name=quality value=high> <param name=bgcolor value=#FFFFFF> <embed src="file:///C:\Converted Video\sthelens.swf " quality=high bgcolor=#FFFFFF width="637" height="421" align="" type="application/x-shockwave-flash" pluginspage="http://www.macromedia.com/go/getflashplayer"> </embed> </object>