Download
1 / 9
110 likes | 309 Views
Chapter 7 Templates and Plotting. Learning Objectives: Set up the AutoCAD Plot Style option. Create a Template file. Use the MIRROR command. Create Multiple Copies of objects. Set up Layouts in Paper Space. Create Viewports in Paper Space. Use the PROPERTIES command.

E N D
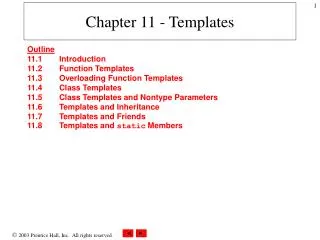
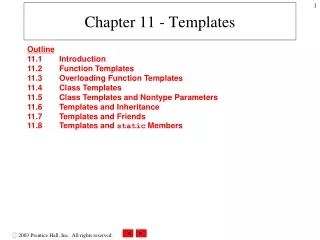
Chapter 7 Templates and Plotting Learning Objectives: • Set up the AutoCAD Plot Style option. • Create a Template file. • Use the MIRROR command. • Create Multiple Copies of objects. • Set up Layouts in Paper Space. • Create Viewports in Paper Space. • Use the PROPERTIES command. • Adjust the Text Scale for Plotting.
Introduction One of the main advantages of using CAD systems is that we can easily reuse information that is already in the system. For example, many of the system settings, such as setting up layers, colors, linetypes and grids, are typically performed in all AutoCAD files. In AutoCAD 2012, we can set up template files to eliminate these repetitive steps and make our work much more efficient. Using template files also helps us maintain consistent design and drafting standards. Symmetry is an important characteristic that is often seen in designs. Symmetrical features can be easily accomplished by the assortments of tools that are available in modern CAD systems, such as AutoCAD. For example, we can easily create multiple identical copies of geometry with the Copy command or the Array command, or create mirror images of objects using the Mirror command. In this chapter, we will examine the use of these more advanced construction features and techniques in AutoCAD 2012.
AutoCAD Plot Style Mode Using AutoCAD 2012 plot styles and plot style tables allow us to control the way drawings look at plot time. We can reassign object properties, such as color, linetype, and lineweight, and plot the same drawing differently. The default AutoCAD 2012 Plot Style Mode is set to use the Color-Dependent plot style, which controls the plotting of objects based on the object colors and is the traditional method of adjusting the plotted hardcopy in AutoCAD. The new plot method in AutoCAD is to use the Named plot style table that works independently of color. In this chapter, we will learn to plot with the new AutoCAD Named plot style, which provides a very flexible and fast way to control the plotting of our designs.
AutoCAD Layout Mode AutoCAD 2012 allows us to create plots to any exact scale on the paper. Until now, we have been working in model space to create our design in full size. When we are ready to plot, we can arrange our design on a two-dimensional sheet of paper so that the plotted hardcopy is exactly what we wanted. This two-dimensional sheet of paper is known as the paper space in AutoCAD. We can place borders and title blocks on paper space, the objects that are less critical to our design.
The Use a Template Option Use a Template