Download
1 / 9
90 likes | 243 Views
Charon on the River Styx By: Victoria, Josh, and Cody . Pieces Included. x1. x1. x1. x1. x2. x6. x2. x1. x1. x2. x4. x1. x1. x1. x2. x7. x3. x1. x1. x1. x1. x1. x1. x2. Step 1: Boat Assembly. Attach red block to back space of the boat.

E N D
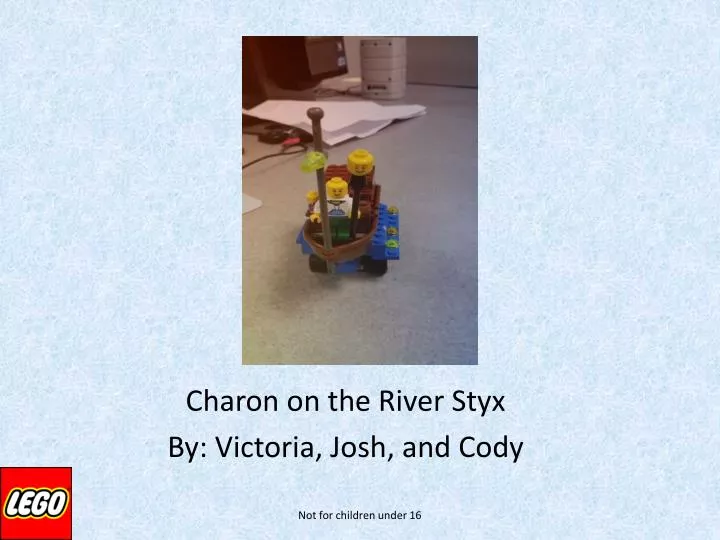
Charon on the River Styx By: Victoria, Josh, and Cody Not for children under 16
Pieces Included x1 x1 x1 x1 x2 x6 x2 x1 x1 x2 x4 x1 x1 x1 x2 x7 x3 x1 x1 x1 x1 x1 x1 x2 Not for children under 16
Step 1: Boat Assembly • Attach red block to back space of the boat. • Attach blue flat block to back ¾ of the red block. • Attach white flat block to back ½ of blue flat block. Not for children under 16
Step 2: Brig Assembly • Attach brown cylindrical walls to sides of red block. • Attach yellow block with eye to flat white block. • Attach brown bars to the back part of the white block. • Attach brown block to the top of the cylindrical walls. Not for children under 16
Step 3: Final Boat Assembly • Attach black block to front of boat. • Attach brown chest to flat white block directly against black block. • Attach minifigure directly in front of chest. Not for children under 16
Step 4: Water Assembly (make sure boat is upside down) • Attach the seven blue (water) blocks as shown in the picture below. • Attach triangular blue flat block to rear blue block as shown. • Attach long flat blue block to right underside of water. Not for children under 16
Step 5: Axel Assembly • Attach wheels to the two axels. • Attach two blue blocks to both sets of axels. • Use long blue block to attach both axels. • Attach complete axel assembly to bottom of boat. Not for children under 16
Step 6: Accessories • Attach flag pole to front of boat. • Attach minifigure head to spear then place in minifigure hand. • Use creativity to randomly place colored round blocks(souls) minifigure heads around water. Not for children under 16
Contact Info • If help is needed please contact us at 1-800-YAY-LEGO • Or email us at legochamp@gmail.com Not for children under 16