Download
1 / 15
150 likes | 286 Views
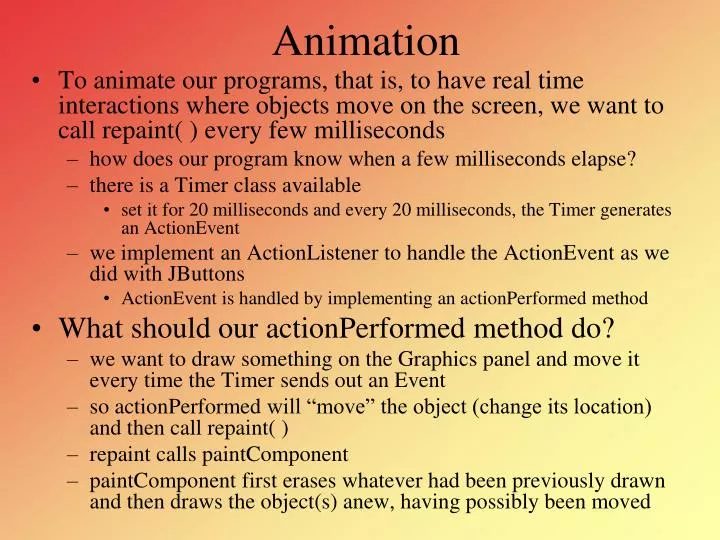
Animation. To animate our programs, that is, to have real time interactions where objects move on the screen, we want to call repaint( ) every few milliseconds how does our program know when a few milliseconds elapse? there is a Timer class available

E N D
Animation • To animate our programs, that is, to have real time interactions where objects move on the screen, we want to call repaint( ) every few milliseconds • how does our program know when a few milliseconds elapse? • there is a Timer class available • set it for 20 milliseconds and every 20 milliseconds, the Timer generates an ActionEvent • we implement an ActionListener to handle the ActionEvent as we did with JButtons • ActionEvent is handled by implementing an actionPerformed method • What should our actionPerformed method do? • we want to draw something on the Graphics panel and move it every time the Timer sends out an Event • so actionPerformed will “move” the object (change its location) and then call repaint( ) • repaint calls paintComponent • paintComponent first erases whatever had been previously drawn and then draws the object(s) anew, having possibly been moved
Timer class • A Timer object is instantiated by: • Timer t = new Timer(duration, handler); • duration is the time (in milliseconds) that elapses between Timer-generated events, such as 20 or 50 • handler is the object that handles the Timer-generated events – we will use this just like we have for our addActionListener statements • The steps are to add • import java.awt.event.*; • “implements ActionListener” to our class header • instantiate the Timer as t = new Timer(10, this); • but use whatever value you want for the duration, 10 or 20 would be adequate for most applications • start the timer by using t.start( ); • if we need to stop the timer, we use t.stop( ); • that’s about all there is to it!
import javax.swing.*; import java.awt.event.*; public class TimerSkeleton implements ActionListener { private Timer t; // other instance data go here as needed public TimerSkeleton( ) { t = new Timer(10, this); t.start( ); // other initialization operations go here as needed } // other methods go here as needed public void actionPerformed(ActionEvent e) { // whatever you want to happen when the Timer pulses go here } } TimerSkeleton
What Should actionPerformed Do? • This depends on why you are using a Timer • to move an object in a Graphics panel (e.g., a ball) • alter the x and y coordinates and call repaint( ) • for a Game: • calculate where game objects (say a spacecraft or a missile) have moved and redraw them • this may require the user of an array of x and an array of y values to store the various objects, or multiple variables such as myX, myY, yourX, yourY, or both (the arrays might store the X and Y coordinates of missiles launched from one to the other) • for Animation: • if our item being drawn is represented by an array of different figures • then just increment the array index and repaint( ) • we will see an example of a StickFigure, but this could also be done by having a series of jpg or gif files all pre-loaded into an array of Images
Moving an Image to Create Motion • Imagine that your class draws on a JPanel an ImageIcon (say of a spaceship) • currently, the spaceship is located at coordinates x, y • the following actionPerformed method will randomly move the spaceship on the screen • x and y should be class variables so that you could do g.drawImage(image, x, y, this); in your paintComponent method public void actionPerformed(ActionEvent e) { int dx = generator.nextInt(2); // generate a # from -1 to +1 int dy = generator.nextInt(2); // generate a # from -1 to +1 x += dx; // move the piece in a random x direction y += dy; // move the piece in a random y direction repaint( ); // assume repaint does drawImage at x, y }
Full Example Code public TimerExample( ) { t = new Timer(10, this); t.start( ); x = 150; y = 150; repaint( ); } public void actionPerformed(ActionEvent ev) { int distanceX = generator.nextInt(2)); int distanceY = generator.nextInt(2)); x += distanceX; y += distanceY; repaint( ); } public void paintComponent(Graphics g) { super.paintComponent(g); g.setColor(Color.red); g.fillOval(x, y, 5, 5); } At each Timer Event, randomly move the object (a red circle) up/down/left/right by 0 or 1 unit Note: we could make it more realistic by generating a random int from 1-9 and move it in one of 8 directions or leave it stationary (1 = upper left, or subtract 1 from x and y, 2 = straight up, etc)
Better Motion • The random motion from the previous example would make the object on the screen look like a bee, buzzing around • What if we wanted a more purposeful movement? For instance in a straight line? • Lets add 2 more variables, dx and dy • (delta x means “change in x”, delta y means “change in y”, we use d because we don’t have the Greek letter delta) • For actionPerformed, just do x=x+dx; y=y+dy; • If dx=1 and dy=2, then our object will move in a straight line to the right 1 pixel and down 2 pixels at each movement, or a diagonal downward line • If dx=0 and dy=-1, then the object moves straight up • We should also make sure that x & y do not “go off” the screen (if x < 10 make x = 10 and dx = 0 to stop the motion there, or let x = X_SIZE to “wrap around”)
Handling Multiple ActionEvents private static class ExamplePanel extends JPanel implements ActionListener { private Timer t; private JButton b; public ExamplePanel( ) { t = new Timer(1000, this); t.start(); b = new JButton("Button"); b.addActionListener(this); add(b); } public void actionPerformed(ActionEvent e) { if(e.getSource( )==t) System.out.println("Timer pulsed"); else if(e.getSource( )==b) System.out.println("Button pressed"); } }
Moving Multiple Items • How would a game like Asteroids work? • we need to keep track of the <x, y> coordinates of multiple values, just like we did with our paint program • so we create an array of x, y, dx and dy int values • private int[ ] x, y, dx, dy; // dx, dy – velocity of x, y • private int num; // number of items in the arrays • actionPerformed now manipulates all items in the array and paintComponent draws them all public void actionPerformed(ActionEvent e) { for(int i=0;i<num;i++) { x[i]+=dx[i]; y[i]+=dy[i]; } } If x[i] or y[i] reaches a boundary (0 or max X/Y) then change dx or dy to be the opposite (multiply by -1)
JSlider • Another GUI component is the JSlider • the JSlider is a bar with a mouse-movable controller • you slide the controller from left to right or right to left • We will use the JSlider to control things like • speed (as you move it to the right, the Timer’s delay can be shortened, thus speeding up your game • colors, we will see how to do this in a couple of slides where 3 JSliders control the background color • We create a JSlider by initializing it with 3 values • the minimum value (left-hand side or lower limit), maximum value (right-hand side or upper limit), and initial value • JSlider redSlider = new JSlider(0, 255, 0);
More on JSliders • You can also create vertical sliders by adding JSlider.VERTICAL at the beginning of the parameters in the instantiation • JSlider slide = new JSlider(JSlider.VERTICAL, 0, 100, 50); // initial value is 50 • To use a JSlider, you need to assign the JSlider a listener (just like you did with a JButton and other GUI components) • the listener needs to implement ChangeListener, so our class’ definition that contains a JSlider will look like this: • public static class JSliderExample extends JPanel implements ChangeListener • To implement a ChangeListener, you need to implement the method stateChanged, which will receive a ChangeEvent • ChangeEvent has a method getValue( ) which will return the current position of the JSlider
JSlider Example public static class SliderPanel extends JPanel implements ChangeListener { private JSlider redSlider, greenSlider, blueSlider; private int red, green, blue; public SliderPanel() { red = green = blue = 0; redSlider = new JSlider(0, 255, 0); greenSlider = new JSlider(0, 255, 0); blueSlider = new JSlider(0, 255, 0); redSlider.addChangeListener(this); greenSlider.addChangeListener(this); blueSlider.addChangeListener(this); JPanel sliderPanel = new JPanel(new GridLayout(3, 1)); sliderPanel.add(redSlider); sliderPanel.add(greenSlider); sliderPanel.add(blueSlider); add(sliderPanel); // Add the panels to the main panel. }
public void stateChanged(ChangeEvent e) { if(e.getSource()==redSlider) red = redSlider.getValue(); else if(e.getSource()==greenSlider) green = greenSlider.getValue(); else if(e.getSource()==blueSlider) blue = blueSlider.getValue(); repaint(); } public void paintComponent(Graphics g) { super.paintComponent(g); g.setColor(new Color(red, green, blue)); g.fillRect(0, 0, getWidth(), getHeight()); } Continued Notice that we use e.getSource( ) to identify the source of the Change Event (which JSlider was used?)
Sound/Music • Just as Java has a facility for displaying an image using the ImageIcon class, you can also play sounds/music • this facility is only available through the Applet class • even though we aren’t going to create applets, we can use this class to generate music in our Jframe/JPanel classes • How do we do this? • import java.applet.* • create a nested inner class that extends Applet, include an instance data of type AudioClip and in the Applet constructor, instantiate an Applet object: • aClip = Applet.newAudioClip(getClass( ).getResource(filename)); • add an accessor method to your Applet to return the audio clip • A skeleton of an example follows • NOTE: you can only hear wav files and you will only be able to hear them in the lab if you bring headphones
import java.applet.*; // needed to generate an AudioClip public class AudioExample2 { public static void main(String[] args) { AClip a = new AClip(); // create an Applet AudioClip c = a.getClip(); // use the Applet to generate an AudioClip c.play( ); // play the AudioClip } private static class AClip extends Applet // Applet as an inner class used to { // generate AudioClip objects private static AudioClip a; // Our AudioClip public AClip() // constructor { a = Applet.newAudioClip(getClass( ).getResource("chimes.wav")); } // getClass( ) returns the file location of this class // getResource returns the actual item, in this case a wav file public AudioClip getClip() // accessor { return a; } } } AudioClip Example