Download
1 / 13
180 likes | 493 Views
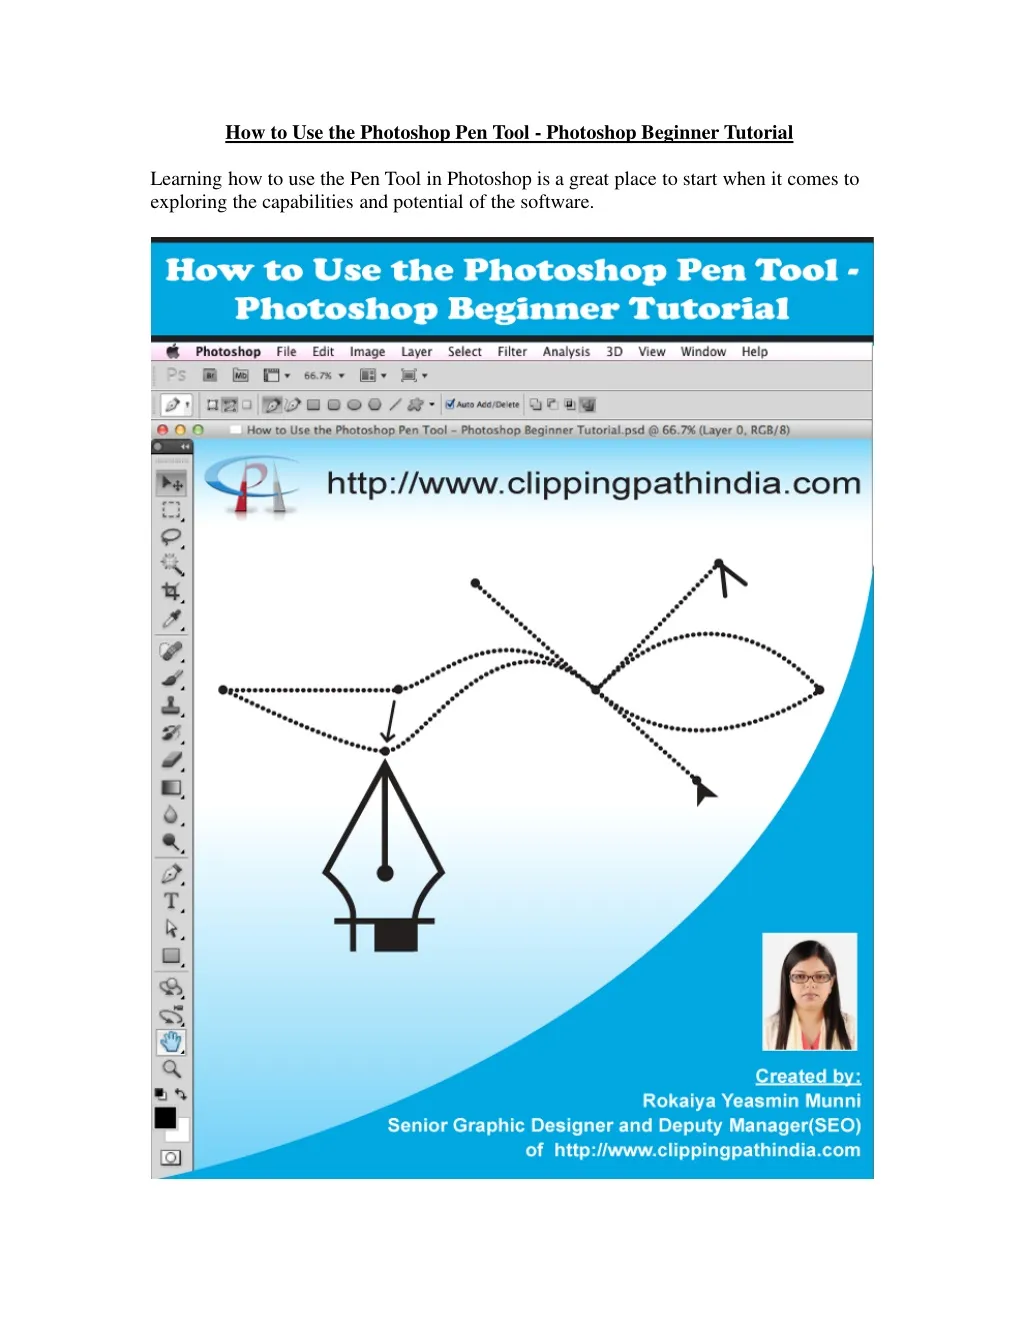
Learning how to use the Pen Tool in Photoshop is a great place to start when it comes to exploring the capabilities and potential of the software.

E N D
How to Use the Photoshop Pen Tool -Photoshop Beginner Tutorial Learning how to use the Pen Tool in Photoshop is a great place to start when it comes to exploring the capabilities and potential of the software.
1. The Basics ThePenToolhasthreemainsettings:Createanewworkpath,createanewshapelayer, andfillpixels.Startingwith"createnewworkpath"isagoodidea,asthisisthemost commonly used option for the Photoshop Pen Tool.
2. Using a New Work Path Nowyouhaveselectedthe"createanewworkpath"optionfromthepathpalate,select the "add to path area".
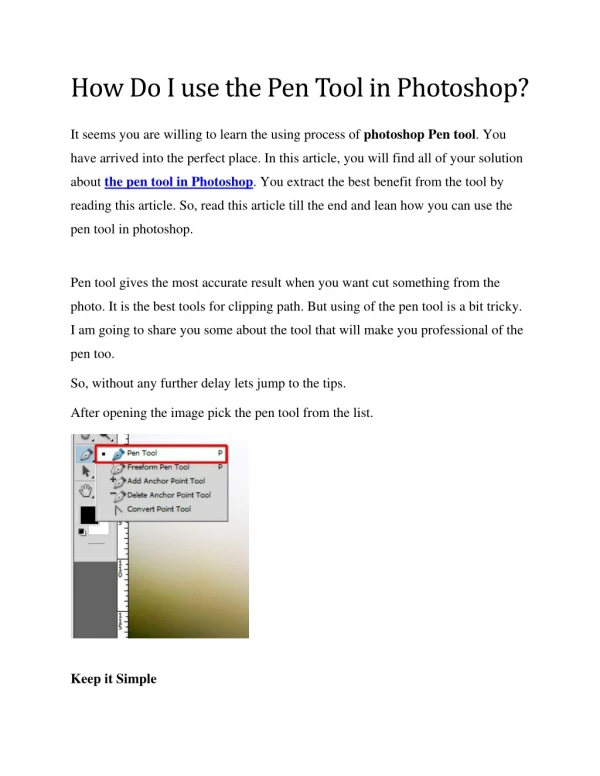
3. Pen Tool Oncethenewworkpathhasbeenselected,takethePenToolfromtoolbarandclickon ablankcanvas.Youwillnoticethateachclickassignsanchorpoints.Youcancreatea straight line between these points by holding shift when you click.
4. Delete Anchor Point Tool Youcanremoveanchorpointsifnecessarybyright-clickingonthePenTooliconand selecting the “Delete Anchor Point Tool”.
5. Add Anchor Point Tool Youcanalsoaddmorepointsbyright-clickingonthePenTooliconandselectingthe “Add Anchor Point Tool”.
6. Convert Point Tool Thisoptioncanbeusedtoalterthepropertiesofconnectinglinesandmovinganchor pointsaround.Onceselected,clickononeofyouranchorpointsandholdanddrag-you will notice that it affects the curve of the line.
7. Moving Anchor Points WiththeConvertPointToolactive,youcanalsoalterthelocationofanchorpoints. Simplyholddown"command"formacand“crtl”forWindowswhileclickingonthe anchor point and drag - you can now move the anchor point around.
8. The Tangent Line TheTangentLineappearswhenyouenabletheConvertPointToolforthePhotoshop PenTool.Thisallowsyoutocontrolthecurvatureofyourlines.Youcancreatevery
sharpanglesbysimplyclickingononeoftheendsoftheTangentLineanddraggingthesharpanglesbysimplyclickingononeoftheendsoftheTangentLineanddraggingthe mouse.You’llnoticethecurve where you and how far you drag. you created previously will bend sharply depending 9. Moving the Whole Path Finally,youcanmanipulatethe SelectionToolusingthetoolbar. location. wholepath youhavecreatedby selectingthePath Thiswillallowyoutodragthewholepathtoanew
Do you want to practice the pen tool to create a clipping path for a product image? Just read another tutorial on how to make a clipping pathusing pen tool to get the desired image part. Or click hereto see details about clipping path. Created by: Rokaiya Yeasmin Munni Senior Graphic Designer and Deputy Manager(SEO) of http://www.clippingpathindia.com