Download
1 / 7
70 likes | 75 Views
Welcome to. - Search Manager !. Bringing Technology to your Search & Rescue Operation!. Training Module #1:. - Setting Up Search Manager for first-time use. Click to continue. Page 1/7. SAR Technology. Setting up Search Manager. - c reating a Default Communications Plan.

E N D
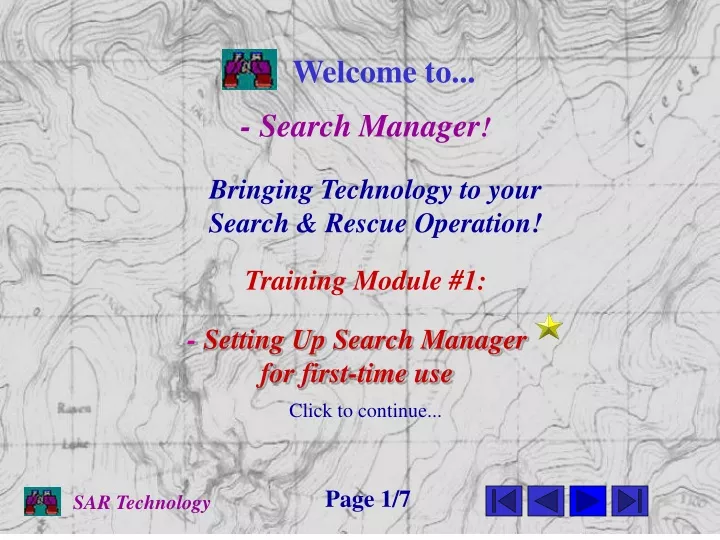
Welcome to... - SearchManager! Bringing Technology to your Search & Rescue Operation! Training Module #1: - Setting Up Search Manager for first-time use Click to continue... Page 1/7 SAR Technology
Setting up Search Manager - creating a Default Communications Plan 3. Click the ‘new-record’ button to add another Comms. record 1. Click User Data - Default Communications Plan 2. Edit this first permanent record to your Default Comms. System’s information 7. Click the ‘Exit’ button to exit the form 6. Click the ‘Save’ button to save the data Tip: a previously entered Default Comms. Plan can be quickly loaded into the Mission Comms. Plan 4. Add each additional Comms. Record to the Plan 5. Click checkbox for each Active (currently operational) Comms. System record 7. Edit ‘BASE’ to your default Call-Sign SAR Technology Page 2/7 Click to continue...
2. Click the ‘new-record button to create a new Default Trail record Setting up Search Manager - creating Default Trails & Decision Points 1. Click User Data - Default Trails & Decision Points 4. Enter the Direction of Travel along the trail 3. Enter the Name of the trail 7. Click the ‘Exit’ button to exit the form 6. Click the ‘Save’ button to save the data 5. Enter the Conditions experienced along the trail 8. Enter the Access, Exit and Task hours - to search the trail 6. Enter the Length & Elevation change along the trail Note: This information is used in SAR calculations Tip: previously entered Default Trails can be quickly loaded into Mission Trails 7. Enter Comments regarding the trail Page 3/7 Click to continue... SAR Technology
Setting up Search Manager Note: Baseline Lengths are used in gridsearch calculations 2. Click the ‘new-record button to create a new Default Search Area record - creating Default Search Areas 1. Click User Data - Default Search Areas 4. Enter the Size of the search area 3. Enter the Name of the search area 8. Click the ‘Save’ button to save the data 9. Click the ‘Exit’ button to exit the form 5. Enter a description of all four baselines 7. Enter the Access Hours and Exit Hours to/from the search area 6. Enter the Length of all four baseline Tip: previously entered Default Search Areas can be quickly loaded into Mission Search Areas Note: This information is used in SAR calculations Page 4/7 Click to continue... SAR Technology
Setting up Search Manager 2. Click the ‘new-record button to create a new Teams & Agencies record - creating the Teams & Agencies Table 1. Click User Data - Teams & Agencies Table 4. Enter the name of the Responsible Agency 3. Enter the Name of the team/agency 8. Click the ‘Save’ button to save the data 9. Click the ‘Exit’ button to exit the form 5. Select the team/agencies Affiliation 7. Enter the Contact Person and Address of the team/agency Affiliations: SAR, Agency or Public 6. Enter the team/agencies primary Phone & Fax Numbers Note: Add Additional customizable Phone # records Tip: Description can be used to describe any kind of phone number Page 5/7 Click to continue... SAR Technology
Setting up Search Manager 2. Click the ‘new-record button to create a new Personnel record - creating the Personnel Table 1. Click User Data - Personnel Table 4. Select the person’s Team/Agency 3. Enter the Name of the person (first name, last name) 8. Click the ‘Save’ button to save the data 9. Click the ‘Exit’ button to exit the form - Previously entered in the Teams & Agencies Table 7. Enter Skills information for the person 6. Enter the Address, Private, Kin & Medical information Tip: People previously listed in the Personnel Table can be quickly Checked-In to a mission 5. Enter Contact information for the person Page 6/7 Click to continue... SAR Technology
Setting up Search Manager Tip #1: Creating your own bitmap map images is strongly recommended - Selecting Background Images 1. Click Planning - Select Background Images Tip#2: Mark your map images with default Trails and Search Areas Tip #3: Use you own map image as the background image for the mission 2. Select a background bitmap image file 3. Select the display style for the background image logos portraits 4. Click the ‘Save & Exit’ button to display the selected image topo-maps images SAR Technology Page 7/7 Click to continue...