Download
1 / 21
230 likes | 261 Views
VEX IQ Curriculum. Smart Machines Lesson 09. Project Overview. Its Your Future Let’s Get Started Your First Robot Simple Machines & Motion Chain Reaction Challenge Key Concepts Mechanisms Highrise Challenge Smart Machines Chain Reaction Programming Challenge Smarter Machines

E N D
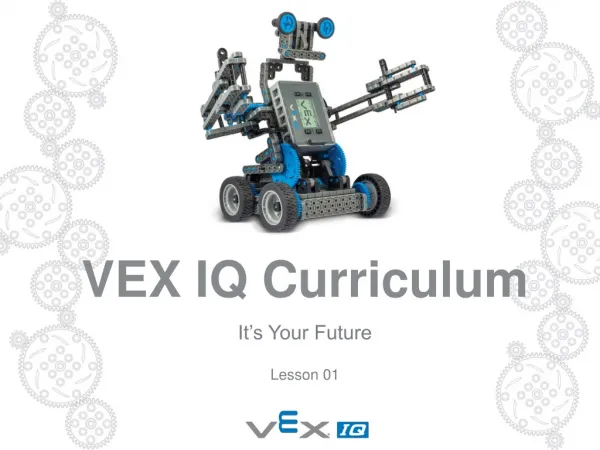
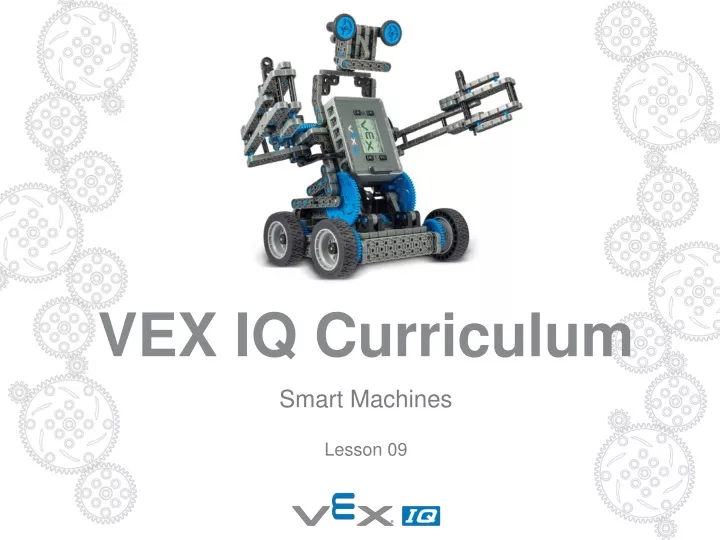
VEX IQ Curriculum Smart Machines Lesson 09
Project Overview • Its Your Future • Let’s Get Started • Your First Robot • Simple Machines & Motion • Chain Reaction Challenge • Key Concepts • Mechanisms • Highrise Challenge • Smart Machines • Chain Reaction Programming Challenge • Smarter Machines • Highrise Programming Challenge
SMART MACHINES The purpose of this unit is for students to become familiar with VEX IQ Sensors, their default functionality and their abilities along with an introduction to Programming VEX IQ robots.
LESSON 09 STARTER Prints out for the lesson Matching Exercise Teacher US guide sheet Student hand-out Sample Builds Sample Idea Book hand-out
LESSON 09 STARTER Learning objective: Students will learn key terminology related to sensors and programming. Students will learn sensor types and capabilities. Students will utilize design process through programming exercises Task 1 : Matching exercise Looking through the student hand-out, Fill in the missing gaps on your worksheet by using picking words from the word bank at the top of the page.Your teacher will take you through the worksheet in order top to bottom, so when you hear some information that is missing, put it in!
LESSON 09 STARTER Introduction Through the use of the Autopilot Robot, the Smart Machines Unit introduces students to Sensors and Programming with VEX IQ. VEX IQ Sensors allow for autonomous and hybrid control of VEX IQ robots and other creations. VEX IQ Sensors connect to a robot or mechanism quickly and are easily programmed to help measure time, position distance, rotation, sense touch, provide feedback, allow for human-to-robot interaction, and much more. In the unit you will run the Autopilot Modes and see how Sensors can make machines smart, then test default Sensor functionalities, and finally engage in simple Programming exercises.
LESSON 09 STARTER Key Terms A Sensoris a device that detects and responds to some type of input from the physical environment. VEX IQ sensors can detect light, color, objects, motion, and more! Programmingis providing a computer or other machine, such as a robot and its components, with coded instructions for the automatic performance of a particular task. Ultrasonic Sound Waves are sounds that are too high of a frequency to be heard by humans. The VEX IQ Distance Sensor sends ultrasonic sound waves out that will bounce back if something is in its path, measuring distance by the amount of time it takes the sound to return. A Gyroscope(or Gyro) is a sensor that can detect and measure rotation or turning of an object. Degrees of Turn describes how far an object, like a robot, has turned. An object that spins completely around to its original starting position has turned 360 degrees. An object that has turned to face the opposite direction has turned 180 degrees. VEX IQ Sensorscan measure Degrees of Turn, allowing for precision control. An Encodersenses mechanical motion and translates the information (velocity, position, acceleration) into useful data. VEX IQ Smart Motors have built in Encoders.
LESSON 09 STARTER Default Sensor Functionality Exercises Note: See your User Guide for details in addition to the information below. Task 2: Over the next four slides you will learn how each of these sensors works, and watch about video about them. Make notes! You will need to fill in the ideas sheet at the end of the section (see next slide). There is an example completed sheet also provided.
LESSON 09 STARTER Task 2: Ideas sheetComplete the ideas sheet using the example to help you.
LESSON 09 STARTER Touch LED Default Functionality Exercise: “Stop and Go” The default Touch LED functionality in the Driver Control program is to act like a traffic light for the robot. Using the Autopilot or similar robot with ONLY Smart Motors and a Touch LED connected to any unused port in the Robot Brain: • Turn ON the Robot Brain and Controller. • Select and run the Driver Control program. • The robot starts in enabled mode with the Touch LED glowing green. Tap the top dome of the Touch LED to change between enabled (glowing green) and disabled (glowing red). • Try to drive when green, and when red
LESSON 09 STARTER Distance Sensor Default Functionality Exercise: “Collision Avoidance” The default Distance Sensor functionality in the Driver Control program is to prevent a robot from backing into an obstacle or wall. When the Distance Sensor sees an obstacle, it will stop the Autopilot or similar robot from backing into that obstacle. Using the Autopilot or similar robot with ONLY Smart Motors and a Distance Sensor mounted in back of the robot and connected to any unused port in the Robot Brain: • Turn ON the Robot Brain and Controller. • Select and run the Driver Control program. • Use the Controller to back the robot toward a wall. When the Distance Sensor sees an object that is too close to the robot, it will stop the robot from hitting that object.
LESSON 09 STARTER Color Sensor Default Functionality Exercise: "Red Light, Green Light" The default Color Sensor functionality in the Driver Control program is to act like a traffic light for the robot, much like the Touch LED. When the Colour Sensor “sees” a green card (or other green object) you can drive the robot. When it “sees” a red card (or other red object) you cannot drive the robot. Using the Autopilot or similar robot with ONLY Smart Motors and a Color Sensor connected to any unused port in the Robot Brain: • Turn ON the Robot Brain and Controller. • Select and run the Driver Control program. • The robot will start in enabled mode. When a red card or object is shown in front of the colour sensor, the robot will be disabled. When a green card is shown in front of the colour sensor, the robot will be enabled.
LESSON 09 STARTER Gyro Sensor Default Functionality Exercise The default Gyro Sensor functionality in the Driver Control program is to keep the robot pointed in the same direction when not being driven by the Controller. If a robot is pushed or spun by anything other than being driven by the Controller, the robot will use the Gyro Sensor to measure how much it spun. The robot will then automatically spin back to the original direction it was pointing. Using the Autopilot or similar robot with ONLY Smart Motors and a Gyro Sensor connected to any unused port in the Robot Brain: • Turn ON the Robot Brain and Controller. • Select and run the Driver Control program. • Use the Controller turn the Robot to a new direction. When you stop driving, the robot will automatically turn back to the original direction.
LESSON 09 STARTER Simple Programming Exercises Before you complete any of the exercises below, you will need to: 1. RETURN THE DRIVER CONTROL PROGRAM TO ITS DEFAULT SETTINGS. 2. Become familiar with your VEX IQ programming software. Specifically, you should be able to open and use your programming software, save custom programs, connect your programming computer to your VEX IQ robot, successfully transfer custom programs to your robot brain, and run custom programs after they are transferred. Your teacher will decide the best way to get you comfortable with your programming software. Notes: All of the possible exercises below utilize an Autopilot or similar robot with ONLY Smart Motors and the featured sensor connected to any unused port in the Robot Brain. Be sure to use the unit Idea Book Page to plan and troubleshoot your custom programs as part of these exercises. A sample Idea Book Page is provided for reference as needed.
LESSON 09 STARTER Task 3: Challenge select and complete Select one of the following challenges and complete it as a team.
LESSON 09 PLENARY As a class, let us consider the following questions?A. What does ‘Degrees of turn’ mean? B. Can you name some types of sensors and say how they can be used by the robot? C. What is an Autopilot mode?D. Can you describe how the robot reacts when using one of sensors in the Default driver mode?
SUMMARY • Today you have: • • Learnt key terminology related to sensors and programming • • Learnt sensor types and capabilities • • Utilised the design process through programming exercises