Download
1 / 75
750 likes | 756 Views
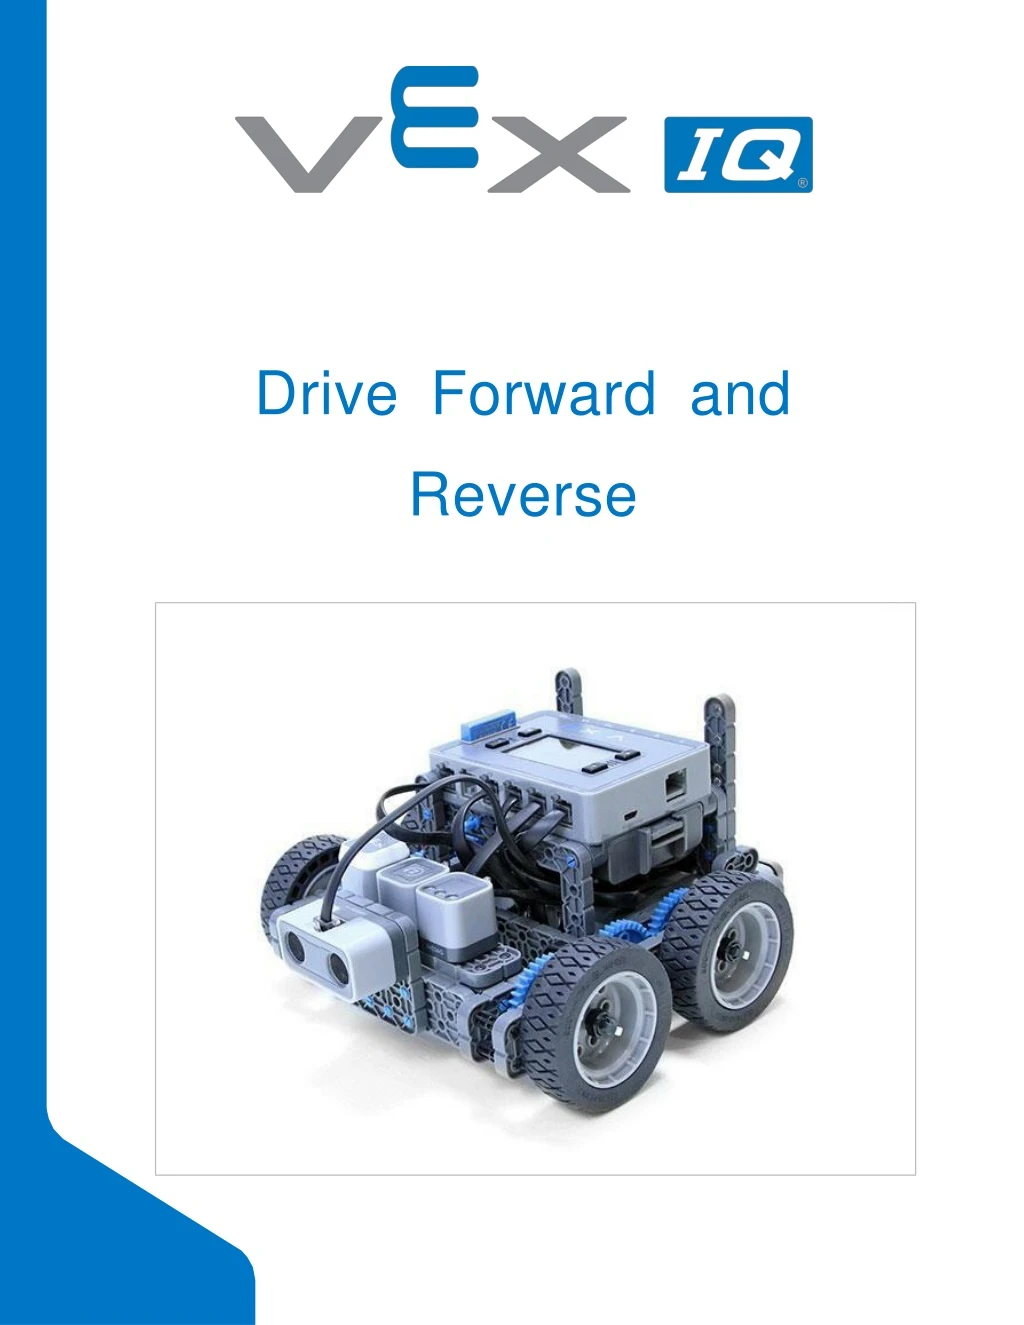
D r ive Forward and Reverse. Students will explore robot behaviors and program the Autopilot robot to drive forward and in reverse. Discover new hands-on builds and programming opportunities to further your understanding of a subject matter. The C o mplet e d Loo k o f th e B uild.

E N D
Students will explore robot behaviors and program the Autopilot robot to drive forward and inreverse.
Discover new hands-on builds and programming opportunities to further your understanding of a subjectmatter.
TheCompletedLookoftheBuild The completed Autopilot robotbuild. This robot is designed so that it can be built quickly and drive around either autonomously or with the Controller in a short amount oftime.
Steps 1-6 will be repeated for steps 7–12, so it’s possible to make both at once. Count all pieces before starting your build and have them readilyavailable.
When adding the 4x Pitch Shaft, twist the pitch shaft to check for tension while turning. If it spins freely, it is not properly inserted into themotor.
Make sure the gears fit together properly before locking the Beam inplace. After attaching the wheels, twist the wheel that has the shaft going into the motor. If the wheel spins freely and without tension, the 4x Pitch Shaft has slipped out ofplace.
The highlighted blue numbers placed in gear shapes represent the assemblies completed from those specific steps.
Ensure the Smart Radio and Robot Battery are inserted before attaching the Brain to the rest of theassembly. Steps 29-30, when you attach the Smart Cables, make sure they are tucked away so as to not block the Smart Sensors. The orange arrows indicate to turn the robotaround.
Exploration • Now that the build is finished, explore and see what it can do. Then answer these questions in your engineeringnotebook. • How do you think the Autopilot could be used as a tool formeasurement? • If you didn’t have a ruler to measure how far the Autopilot robot moved, which VEX piece would you choose to act as a measuring stick?Why? • Looking at the Autopilot robot, how many pieces do you think you used to build it? Record your guess and why you chose that number in your engineeringnotebook.
Test your build, observe how it functions, and fuel your logic and reasoning skills through imaginative, creativeplay.
Introduction to Robot Behaviors ProgrammingComplexity Robots can be designed to perform many different types of tasks. Some of these tasks are very simple, like opening an automatic door. Others are not so simple, like a robot moving around a warehouse to collect items for an order. No matter how complicated the task is, it can be broken down into simpler ones. These tasks are known as behaviors and are the building blocks of roboticsprogramming. A behavior is a way that a robot acts, and can range from basic to complex, depending on how the robot is built or programmed. A simple mobile robot like the Autopilot only has two motors, so its behaviors will involve turning those motors to accomplish its goals. With more design and coding, you can start from this basic behavior and do more complexbehaviors.
DriveForwardandReverse Exploration - Part 1 • Autopilot is ready tomove! • This exploration will give you the tools to be able to start creating some cool projects for your Autopilot tofollow. • VEXcode IQ Blocks that will be used in thisexploration: • To find out more information about the block, open the Help and then select the drive block. • The Builder in each group should get the hardware required. The Recorder should get the group’s engineering notebook. The Programmer should open VEXcode IQBlocks.
Hardware/SoftwareRequired: • 1. Preparing for theExploration • Before you begin the activity, do you have each of these items ready? The Builder should check each of the following: • Are all the motors and sensors plugged into the correctport? • Are the smart cables fully inserted into all of the motors andsensors? • Is the Brain turnedon? • Is the batterycharged? • 2. Start a NewProject • Before you begin your project, the Programmer needs to select the correct template project. The Autopilot (Drivetrain) template contains the Autopilot motors and sensors configuration. If the template is not used, your robot will not run the projectcorrectly.
The Programmer should complete the followingsteps: • Open the Filemenu. • Select OpenExamples. • Use the filter bar at the top of the application and select"Templates." • Select and open the Autopilot (Drivetrain)Template. • Since we will be using the driveblock, rename your project Drive. • Save yourproject. • Check to make sure the project name Drive is now in the window in the center of the toolbar.
DriveForwardandReverse Exploration - Part 2 1. DriveForward • Add thedriveblockto thewhenstartedblockintheprogrammingarea. • Click on the Slot icon. You can download your project to one of the four available slots in the Robot Brain. Click on the number1. • The Programmer should connect the robot to your computer or tablet. The Brain icon in the toolbar turns green once a successful connection has beenmade.
Click the Download button on the toolbar to download the Drive project to the RobotBrain. • The Operator should check to make sure your project has downloaded to the Autopilot’s Brain by looking at the Robot Brain’s screen. The project name should be listed in slot1. • The Operator should now run the project on the Autopilot robot by making sure the project is highlighted and then press the Check button. Congratulations on creating your first program! • 2. DriveReverse • Go back to VEXCode IQ Blocks programming area. The Programmer should changethe • drive blockto display reverse instead of forward. • The Programmer should download theproject. • The Operator should now run the project on the Autopilot robot by making sure the project is highlighted and then press the Checkbutton.
Become a 21st century problem solver by applying the core skills and concepts you learned to other problems.
Robotic Movements A Dragon Runner Robot moves through thedesert. Photo: Steve Dock/MOD [OGL v1.0(http://NationalArchives.gov.uk/doc/open-government-licence/version/1/)] Robotic Movements Today’s robots have the ability to complete many complicated tasks, such as the Dragon Runner Robot. This robot uses many operations and movements to find and remove dangerous items to keep peoplesafe. Robots didn’t start out being able to carry out complicated programs. The very first robot, the Unimate, was created by General Motors to work in a factory in 1961. It was programmed to complete very simple movements, like moving forward and backward, in order to move pieces of hot metal on an assemblyline. Over time, engineers have developed robots to be able to complete tasks that benefit humans in many ways. These advancements have led robots to become widely used in our communities.
They are many benefits for usingrobots: • They are capable of lifting heavy loads withoutinjury. • They are more precise in theirmovements. • They can produce more products in a shorter amount oftime. • They can work at a constant speed with nobreaks. • They can perform tasks that are dangerous tohumans. • They can work in hazardous conditions, such as poor lighting, toxic chemicals, or tight spaces.
Let's Compete! Students competing in the TeamworkChallenge The VEX IQChallenge Each year, students can design and build a robot to play against other teams in a game- based engineering challenge presented by the Robotic Education and Competition (REC) Foundation. Tournaments are held year-round at the regional, state, and national levels leading to the VEX Robotics World Championship eachApril. The VEX IQ Challenge is played on a 4’x8’ rectangular field. Teams program their robots to move around the field grabbing, tossing, and placing game pieces in scoring zones in order to earn the mostpoints. There are two types of challenges the teams will tackle. In the Robotic Skills Challenge, teams try to score as many points as possible with their robotic build in two types of matches. Driving Skills Matches are entirely driver controlled and Programming Skills Matches are autonomous with limited student interaction. The second type of challenge is theTeamwork
Challenge, in which two robots compete in the challenge as an alliance in 60 second long matches, working together to score the most points. • VEX Competitions give students the opportunityto: • Demonstrate their driving and programmingskills. • Work together as a team to solveproblems. • Meet new people from their community, state, and even othercountries. • Have fun!
Is there a more efficient way to come to the same conclusion? Take what you’ve learned and try to improveit.
ImproveYourProject Exploring AnotherBlock You got your Autopilot to move! Let’s explore another block you can use to program Autopilot. The Builder in each group should get the hardware required. The Recorder should get the group’s engineering notebook. The Programmer should open VEXcode IQBlocks. Hardware/SoftwareRequired:
Before you begin the activity... • Do you have each of these items ready? The Builder should check each of thefollowing: • Are all the motors and sensors plugged into the correctport? • Are the smart cables fully inserted into all of the motors andsensors? • Is the Brain turned on? • Is the battery fullycharged?
RemixYourProject • The Programmer should complete the followingsteps: • Open the Filemenu. • Select OpenExamples. • Select and open the Autopilot (Drivetrain)Template. • Name your project DriveRemix. • Save yourproject. • Let’s getmoving! • Activity A: Move 10Inches! • Programmer, use the drive forblock to program Autopilot to move forward 10 inches.
Download theproject. • Operator, run the project onAutopilot. • Does the robot move forward 10inches? • Bonus Challenge: Add a sound after Autopilot moves 10 inches! In the engineering notebook, the Recorder can write down what block the group thinks would allow the robot to perform thisaction. • Activity B: More fun with the drive forblock! • Here are some morechallenges: • Drive in reverse 20 inches. • Drive forward 100millimeters. • Drive in reverse 150millimeters. • Bonus Challenge: Program Autopilot to move forward 10 inches and then backwards 5 inches.
Remix Questions • Answer the following questions in your engineering notebook after completing Activity A and B. • Do you think that the Autopilot will always move the exact distance written in the project? Why or whynot? • If your teacher asks you to move the Autopilot 10 mm, but you can only program it to move the distance in inches, what could youdo?
Understand the core concepts and how to apply them to different situations. This review process will fuel motivation tolearn.
Review You have accomplished a lot in this STEM Lab! The following questions will help you think back over everything you have learned. You can only answer once, so think carefully before you submit! • Shawna estimated that she used 30 pieces to build her Autopilot robot. How would you respond to thisestimation? • This estimation is too high, and Shawna could count the pieces toconfirm. • Shawna’s estimation is fine, because estimations are only randomguesses. • This estimation is too low, and Shawna could find a systematic way to estimate the pieces to revise her estimate. • Troubleshooting is a systematic way to solve a problem by investigating the error and trying possible solutions. Which of the following scenarios would requiretroubleshooting? • The project won’t download to the RobotBrain. • The project runs but does not move the robot. • The robot does not move the distance you expected itto. • All of these answers are correct. • True or False: The robot can be programmed to travel in both inches and millimeters. • True • False • In this example program, the robot will continuously move forward. How could you make the robot stop movingforward?
Add a command to only move forward a certain number ofinches. • Add a command to only move forward a certain amount oftime. • Press the X button on the robot brain while the program isrunning. • All of these answers are correct. • 5. In this example program, the robotwill: • Move forward 6 inches, wait and then move 5inches. • Move forward 11 inches. • Move forward 1 inch. • Move forward 11 mm. • Aaron wants to move his robot forward 40 inches. How could he writethe distance for theblock? • 10 + 30inches • 4*10inches • 1016 mm • All of these answers are correct. • The autopilot robot is programmed to move (5+13) inches forward, and (3+8) inches in reverse. How many inches will the robot be from the starting position once the entire program iscomplete? • 7inches
-7inches • 0inches • 11 inches • Elise wants to send her Autopilot robot to her friend. The edge of her friend’s desk is 64 inches away. The program will move the Autopilot forward 12 inches. How many times would Elise need to run the programto move the Autopilot past the edge of her friend’sdesk? • 4times • 5times • 6times • 7times
Help Scout Articles • Links to Help Scout Articles for this STEMLab: • How to Turn On/Off a VEX IQ Robot Brain https://help.vex.com/article/243-how-to-turn-on-off-a-vex-iq-robot-brain • How to Read Indicator Lights on the VEX IQ Robot Brain https://help.vex.com/article/251-how-to-read-indicator-lights-on-the-vex-iq-robot-brain • How to Navigate the VEX IQ Robot Brain https://help.vex.com/article/244-how-to-navigate-the-vex-iq-robot-brain • How to Connect VEX IQ Devices to Smart Ports https://help.vex.com/article/256-how-to-connect-vex-iq-devices-to-smart-ports • How to Install or Remove the VEX IQ Robot Battery https://help.vex.com/article/260-how-to-install-or-remove-the-vex-iq-robot-battery • How to Charge the VEX IQ Robot Battery https://help.vex.com/article/265-how-to-charge-the-vex-iq-robot-battery • How to Use the Autopilot Program in the Demos Folder https://help.vex.com/article/274-how-to-use-the-autopilot-program-in-the-demos-folder • Best Practices for Preserving the VEX IQ Robot Battery’s Life https://help.vex.com/article/262-best-practices-for-preserving-the-vex-iq-robot-battery-s- life • Ideas for Organizing the VEX IQ Super Kit https://help.vex.com/article/263-ideas-for-organizing-the-vex-iq-super-kit • VEX IQ Brain Status (USB Cable) https://help.vex.com/article/291-vex-iq-brain-status-usb-cable • Links to VEXCode IQ Blocks Help Scout Articles for this STEMLab: • How to Begin a New Project in VEXcode IQ Blocks https://help.vex.com/article/279-how-to-begin-a-new-project-in-vexcode-iq-blocks • How to Download and Run a Project https://help.vex.com/article/278-how-to-download-and-run-a-project • How to Save a Project on Windows https://help.vex.com/article/287-how-to-save-a-project-on-windows • How to Save a Project on MacOS https://help.vex.com/article/280-how-to-save-a-project-on-macos • How to Save a Project on Chromebook https://help.vex.com/article/286-how-to-save-a-project-on-chromebook
How to Download to a Selected Slot on the Brain https://help.vex.com/article/284-how-to-download-to-a-selected-slot-on-the-brain
IdentifyingAngleBeams How to Identify the Different Angles of theAngled Beams There are four different types of beams that have a bend at an angle: 30o Angle Beams, 45o Angle Beams, 60o Angle Beams, and Right Angle (90o) Beams. There are also three types of Right Angle Beams: 3x5, 2x3, and Offset. The best way to tell which angles are which is to stack the beams on top of each other. Then you can compare how they look. You can also use a protractor to measure the angle of thebeam.