Download
1 / 14
140 likes | 307 Views
DIGITAL ARCHIVING IN PEDS ER Sony Mavica MVC-CD500 Digital Camera. Building a Digital Archive: The Camera Basics. Our goal is to obtain a large DIGITAL ARCHIVE of files containing the amazing cases we see in our PER

E N D
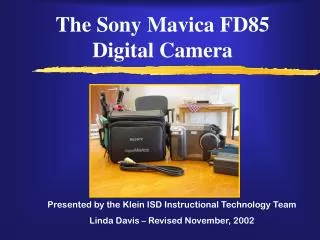
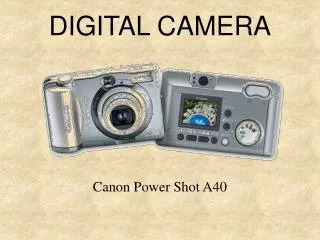
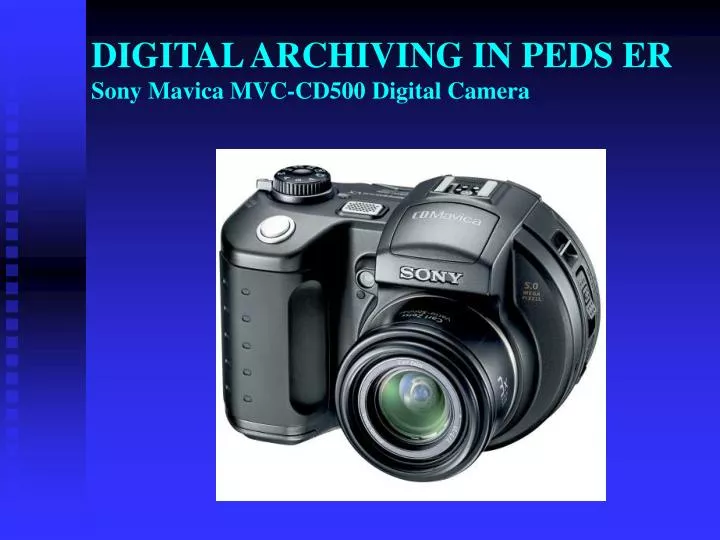
DIGITAL ARCHIVING IN PEDS ERSony Mavica MVC-CD500 Digital Camera
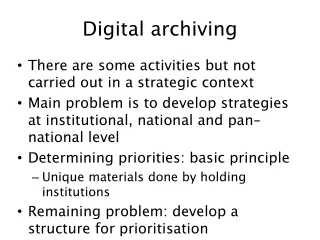
Building a Digital Archive:The Camera Basics • Our goal is to obtain a large DIGITAL ARCHIVE of files containing the amazing cases we see in our PER • You first need to obtain written consent for taking the Photos/Videos (using the specific pre-formatted consent form) • Ask for a blank CD, initialize, and take as many pics/vids as you like • BE SURE to take a picture of the face sheet of the chart (contains name, VS, CC) and also the consent form • When complete, you now have a complete digital archive of the case: name, MRN, demographic/clinical info, consent form and clinical pics/videos • Finalize your disc and PLEASE remember to give it to one of the attendings to copy onto their desktop (so the PER keeps a copy), however you may take the disc with you! • The following slides are a primer on the use of the camera
Located on top of the camera is the microphone, shutter release, power (on/off) switch and the combination Mode Dial. The Mode Dial has many operating positions. To simplify, all you need are: Camera icon – basic pictures Arrow icon – playback, review Filmstrip icon – videos SET UP – used to finalize when finished taking pics/vids – MUST be done in order for a computer to be able to read/open the files. Top of Camera: The Mode Dial
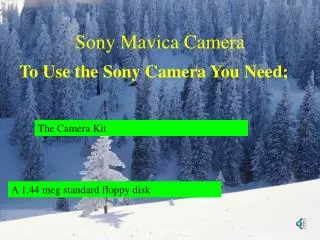
Getting Started: New disc • Open CD-R Compartment Button: Tucked in the side of the CD-R compartment, just above the external flash connection jack, this sliding button opens the CD-R compartment door.
New disc • Insert new disc, Turn the dial to the camera icon, Turn on the power • Initialization will start –set the camera down and using the jogdial, select “OK” and press the center button • If you see an error message simply open the camera and turn the disc over (it is difficult to tell on our generic discs which side is up) • When finished you can start taking pictures (camera icon) or videos (filmstrip icon) • For video: press silver shutter button once to start filming, and again to stop
Focus & zooming • Use for zooming • For pictures, lightly press the shutter ½ way and it will auto-focus and beep when ready for you to fully depress and take the picture • Shooting close-ups : press the flower on the jogdial • When done with shooting do not forget to finalize the disc so that the new pictures/video are reviewed on CD-ROM
Shooting movies • Turn the mode dial to the film icon • Press the shutter button fully down once. • “REC” appears on the screen & the camera starts recording the image & sound • Press the shutter button down again to stop recording • NOTE: • Zoom magnification & flash do not work in film mode • Time & date will not appear
To VIEW pictures or movies on LCD screen • Set dial mode to ► • Select the desired picture/movie with the jogdial • Movies: • Press center ● button on the jogdial to watch play back • Press ● again to stop playback
Use this to Finalize Use jogdial to select and finalize This MUST be done in order to view your files on a computer Finishing & Finalizing:SET UP Disc Tool 1
ADVANCED SETTINGS ON MODE DIAL: Scene Mode - camera picks the best settings for these situations: Twilight Twilight Portrait Landscape Portrait Snow Beach (M) Full Manual - you choose both the shutter speed and aperture. The values available are the same as below. (A) Aperture Priority - you pick the aperture, the camera picks the appropriate shutter speed. The choices range from F2 - F8 and will vary a bit depending on the focal range used. (S) Shutter Priority - you choose the shutter speed and the camera picks the correct aperture. You can choose from a number of speeds ranging from 8 sec - 1/1000 sec.
The CD500 is powered by a Sony NP-FM50 Info LITHIUM rechargeable 7.2v "battery with a brain" -- it tells you on the LCD exactly how many minutes of runtime you have left. Our camera has an extra battery and charger in the bag. Battery
CAMERA Final Words • Keep the camera, charger & the owner’s manual in the case • Keep it in the upper cabinet behind the work station. Do not forget to lock the cabinet. • Do not take the camera outside the PER without notification • Try your best to take as many pictures & movies as you can – they are great for Case Conference • In general you get one chance while in the ER – remember to think about and do it!