Download
1 / 21
320 likes | 749 Views
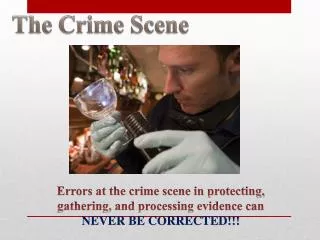
Chapter 2. Crime Scene Investigation & Evidence Collection. The Goal of Crime-Scene Investigation. To recognize, document, and collect evidence at the scene of a crime. Locard’s Exchange Principle. When a person comes in contact with an object or another person, material can be transferred.

E N D
Chapter 2 Crime Scene Investigation & Evidence Collection
The Goal of Crime-Scene Investigation • To recognize, document, and collect evidence at the scene of a crime.
Locard’s Exchange Principle • When a person comes in contact with an object or another person, material can be transferred. • More intense interactions result in greater exchange. • Transferred material is known as trace evidence. • Examples:
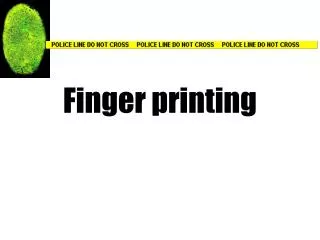
Types of Evidence • Direct evidence – Firsthand observations • Examples: eyewitness accounts, video, etc. • Circumstantial evidence – Indirect physical or biological evidence that can link a person to a crime, but don’t directly prove guilt. • Physical examples: bullets, weapons, fibers, tool marks, etc. • Biological examples: body fluids, hair, plant parts, etc.
Types of Evidence • Class evidence – narrows an identity to a group of persons or things. • Example: Paint chip from a blue 1987 Toyota. • Individual evidence – narrows an identity to a single person. • Example: DNA sample
The Crime-Scene Investigation Team • Police Officers • Crime-Scene Investigators • Recorders • Sketch artists • Photographers • Evidence Collectors • Medical Examiners • Detectives • Specialists
The Seven S’s of Crime Scene Investigation 1. Securing the Scene • Responsibility of the first responder • Restricts entrance to scene • Starts log of all persons entering • May send for additional experts or officers
The Seven S’s of Crime Scene Investigation 2. Separate and question the witnesses – • When did the crime occur? • Who called it in? • Who is the victim? • Can the perpetrator be identified? • What did you see happen? • Where were you when you observed the crime scene?
The Seven S’s of Crime Scene Investigation • Scanning the Scene- • Determine where photos should be taken • Determine if the location is a primary crime scene (where the crime occurred), or a secondary location (such as where a body was moved to).
The Seven S’s of Crime Scene Investigation 4. Seeing the Scene – • Take photos, including close-up pictures with and without rulers for scale. • Digitize scene if possible.
“Crime 360” video clip removed for posting – see their website for clip about Leica Imaging System.
The Seven S’s of Crime Scene Investigation • Sketching the Scene – • Drawn to scale • All objects should be measured from two immovable objects • Direction of north should be included • Scale of drawing, date, and location should be included.
(Copywritten image removed for online posting – see p. 25 of textbook, Fig. 2-3)
The Seven S’s of Crime Scene Investigation • Searching for Evidence- • Tools such as flashlights, UV lights, or vacuums may be used. • Investigators walk patterns to avoid missing anything. (Copywritten image removed for online posting – see p. 26 of textbook, Fig. 2-4)
The Seven S’s of Crime Scene Investigation 7. Securing and Collecting Evidence – • Liquids and arson remains are stored in airtight, unbreakable containers. • Biological evidence is placed in a breathable container to dry. (Copywritten image removed for online posting – see p. 27 of textbook, Fig. 2-5)
After drying, biological evidence is transferred to a paper bindle and sealed in a bag. (Copywritten image removed for online posting – see p. 27 of textbook, Fig. 2-5)
An evidence log is completed listing: • case number • item inventory number • description of evidence • name of suspect • name of victim • date and time of recovery • signature of person recovering evidence • signature of witnesses to collection
(Copywritten image removed for online posting – see p. 27 of textbook, Fig. 2-5 evidence label)
Chain of custody is established and written on log and seals. (Copywritten image removed for online posting – see p. 28 of textbook, Fig. 2-6)
Analyze the Evidence • After a crime-scene investigation, forensic lab work begins. • Test results lead to a crime scene reconstruction. • Test results can be used to identify staged crime scenes.