Download
1 / 18
180 likes | 275 Views
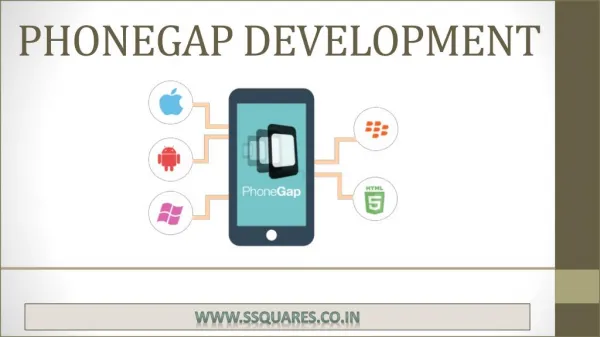
Coursework 2: getting started (4) – using PhoneGap to build mobile applications (optional). Chris Greenhalgh G54UBI / 2011-02-24. Introduction.

E N D
Coursework 2: getting started (4) – using PhoneGap to build mobile applications (optional) Chris Greenhalgh G54UBI / 2011-02-24
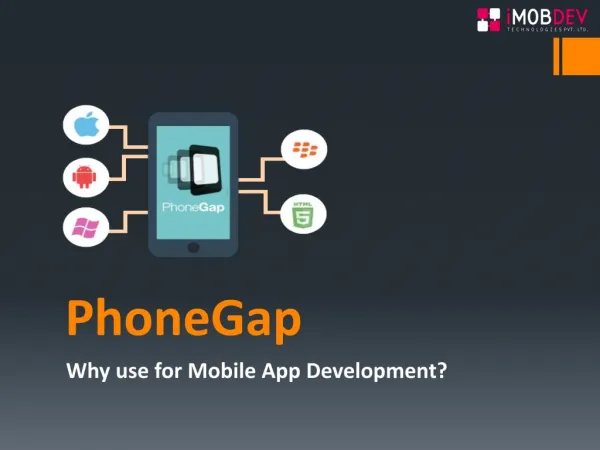
Introduction • PhoneGap is an open source project which allows HTML/Javascript mobile browser applications to be converted to installable applications (i.e. no web server at all) • You will need to use PhoneGap if and only if: • You want to run applications where there is no wireless network or • You want to access sensors other than GPS, in particular compass, accelerometer, camera or • You want to add other native functionality not available in a web browser, e.g. starting other apps • You do NOT need to use PhoneGap to create a browser-based application that uses GPS and/or user input where a wireless network is present • Note that Google AppInventor also allows simple installable apps to be created which can use other inputs and do not require a local network: http://appinventor.googlelabs.com/about/ (but with other limitations) Chris Greenhalgh (cmg@cs.nott.ac.uk)
Contents • Installing Eclipse • Starting Eclipse • Setting the web proxy • Installing the ADT plugin • Configuring the ADT plugin • Creating an initial project • A very brief introduction to using Eclipse Chris Greenhalgh (cmg@cs.nott.ac.uk)
Installing the Android SDK Note: this step should NOT be required in the labs: should already be installed inC:\Program Files\Android\android-sdk-windows\ • See the slide set on running the emulator for details of installing the Android SDK Chris Greenhalgh (cmg@cs.nott.ac.uk)
Installing Eclipse Note: this should already be installed in the labs under C:\G54UBI\ • Follow the instruction for Android on this page: http://www.phonegap.com/start • Ensure you have JDK 1.6 installed • Download and install (unpack) Eclipse “classic” • Install and configure the Android SDK (see slides on running an emulator) Chris Greenhalgh (cmg@cs.nott.ac.uk)
Starting Eclipse Note: this should already be installed in the labs under C:\G54UBI\ • Start Eclipse (double click eclipse\eclipse.exe) • N.B. don’t use the version of eclipse in the labs on the desktop – it is out of date and doesn’t have the ADT or other plugins installed • Select the initial “workspace”, i.e. where you “projects” will be stored (make a note of it) Chris Greenhalgh (cmg@cs.nott.ac.uk)
Setting the web proxy Note: this should only need to be done ONCE • Check that the proxy is configured correctly for Eclipse • Window Preferences: General / Network Connections (e.g. Manual, HTTP host 128.243.253.109 port 8080) Chris Greenhalgh (cmg@cs.nott.ac.uk)
Installing the ADT plugin Note: this should already be installed in the labs under C:\G54UBI\ • (http://www.phonegap.com/start step 3) • See http://developer.android.com/sdk/eclipse-adt.html#installing • Downloading the ADT plugin – see link • You may also wish to install (from the standard “Helios” repository) the following: • Eclipse Web Development Tools • Eclipse XML Editors and tools • JavaScript Development Tools Chris Greenhalgh (cmg@cs.nott.ac.uk)
Configuring the ADT plugin Note: this should only need to be done ONCE • Check that the ADT Plugin is configured with the location of the Android SDK • Window Preferences: Android • (SDK was previously installed, e.g. in C:\Program Files\Android\android-sdk-windows) Chris Greenhalgh (cmg@cs.nott.ac.uk)
Creating an initial project • http://www.phonegap.com/start steps 4-6 go through setting up an initial project and running it • Alternatively you can do the following to achieve the same result… Chris Greenhalgh (cmg@cs.nott.ac.uk)
Downloading the sample project • Download the project file: http://www.cs.nott.ac.uk/~cmg/G54UBI/mobile/HelloPhoneGap.zip • Unzip it into your Eclipse workspace directory • (remember when Eclipse started… e.g. workspace/ in your home directory) Chris Greenhalgh (cmg@cs.nott.ac.uk)
Importing the sample project • In Eclipse select File Import…, • expand “General”, select “Existing Projects into Workspace” and click “Next” • Click “Browse…” and select the project directory in the workspace • Click “Finish” Chris Greenhalgh (cmg@cs.nott.ac.uk)
Eclipse interface overview Explorer: all files File editor The project “Web” files Main page Other views, e.g. errors Project settings Chris Greenhalgh (cmg@cs.nott.ac.uk)
A simple web page File editor Chris Greenhalgh (cmg@cs.nott.ac.uk)
Changing application settings “package” Must be different for each app. = App “package” App version must increase for each version of one app. Project settings Chris Greenhalgh (cmg@cs.nott.ac.uk)
Running the application Chris Greenhalgh (cmg@cs.nott.ac.uk)
The sample application Chris Greenhalgh (cmg@cs.nott.ac.uk)
Conclusions • You should now be able to • Install and configure Eclipse and the ADT plugin • Set up, edit and run a simple PhoneGap project • You can use this sample as the basis for your own development if you wish Chris Greenhalgh (cmg@cs.nott.ac.uk)