Download
1 / 44
450 likes | 618 Views
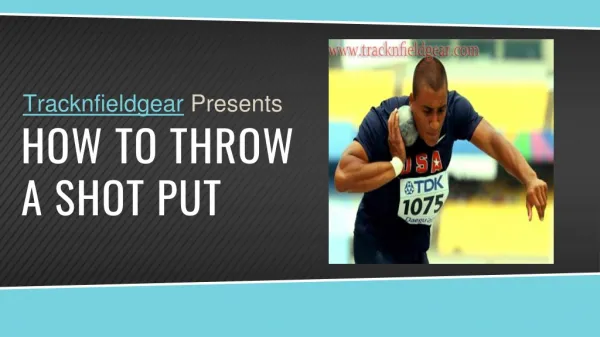
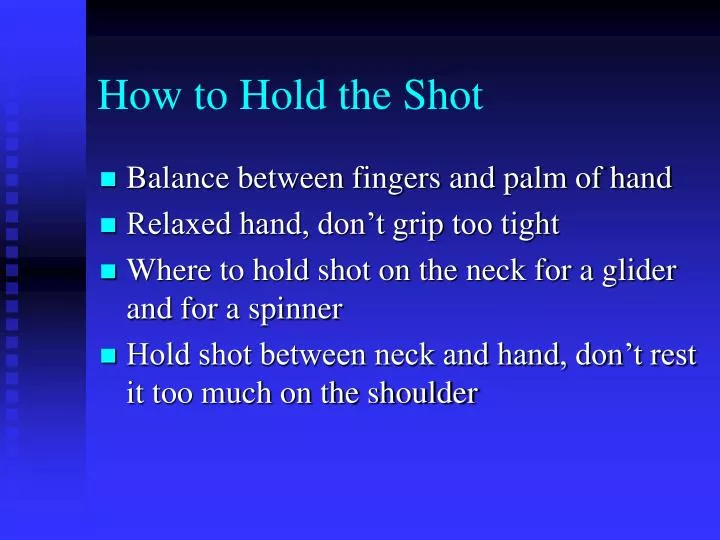
How to Hold the Shot. Balance between fingers and palm of hand Relaxed hand, don’t grip too tight Where to hold shot on the neck for a glider and for a spinner Hold shot between neck and hand, don’t rest it too much on the shoulder. Release into Ground. Good for warming up hand

E N D
How to Hold the Shot • Balance between fingers and palm of hand • Relaxed hand, don’t grip too tight • Where to hold shot on the neck for a glider and for a spinner • Hold shot between neck and hand, don’t rest it too much on the shoulder
Release into Ground • Good for warming up hand • Throw straight down into ground • Keep elbow above shot • Work on release of fingers
Release Drill for Height • Use legs to get more height • Develop timing between leg and arm extension • Work on proper release of fingers
Seated Release Drill • Introduces throwing perpendicular to force of gravity • Work on free arm motion • Good drill for getting in lots of reps
Throw off Neck • Warm-up drill before throwing in the ring • The net step after the seated release drill • Works on throwing the shot while transferring weight from drive to block leg
Stand-throw Teaching Progression: 1 • Arm Only • Keep elbow up and push through the shot
Stand-throw Teaching Progression: 2 • Arm & trunk together • Turn trunk 90 degrees, and keep elbow up
Stand-throw Teaching Progression: 3 • Arms, trunk & legs together • Bend knees slightly, turn trunk 90 degrees
Stand-throw Teaching Progression: 4 • Same as step three but more explosive • Jump into throw
Step Back into Stand-throw: Step 5 • Heel-toe alignment • Balance on the outside of the ball of the right foot • Weight on the outside of the ball of the right foot • Right knee over right toe
Double Pivot with Hands on Hips • Hands on hips stop the upper body from initiating the movement • Square up to face toward the throwing area
Stand-throw with Non-Reverse • Difference between stand-throw for glide versus spin
Step-over Drill • Chase out after shot over the toe board
“False reverse” for Glider • Finish extension before switching feet
Stand-throw with Reverse • Finish extension before reverse • Don’t watch shot • Keep head neutral during delivery and reverse
A-Drill • Keep shoulders closed • Reach for right toe with left hand • Don’t collapse left knee • Open up hips
Crouch and Stop • Repeat movement and keep balance • Keep hips over right ankle
Glide and Stop with Stick • Square up and push press stick after landing in power position
Towel Drill for Shoulders • Hold on to towel with left hand while doing glide and stop • Do this drill to help keep shoulders closed during movement across the ring
Glide and Stop with Med Ball • After showing proficiency with this drill, move on to glide and stop with shot
Half-turn with Hands on Hips • Keep weight over pivot foot • Keep knees together while turning • Initiate rotational movement with lower body
Step-in with Stick • With stick • With med ball • With shot
Step-in with Med Ball • After this drill is mastered you can go on to a half turn with the shot
South African with Stick • With stick • With med ball • With shot • Emphasize more right leg sweep than with step-in
360-degree Drill • With stick • With med ball • With shot • Keep sweep leg no more than 3-5 inches above the ground during the turn
360-degree Drill with Cone: Part 1 • Reach for cone with sweep leg while keeping shoulders parallel to ground
360-degree Drill with Cone: Part 2 • Sweep right leg out and around cone while keeping shoulders parallel to the ground
450 Turn to South African Drill • Work rotation through 360 degrees • Maintain balance over pivoting feet
Full Turn to Power Position • Square up and push press stick in power position
Full Turn to Power Position with Shot at Chest • Use med ball as well • This drill should be easier to do than when holding the shot underneath the neck
Full Throw • Rhythm slow to fast • Shoulders level coming out of the back • Land with proper heel-toe alignment • Shoulders back when landing in power position
The Complete Shot Put Video Available from Coaches Choice http://www.coacheschoice.com