Download
1 / 33

E N D
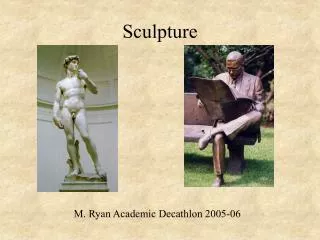
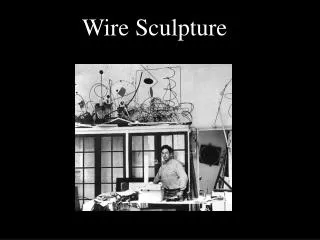
Wire Sculpture Using line to create form
Line is an element of art which refers to the continuous mark made on some surface by a moving point. It may be one dimensional, like a pencil mark on a paper, or it may be three dimensional (wire) or implied (the edge of a shape or form.) Often it is an outline, contour or silhouette.
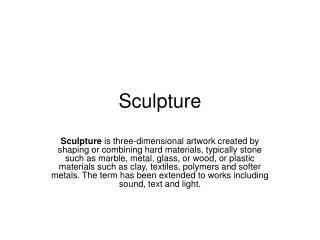
Form is an element of art that is three-dimensional and encloses volume. Cubes, spheres, and cylinders are examples of various forms.
Contour Line Drawing • Contour means “outline”-simplicity of line design • Defines a form or edge-following the outermost visible exterior edge of a shape or form • Plain contour has a clean, connected line, no shading and emphasizes an open “shell” of the subject
More complex contours can imply shading values through interior outlines and may have line textures • Pencil drawings, ball point pen and black markers are good practice tools Characterized by perception and control and also demands practice to achieve competence
Drawing what you know… • Please spend about 3-5 minutes and create contour line drawings of one or two of the following items… • Apple • Pear • Pumpkin • Sunflower • Shell
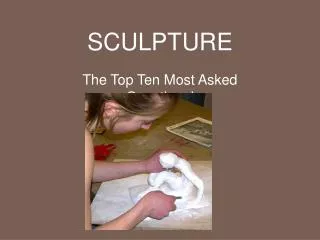
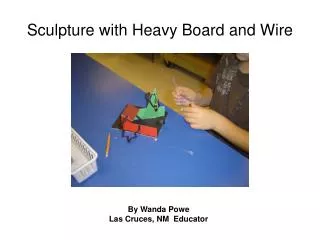
Sculpting what you know… • Using a few pieces of wire, spend about 10-15 minutes and create a 3D wire sculpture of what you just drew. • Use short pieces of wire to start • Use wire cutters to cut pieces if needs be • Use your hands to manipulate the wire • If needed, use pliers to hold two pieces for joining • Take safety precautions • MIND YOUR EYES
Drawing what you see… • Now that you have these items in front of you.. Look again!! • Are there shapes, lines, contours that you forgot about? • Are there details you can add to enhance your drawing? • Let’s review and practice on a new sheet of paper…
Try again… • Focus on the lines that create the overall shape and form of the object - draw lightly with your pencil • Refine the lines to more specifically define the outline/shape-press a little bit more firmly with your pencil • Think about what the essential lines are in order to imply and show the objects essence
Use Cross Contour Lines Once you have the outline, add a few additional lines to begin to give your drawing depth.
Try again… • When your drawing is complete trace over the final pencil lines with Sharpie marker • Save your drawing
Try again… • Create a new 3D version based on your new drawing. • Remember it can be viewed from all sides • Consider the form, volume and space of the object • Make sure it can stand or sit on the table
Wire Sculpture Artists Hare and the Minotaur Sophie Ryder, Wire and Bronze 2008
Sophie Ryder Eye in the Sky Wire 2008
Alexander Calder Alexander Calder was born in Lawnton, Pennsylvania on July 22, 1898 into a family of artists. The family moved to California when he was a boy. He began using scraps of wire he found in the street to make jewelry and beads for his sister’s dolls.
Dog (1909) When he was in fourth grade, he sculpted a dog and a duck out of sheet brass as Christmas presents for his parents. The duck was “kinetic” because it rocked when touched. During his high school years, his family moved back and forth between New York and California. He studied mechanical engineering in college, graduating in 1919. For the next several years, he worked as an engineer, but finally he decided he would like to be an artist. Duck (1909)
He moved to New York and enrolled in the art students’ League. One of his assignments was to sketch the Ringling Bros. Barnum & Bailey Circus. He became very interested in the circus, and would continue to create circus inspired art all through his career. In 1926, he moved to Paris and took up with a community of artists. He began to make toys, creating his “Cirque Calder”, a miniature circus made of wire, string, rubber & cloth. He made it small so he could fit it into a suitcase, allowing him to travel around giving “circus shows”. The Flying Trapeze (1925)
Cirque Calder sparked his interest in wire sculpture and kinetic art. (kinetic means pertaining to motion). He used his knowledge of engineering to create movable sculptures. Some of his circus characters could “perform” while suspended from a thread. His friend, artist Marcel Duchamp, dubbed these sculptures “mobiles” after the french word meaning mobile and motive. His early kinetic sculptures used cranks and pulleys to make them move. Later, his work was more delicate, and they only needed the current of the air to make them move. Goldfish Bowl (1929)
Jimmy Durante (1928) Durante was a popular movie actor with a famously huge nose. Circus Scene (1929)
Alexander Calder Elephant Wire and Wood 1928
Rearing Stallion (c. 1928) Alexander Calder
Alexander Calder Medusa Wire c.1930