Download
1 / 22
220 likes | 341 Views
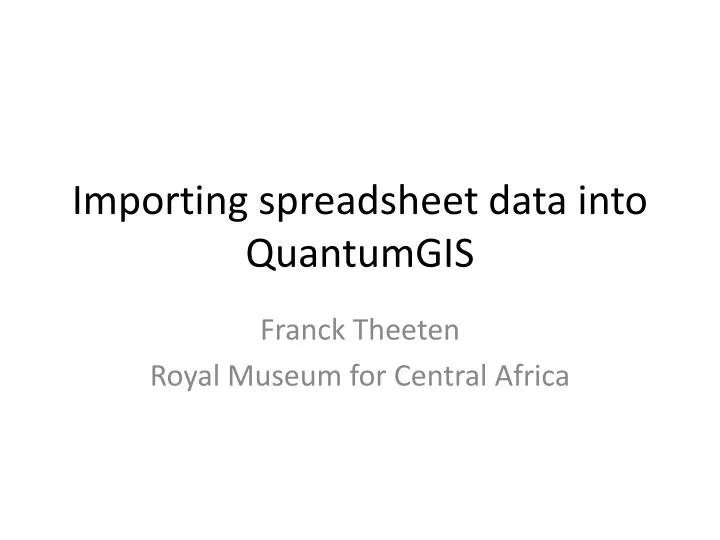
Importing spreadsheet data into QuantumGIS. Franck Theeten Royal Museum for Central Africa. Precondition. The coordinates in the source data must be in the same unit and format as the current projection in QGIS (ex: decimal degrees for WGS84, meters for UTM) Conversion possible afterwards

E N D
Importing spreadsheet data into QuantumGIS Franck Theeten Royal Museum for Central Africa
Precondition • The coordinates in the source data must be in the same unit and format as the current projection in QGIS (ex: decimal degrees for WGS84, meters for UTM) • Conversion possible afterwards • (Activate background layers)
1) Save your data as tab-delimited Choose ‘text (tab delimited)” in “save as type” menu
4) Importation • 1) Open the file • 2) enable “selected delimiter” • 3) Check that “tab” (and only tab!) is declared as delimiter • 4) Verify that the X field corresponds to the column containing the longitudes (in decimal degrees!). Might not be the pre-loaded default value • 5) Verify that the Y fieldalsocorresponds to the column containing the latitudes (in decimal degrees!).
Note: you can convert the shapefile as KML and open it into GoogleEarth afterwards
Note: you can convert the shapefile as KML and open it into GoogleEarth afterwards
Note: you can convert the shapefile as KML and open it into GoogleEarth afterwards
7) Display labels • 1) Right click the layer in the left menu and select “properties”
7) Display labels • 1) “Label “Tab • 2) trigger “Display Labels” on • 3) Choose the associated column in “Field containing label” • 4) Pay attention to the ratio zoom level/amount of data!!!!
8) Color classification • 1) Right click on the properties of the layer • Style Tab • “Old symbology”
8) Color classification • 2) Unique value • 3) choose column (e.g.: scientiifc name • 4) click “classify” • 5) click “randomize color” • 6) eventually double click the dots to change the colors
8) Color classification 1 - 2 3 4 5 6