Download
1 / 22
230 likes | 364 Views
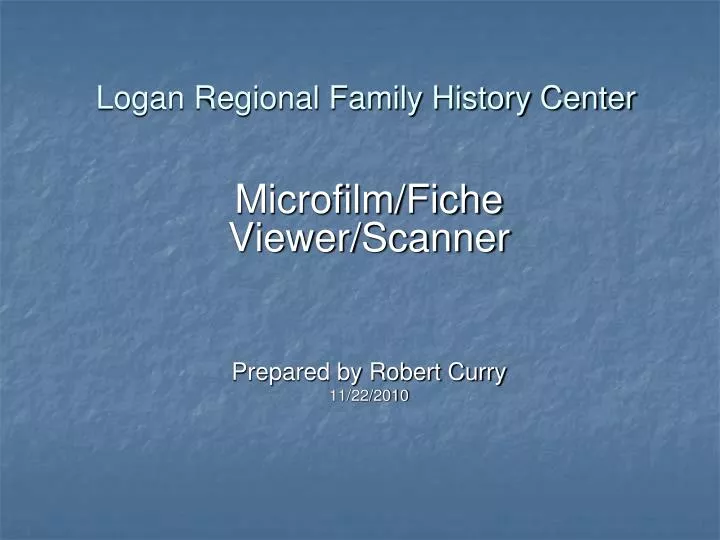
Logan Regional Family History Center. Microfilm/Fiche Viewer/Scanner Prepared by Robert Curry 11/22/2010. This presentation will demonstrate how to. set up and load film in the viewer/scanner and using the features of the viewer/scanner to prepare an image for scanning.

E N D
Logan Regional Family History Center Microfilm/Fiche Viewer/Scanner Prepared by Robert Curry 11/22/2010
This presentation will demonstrate how to • set up and load film in the viewer/scanner and • using the features of the viewer/scanner to prepare an image for scanning.
To “wake up” the viewer/scanner, press the yellow or green button.
Pull tray out toward you to load microfilm roll or microfiche.
To properly load microfilm, follow the diagram above the left reel knob.
Choose the proper lens to view your document. • Lens #1 has the least magnification, #4 the greatest. #2 or #3 are most commonly used.
Adjust screen lighting to match lens being used. • Look at the colored band on the lens between the magnification and focus wheels. The color indicates the best lighting for this lens • Adjust knob on the front of the scanner to match the color band on the lens.
Adjust image by rotating the appropriate wheel • Rotation knob • Magnification (zoom) wheel • Focus wheel
Adjust image by rotating the appropriate wheel • Rotation knob • If the image is upside-down, sideways or just crooked, use this knob to straighten it out.
Adjust image by rotating the appropriate wheel • Magnification (zoom) wheel • Use this wheel to make the image larger or smaller.
Adjust image by rotating the appropriate wheel • Focus wheel • Rotate this wheel as necessary to focus the image.
Align image • There are two sets of brackets at the top and bottom of the screen. The image should be adjusted to fit inside the outermost brackets. The bottom right bracket is marked LTR
Align image • The bottom right bracket is marked LTR
Use the Rotation Knob, Magnification Wheel and Focus Wheel to align and focus the image.
You are now ready to use the scanning software to scan the image for printing and/or saving to a file.