Download

1 / 53
530 likes | 531 Views
Learn how to organize your content, make your presentation accessible, choose the right design, and deliver an engaging PowerPoint presentation.

E N D
Guidelines for Giving an Accessible and Interesting Power Point Presentation Ike Presley National Project Manager American Foundation f/t Blind 404-525-2303 ipresley@afb.net www.afb.org
Topics to Cover • Part 1: Organizing Your Content • Part 2: Making Your Presentation Accessible • Slide layout & design • Using slide and outline view • Read order • Images: graphics, tables, charts, etc. • Slide transitions • Part 3: Delivering the presentation • Part 4: Preparing Accessible Handouts
Part 1 Organizing Your Content
Organizing Your Content • Start in word processor • Type your 3-4 major points / topics • Not sentences, just short phrases • Use levels and sublevels • Add supporting points as short phrases • Follow next steps for designing PPT • Copy text into corresponding slides
Part 2 Making Your Presentation Accessible and Interesting
Making Your Presentation Accessible • Use simple layout • Use simple, non-cluttered design template • Be mindful of color contrast issues • Use sans serif fonts • Avoid conveying information with emphasis or color alone • Limit quantity of text per slide
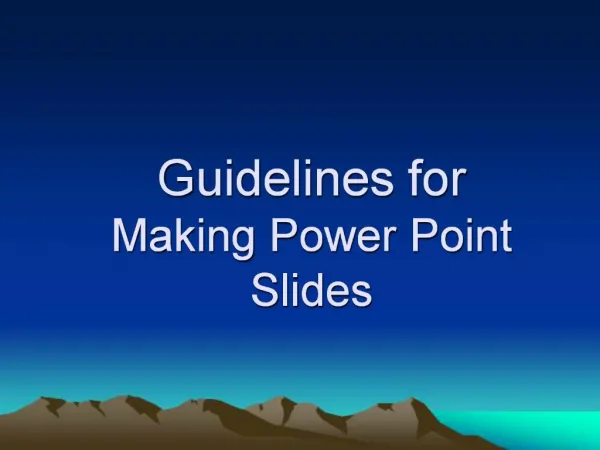
Choosing a Design • Simple • Dark on light • Light on dark • Non-cluttered • Good examples can have • Some color variation • Some background variation • Cannot interfere with readability of text
Dark on Light Template • Good contrast • Pretty boring
More Interesting Dark on Light Design • Good contrast • Some color variation • Some space lost at bottom
Light on Dark Template • Good contrast • Pretty boring
Better Light on Dark Template • Good contrast • Some color variation
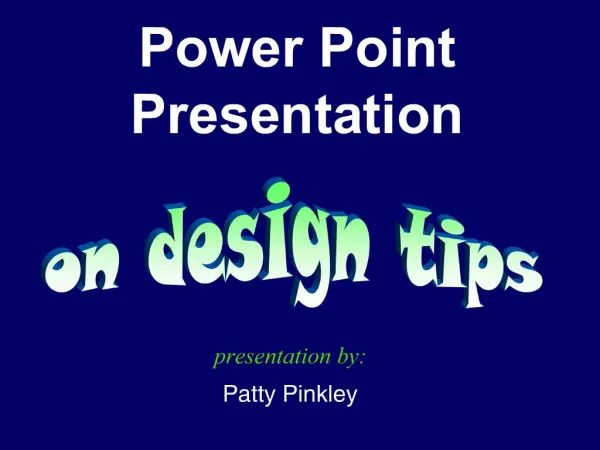
Bad Design Template • Poor contrast • Too much color variation • Distracting background • Text difficult to read across slide
Another Bad Design Template • Too cluttered • Space lost to non-essential graphics
Starting a Slide Deck • New slide show opens with title slide • Title Place Holder – 60 point • Subtitle Place Holder – 24 point • Presenter name & contact info • Add a graphic for interest • Maybe a photo • Professional or personal
Choosing a Layout • Insert a (New) slides • Title and content layout • Two content layout for columns • Duplicate selected slide • Unique title on each slide
Slide and Outline View • Slide view, left side of screen • Each slide displayed as a thumbnail • Outline view, left side of screen • Displayed text spoken by screen reader • All text should be viewable • Check carefully • Tables, graphics, pictures, text boxes will not show
Selecting Fonts • Use sans serif fonts • Arial • Uppercase I, lowercase l, (Illusion) • Verdana, Tahoma, APHont • Use Bold (improves readability) • Don’t use • Times New Roman, Courier New, Calibri (g) • Italics or ALL UPPERCASE
Selecting Point Sizes • Slide titles • 48-64 point bold • Bullets and text • Level 1: 32 point bold • Level 2: 28 point bold • Level 3, 4, 5: 24 point bold (mothing smaller) • Slide number on all slides except Title slide • Save often (Ctrl+S)
Text & Background Colors Be mindful of color contrast issues • Light text on dark background • Yellow on black • White on dark blue • Light yellow on dark green • Dark text on light background • Black, dark blue on pastel colors
Sample Text & Background Colors High Contrast (yellow on black) High Contrast (white on dark green) Low Contrast (bright green on yellow-green) Very Low Contrast (light orange on light gray)
Color and Emphasis Avoid conveying information with color and emphasis alone • Here are some important words • Emphasize text in verbal presentation (loudness, pitch), or • Say: “The phrase ‘important words’ is colored red and emphasized with underlining.”
If You Must Use Color Explain information conveyed Example: Product List (green= new) • Web weenies • Prompt junkies • PowerPoint prodigies • Touring trainers • Inspiring ice breakers (read list, say "prompt" and "touring" are new)
Quantity of Text • Limit number of bullet points • 5-7 bullets/lines per slide • Total quantity of text per slide • Maximum 5-7 words per bullet/line • Make points short and concise • Avoid full sentences if at all possible • Save often (Ctrl+S)
Using Levels • Promoting and demoting text • Makes reading easier for everyone • Use levels • Under bullet points • When desired • Each sublevel uses smaller text
Read Order • Reading order for screen readers • Home – Arrange – Selection pane • Use Up/Down triangles to reorder • Order appears reversed • Slide number • Slide title • Slide content • Graphical content • Text boxes
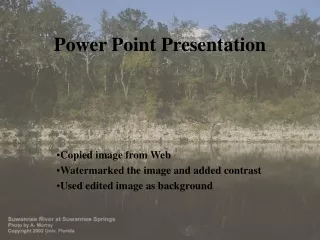
Graphical Elements • Photos • Clip art • Graphs • Charts • Diagrams • Text boxes Must be at lest 24 point, bold
Images Need Descriptions • Select graphic element • Right click, or • Press Shift + F10 • Opens menu, choose “Format …” • Picture • Shape • Object, etc.
Format Picture Pane • When format picture pane opens • Press F6 to move focus to pane • Press Right Arrow to Size & Properties • 3rd from left
Adding Alt Text • Size & Properties menu • Press Tab to move focus into menu • Press Down Arrow to move highlight to Alt Text • Press Tab to move to Description field • Type description • Save often (Ctrl+S)
Slide Transitions • Use sound transitions • Audio cue for slide change • Easier to follow • Choose • Transitions tab • Sound drop down menu • Subtle sound • Select Apply To All
Part 3 Delivering the Presentation
Getting Started • State that presentation will contain • Text on screen • Graphics on screen • Invite viewers to move forward • Turn off lights close to screen
Making Your Points • Bulleted points • Bring bullet points out individually • Should be spoken when they appear • No need to read verbatim • Include content in your speech • Use Start on mouse click when needed • Choose simple animation • Use same throughout
Graphic Description • Identify type of graphic • Photo, graph, chart, diagram • Verbally describe graphical elements • Describe salient features only • Speak relevant data • Suggestions for verbal descriptions
Sample Graph Description Say, “This bar graph shows sales for the 4 quarters of FY’16 with quarters 1-4 displayed on X-axis, and number of units sold displayed on Y-axis. 1st Qt = 38, 2nd Qt = 51, 3rd Qt = 35, 4th Qt = 21.” Units Sold FY’16 Quarters
Sample Chart Description Say: “This pie chart shows that in 1997 12% of all Americans had a severe disability, 7% had a less severe disability and 81% had no disability.”
Sample Diagram Description Say: “This diagram of the Space Shuttle shows the payload bay doors open with no cargo in the bay. The flight deck, main engine, payload bay, and payload bay doors are labeled.”
Part 4 Preparing Accessible Handouts
Digital / Electronic Format • Provide copy of PowerPoint file • Must be created accessible • Allows participants to use their preferred access technology • Make available in the “cloud,” before, during and after • Have available on USB thumb drive for copying
Preparing Regular Print Handouts • Many people like • 3 slides per page on left • Lines for notes on right • Print in B&W unless color required • Use two sided printing
Large Print Handouts • Two formats are needed - Why? • One for graphical information • PowerPoint Handout • One for accessible text • Word or text document
Preparing Large Print Handouts – Graphics • Open File Menu • Select Print • Select Full Page Slides • Full Page Slides will be highlighted • Check Frame Slides • Check Scale to Fit Paper • Print one page first to test
Preparing Large Print Handouts – Text • Open File Menu • Select Export • Select Create Handouts • Select Create Handouts in Microsoft Word • Select Outline only • Choose OK • Word will open • Text from slides will appear
Editing Large Print Handouts in Microsoft Word • Step 1 • Select All text – Ctrl+A • Set font – APHont, Verdana, Arial • Set point size to 18pt or larger • Save document
Editing – Step 2 • Move cursor to last line of title • Press the End key • Press Enter twice to insert a new blank line • Press Ctrl+L to left justify line, if needed • Type: (Slide 1 – Title Slide) • Parenthesis: locate slide # quickly • Press Enter • Copy text of title onto this line
Editing – Step 3 • Move to last line of slide 1 text • Press the End key and Enter twice • Type: (Slide 2) • Move to last line of slide 2 text • Press the End key and Enter twice • Type: (Slide 3) • Repeat for all slides
Editing – Step 4 • Slides with graphics • Move to last line of slide text • Press the End key and Enter once • Type: Slide Graphic • Press Enter once & Tab key to indent • Switch back to PowerPoint • Alt+Tab
Editing – Step 5 • Move focus to slide with graphic • Select graphic element • Right click, or Press Shift+F10 • Choose “Format …” • Picture, Text box, Object, etc. • When format picture pane opens • Press F6 to move focus to pane • Press Right Arrow to Size & Properties • 3rd from left
Editing – Step 6 • Size & Properties menu • Press Tab to move focus into menu • Press Down Arrow to move highlight to Alt Text • Press Tab to move to Description field • Press Ctrl+A to highlight the text • Press Ctrl+C to copy the text • Switch back to Word • Press Alt+Tab
Editing – Step 7 • Cursor should be on indent under Slide Graphic • Paste text with Ctrl+V • Repeat steps for each graphic element on slide • Repeat steps for each slide with graphic • Save document often (Ctrl+S)