Download
1 / 12
120 likes | 220 Views
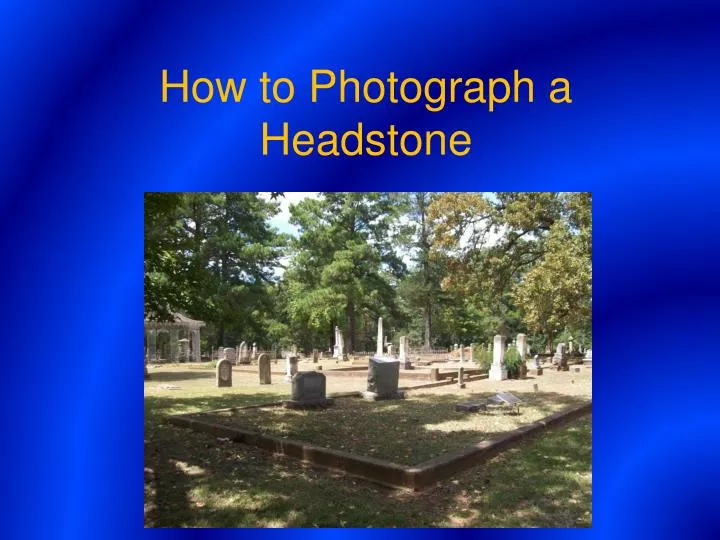
How to Photograph a Headstone. First. Weather – For the best photographs go out to take pictures on a cloudy day to reduce extreme sunlight. Supplies – A Camera! Bring paper, pencil, and water or a soft brush to clean off the headstone.

E N D
First • Weather – For the best photographs go out to take pictures on a cloudy day to reduce extreme sunlight. • Supplies – A Camera! Bring paper, pencil, and water or a soft brush to clean off the headstone. • Documentation – Write down the location of the headstone. This includes the cemetery name, town, and county.
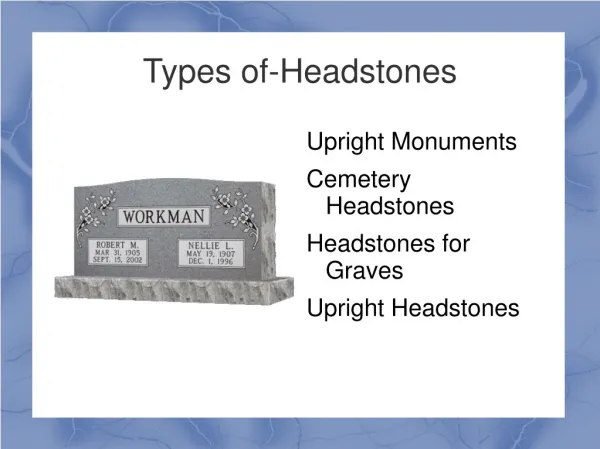
What kind of film? • Black and white or color? • Black and white is good for crisp and simple pictures. • Color is good for painted headstones, vegetation, and type of stone used. • You will also be able to tell the difference between headstones like these
Angles • When taking the picture, where you are standing is crucial for the best photo. The best location is a few feet away, off to the side at an angle. This shows the shape and depth of the headstone. Film Camera Digital Camera
Zoom • There is no need to zoom unless you are unable to get up close to the headstone yourself. • When using a film camera, make sure the whole headstone fills the view finder. • When using a digital camera, make sure the whole headstone fills the LCD screen.
What NOT to do • Do NOT stand too far back from the headstone that it is a tiny speck in your pictures. • Do NOT stand too close where all you can see is one word on the headstone. Too far Too close
Document • To remember where you were when you took the picture, record the location in your notebook. This includes the cemetery name, town, and county. • If you are documenting what is written on the headstone, then you can take a picture of the headstone directly in front of it. • Once home be sure to label your images (they often look alike just days or weeks later). Film Camera Digital Camera
You’re Done! Remember everything you learned in this presentation and have fun!!!
Selected Bibliography • Mytum, Harold. Recording and Analysing Graveyards. 2nd ed. Walmgate: Council for British Archaeology, 2002. • Stangstad, Lynette. A Graveyard Preservation Primer. 2nd ed. Oxford: Altamira Press, 1998. • Stangstad, Lynette. Preservation of Historic Burial Grounds. 3rd ed. Washington, DC: National Trust for Historic Preservation, 2003.
Credits • Sponsored by The City of Nacogdoches Preserve America Grant in conjunction with the Center for Regional Heritage Research and the Department of History, Stephen F. Austin State University, Nacogdoches, TX • Created by Brenna Kelly, Undergraduate Fine Arts Major, SFASU