Download
1 / 19
370 likes | 1.34k Views
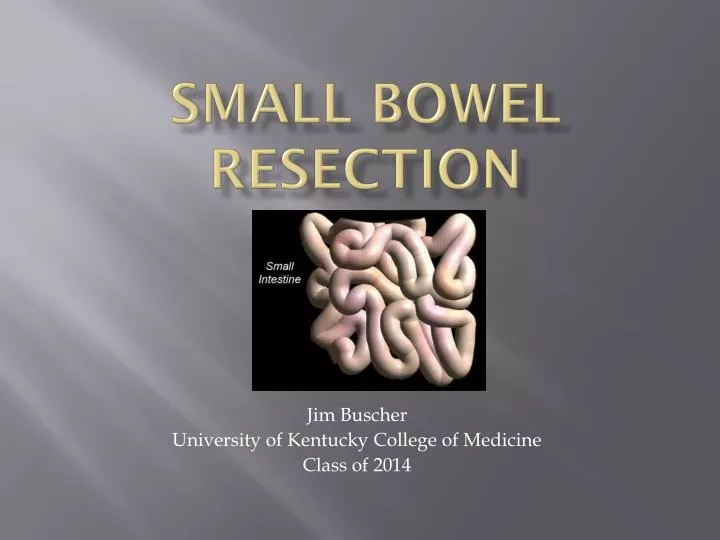
Small Bowel Resection. Jim Buscher University of Kentucky College of Medicine Class of 2014. Content. Brief History of small bowel resection Alternate names Advantage of Laparoscopy When to perform procedure Risks of Small Bowel Resection Patient Presentation Equipment Needed OR Setup

E N D
Small Bowel Resection Jim Buscher University of Kentucky College of Medicine Class of 2014
Content • Brief History of small bowel resection • Alternate names • Advantage of Laparoscopy • When to perform procedure • Risks of Small Bowel Resection • Patient Presentation • Equipment Needed • OR Setup • Port Placement • Key Steps • Post –Operative Care
History • The first reported small bowel was reported to have taken place in 1727 by Ramdohr. • Removed 2 feet of gangrenous intestine • By 1836 at least 10 more procedures had been performed by French, German, and English surgeons • 5 cured, 2 with artificial anus, 2 died • Became a recognized surgical procedure in 1875 by Kuster.
Alternate Names and Laparoscopic Advantages • Alternative Names • Small intestine surgery; Bowel resection - small intestine; Resection of part of the small intestine; Enterectomy • Laparoscopic Advantages • Quicker recovery time • Faster return to eating solid foods • Less pain • Fewer scars • Lower risk of infection • Fewer post-operative complications
When a Small Bowel Resection May be Needed • A blockage in the intestine caused by scar tissue or deformities • Bleeding, infection, or ulcers caused by inflammation of the small intestine. Three conditions that may cause inflammation are regional ileitis, regional enteritis, and Crohn’s disease. • Injuries to the small intestine • Cancer • Precancerous polyps (nodes) • Benign tumors • http://www.nlm.nih.gov/medlineplus/ency/article/002943.htm
Surgical Risks • Damage to nearby organs in the body • Wound infections • Wound breaking open • Bulging tissue through the incision, called an incisional hernia • Short bowel syndrome (when a large amount of the small intestine needs to be removed) • The ends of your intestines that are sewn together may come open. This is called anastomosis. This may be life threatening. • Anastamotic leak • Scar tissue may form in your belly and cause blockage of your intestines. • Problems with your ileostomy • Inadvertantenterotomy • Anastomotic stricture • Hemorrhage
Patient Presentation • Unlike some diseases there are many different signs and symptoms that may be associated with someone who must undergo a small bowel resection. • Pain • Internal bleeding • Blockage may cause vomiting • Polyps (seen by colonoscopy) • Tumors found by MRI • May be found during trauma
Equipment Needed • Atraumatic bowel graspers • Laparoscopic scissors • Harmonic scalpel • Scalpel • Suction device • GIA endostapler • 3 trocars (one 10mm and two 5mm) • 30 degree scope • Suture • Various clamps and scissors • Hand port (Optional) • TA Stapler (Optional) • On-Q painbuster (optional)
Operating Room Layout • Patient begins in supine position • Move patient into positions later to allow gravity to shift unwanted organs out of the way. • Two screens to allow surgeons on both sides of patient to see • Anthesiologist positioned behind patient’s head and scrub nurse positioned near the feet (not shown)
Port Placements • One 10 mm trocarplaced in umbilical incision for camera • Two 5 mm trocars placed in abdomen to triangulate on area to be resected. Trocar placed in abdomen via the Opti-view This can be seen on the left going through the layers of the abdomen.
Key Steps • Step 1: • Move along bowel using atraumatic bowel graspers to find the source of the desired bowel for excision. • Note from surgeon be sure to grab the fat near the bowel and not the bowel itself this will reduce the risk of tearing. • Bowel may have attachments so be sure to mobilize the bowel . This is important because the small bowel will be extracted from the abdomen.
Key Steps • Step 2: • After finding desired small bowel, use the harmonic scalpel to dissect mesentery and ligate the arteries of the Superior Mesenteric Artery • If bleeding occurs suction may be used to remove interfering blood. • Caution: • The Harmonic Scalpel is very hot. Be sure not to damage internal structures by touching them with the tip after cutting.
Key Steps • Step 3: • Once vasculature has been minimized to desired area, remove the camera and trocar and lengthen the umbilical incision. • This lengthening will allow for the small intestine to be removed from the abdominal cavity. • A hand port may be used during this step of the procedure. If a hand port is used, the umbilical incision will be lengthened, the port placed, and then the intestine will be pulled from the abdomen.
Key Steps • Step 4: • Locate desired portion of bowel and using mosquito clamps, clamp around the edge of the area to be removed. • Cut in between the two clamps. • This procedure will be done on both sides of the intestine to be removed.
Key Steps • Step 5: • Perform a side-to-side anastamosis by aligning the two healthy small bowel segments side-by-side with the openings next to one another. The GIA endostapler may now be inserted into the openings and applied. This will anastamose the intestine leaving one opening at the end.
Key Steps • Step 6: • Close the opening of the anastamosis. • Be sure to place other sutures around the anastamosis in order to reinforce the intestine.
Key Steps • Step 7: • Return bowel to abdomen through the umbilical incision. • If desired, place On-Q Painbuster in patient. • Step 8: Close incisions left over from trocars and umbilical incision.
Post-Operative Care • Hospitalization for 3-7 days. • Ingestion of liquids is allowed by the second day. • Slowly thicken liquid over time until solid foods may be ingested • Pain and wound management • The longer the length of bowel removed the longer the hospital stay and the longer one will be unable to eat solid foods.
Sources • E., John, L. J., and Panajiotis N.. Minimally Invasive Surgical Procedures and Anatomy. Springer Verlag, 2005. 255-266. Print. • http://www.nlm.nih.gov/medlineplus/ency/article/002943.htm • Smith, James, Abdominal Surgery v. 2., Bristol, 1897. 589-591. Digital Print.