Download
1 / 10
100 likes | 193 Views
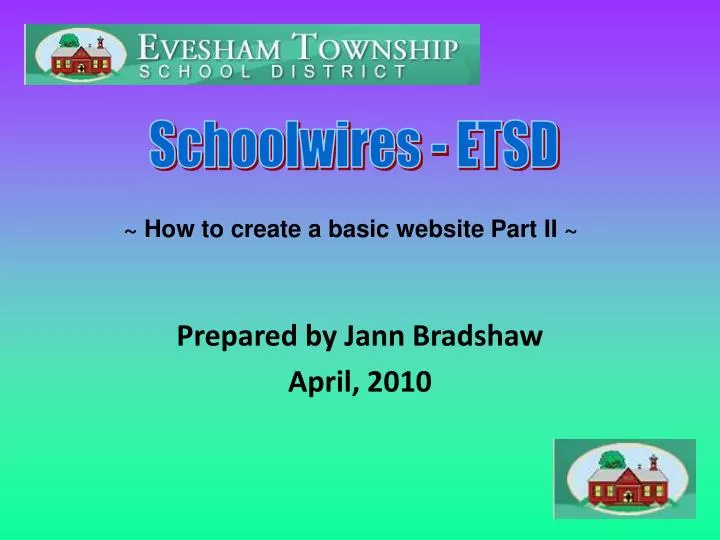
Schoolwires - ETSD. ~ How to create a basic website Part II ~. Prepared by Jann Bradshaw April, 2010. Adding Hyperlinks. You can add a link that will take you to another page, to another website, a bookmark or an email address.

E N D
Schoolwires - ETSD ~ How to create a basic website Part II ~ Prepared by Jann Bradshaw April, 2010
Adding Hyperlinks • You can add a link that will take you to another page, to another website, a bookmark or an email address • We will be linking to a website of your choice and need to go to the Internet and copy its address before continuing
Adding Hyperlinks, Cont'd • You can use text or an image to create a hyperlink • To use text, highlight existing text or type new text and highlight it • Click on the Insert Link tool • Select Insert a link to a different website…
Adding Hyperlinks, Cont'd • Right-click in the blank box to paste the website address • You will need to erase the http:// as it is already provided • Click Next • Click Insert Link
Adding Hyperlinks, Cont'd • Your text will now be blue and underlined showing that it is now a hyperlink • SAVE • Go to view website, refresh the screen and try it out!
Inserting a File • Insert a file • Click on “Insert File Link” icon • Choose “Select new file from my computer or network…”, • Click Next • Browse to the file location and click Open, then Next • Type a name for the file that the user will click on to access the file • Click “Insert File”
Adding Video, Music, Sound and Other Files • Use the "insert file" button
Resources for Cool Stuff • Google Images • Bing
Calendar • Save your work in the editor • Click on your classroom name on the left, under the Site Manager tab • You will now be in the Section Manager area where all of your pages are listed • Click on the Calendar page • To add an “event” just double-click on the dated square • The “Add Quick Event” box will appear • Enter the desired information and click Save • To add multiple events to one box, double-click again on the square • To edit an event, role your mouse over the event info and you will see the “edit” and “delete” options
New Pages • Homework and Special Activities Pages are blank “Flex” pages, the same as you Welcome page, and can be edited in the same way • If you want to add new pages go back to the Site Manager and click on New Page at the top of the screen • Choose Flex page • At the next screen type a name for your page and choose “Blank Flex Page” • Click Save • The new page will be added to you Site Manager