Download
1 / 23
230 likes | 311 Views
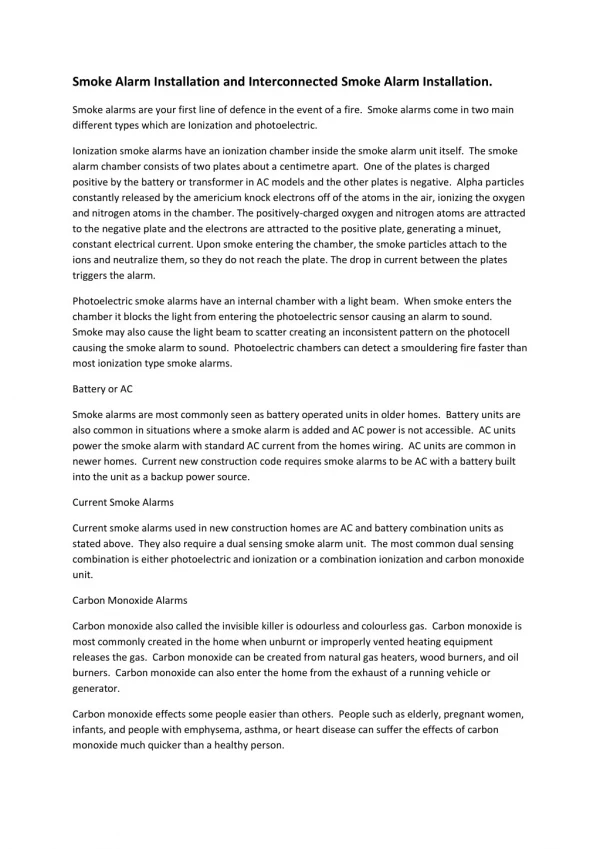
Smoke Alarm Installation Program. NC Office of State Fire Marshal Injury Prevention Division. Everyone Installing Alarms Should Review This Presentation. To ensure there are working smoke alarms in every home in your community and all occupants have and practice an escape plan.

E N D
Smoke Alarm Installation Program NC Office of State Fire Marshal Injury Prevention Division
Everyone Installing Alarms Should Review This Presentation. • To ensure there are working smoke alarms in every home in your community and all occupants have and practice an escape plan. • To be able to correctly install and explain alarm specifications to occupant • To understand and be able to explain symptoms of CO poisoning and CO safety tips. When ready use right arrow button below to advance to the next slide.
Neighborhood Canvassing Tips • Alert residence in advance that you will be installing alarms with door hangers, flyers, public service announcements, etc. • Go into homes in pairs and not alone • Have occupant go with you to each room where installing alarms • Educate residence on fire prevention and CO safety • Watch video for “how to” canvassing tips http://www.ncdoi.com/OSFM/RPD/PT/Videos_Prevention.aspx?video=ymYMxjtcMSo&Name=Smoke Alarm Canvassing Program
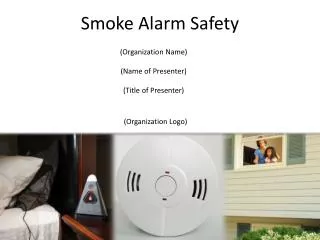
About the Alarms • The alarms being provided are 10 year Lithium Battery Tamper Proof Smoke Alarm. • Made to last ten-years, and then replace the alarm. • A sealed unit prevents removal of the lithium battery. • Once activated the batteries will supply power to the alarm for the life of the alarm (10 years). Caution residents that these alarms and batteries are sealed. The cover is not removable!
Placement of Alarms Alarms are to be installed and not handed to occupant Install an alarm in these locations: • Outside each separate sleeping area. • Inside each bedroom • Each level of the home • Include the basement. Maximum 6 alarms per home with this grant
Avoid these areas • Garages- Products of combustion are present • Kitchens -Normal cooking may cause nuisance alarms. Avoid 3’ of door to kitchen • Bathrooms -Moisture/steam can cause nuisance alarms- Avoid installing 3’ of the bathroom door with tub and shower • Most attics, unless used as sleeping area • Air supply ducts for heating or cooling • Fluorescent lights may cause nuisance alarms
Where to place alarms Mounting the alarm on the ceiling in the center of the room places it closest to all points in the room.
Mobile Homes Many older mobile homes built before 1978 have little or no insulation compared to present standards. If there is little insulation or if you are unsure about insulation, install the alarms on the walls. Extreme heat or cold can be transferred from the outside to the inside through poorly insulated walls and roof. This may create a thermal barrier which can prevent the smoke from reaching an alarm mounted on the ceiling. In such units install the smoke alarm on an inside wall.
Equipment Needed • Smoke Alarms • Step Ladder • Power Drill • 3/16 drill bit • Hammer, Screwdriver • Clipboard/portfolio • Waiver Forms • Survey Forms • Educational material
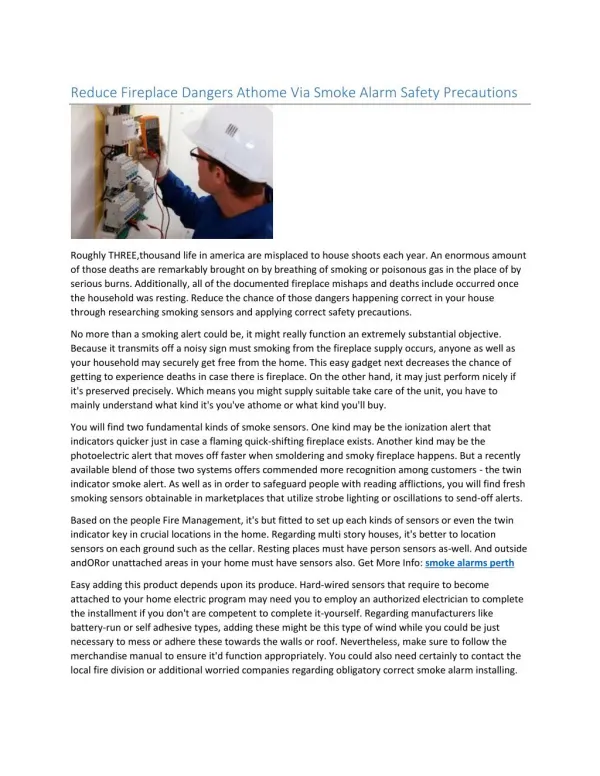
Securing Alarm • Select location • Attach mounting bracket • Place bracket on wall • 3/16” drill for anchor • Anchor, screws to mount • Be sure bracket is mounted correctly before installing alarm • Write installation date on alarm
Activate Alarm • Install alarm on the mounting bracket • Rotate alarm clockwise and alarm ratchets into place • The alarm is now activated • Model equipped with feature that automatically activates the alarm when mounted in bracket first time • Test alarm by holding down test button for 5 sec or until alarm sounds
Nuisance Alarms • These smoke alarms are designed to minimize nuisance alarm. • SMART HUSH will silence alarm for approximately 8 minutes • Tell resident to use only when source of smoke is identified, such as smoke from cooking • Dense smoke will override the SMART HUSH Explain to occupant that if the alarm sounds check for fire first. If fire is discovered, get out and call the fire department.
Testing and Maintenance • Show resident how to test the alarms • Instruct the resident to test monthly by pushing test button and holding minimum of 5 seconds or until alarms sounds • Give cleaning instructions • At least once a year, Vacuum, Clean cloth • Leave smoke alarm instructions with resident.
Testing and Maintenance of Existing Alarms • Check date on existing alarm • Replace all battery operated alarms 10 years old (Hardwired alarms over 10 years old also need to be replaced by electrician) • Test the alarms • Immediately replace smoke alarm that does not respond properly when tested. • If no alarm sounds, the unit has defective batteries or other failure. • Change battery if over a year old
Fire Safety Materials You can download, print and leave these safety sheets with occupant from www.nfpa.org
Plan of Escape • Discuss having a family meeting and develop an escape plan. • Explain importance of having at least 2 ways out of each room. • Help resident determine a meeting place outside the home where all can meet if fire occurs.
Survey and Waiver In order to track where alarms are being installed and to be able to report to our funding sources you must complete online Survey form. • Submit Survey Forms online within 30 days of installation • Have resident fill out and sign waiver form • Maintain the Survey Form and Waiver form in your records.
Defective Alarm • If you have an Alarm that will not test properly • Hold test button for at least 5 seconds for alarm to sound • Contact your Regional Injury Prevention Specialist • Alarms will be returned to Kidde for additional testing
Carbon Monoxide (CO)Safety Tips Visit www.cpsc.gov for additional CO safety tips, videos, resources, posters, flyers, etc. • Have your home heating systems inspected and serviced annually • Never use portable generators inside homes or garages. • Never bring a charcoal grill into the house for heating or cooking. Do not barbeque in the garage.
Carbon Monoxide (CO) Safety Tips • Never use a gas range or oven for heating. • Open the fireplace damper before lighting a fire and keep it open until the ashes are cool. • Install CO alarms in your home outside separate sleeping areas. • Know the symptoms of carbon monoxide poisoning.
SAVES Let us know if one of the Smoke Alarms you installed alerted the resident to a fire. Alarm Alerted Residence to Fire • Kitchen fire • Stove fire • Home fire • ANY fire • ANY activation that alerted occupant of a fire please report to your Regional Injury Prevention Specialist.
Alarms • Additional alarms can be requested when Survey Forms are submitted. • The Guidelines for Installation of Home Smoke Alarms are available in PDF format on the attachments tab in the upper right hand corner. For more information please contact your Regional Injury Prevention Specialist regarding this Smoke Alarm Canvassing Grant. THANK YOU!!!