Download
1 / 8
80 likes | 184 Views
Learning Objective : Today we will review follow multiple step instructions in a basic technical manual. . Partner Share. Share with your partner the steps to make a lemonade. Break it down into steps. Technical Manual. Technical manual: Instructions on how to build or operate something.

E N D
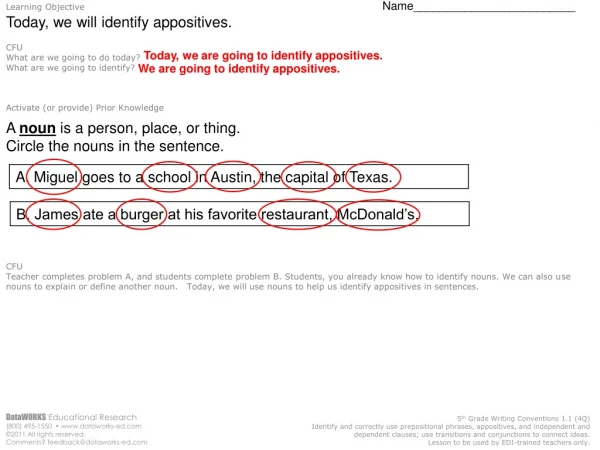
Learning Objective: Today we will review follow multiple step instructions in a basic technical manual.
Partner Share Share with your partner the steps to make a lemonade. Break it down into steps
Technical Manual Technical manual: Instructions on how to build or operate something. • Examples: • The instructions for assembling a bike • Instructions for a video game • Instructions for programming a phone
After the computer (push the middle-top button on the front of the desktop computer) and projector (push the red button in the back) are powered up, you more than likely will need to use the focus and zoom features on the projector. The picture will probably be very fuzzy. These buttons are located at the top left of the projector if you are facing it like this. The Smart Board software will automatically load at the startup. However, if it doesn't, no worries. Just click on the Smart Notebook 2.2 icon on the desktop. 2. Now, the most important step of this whole process is to calibrate the software. I can't emphasize this enough, and it only takes a few seconds to do. If the board is not calibrated, you will become extremely frustrated because you won't be able to write or use the mouse like you normally do. I know this from experience! Once the projector is showing clearly on the board, go to the computer screen and single-click on the icon with the blue screen at the bottom right. This icon is located in the task bar at the bottom right of the screen. 3. Once you have clicked on the icon you will want to choose "Orient Board", and click on that. 4. Another popup box will emerge that is entitled "Pick the Orientation Precision". You can choose "Quick", "Standard", or "Fine". Standard works well and is recommended but if you are in a hurry, "Quick" will work well too. 5. Position yourself next to the board like you will be presenting. Press your finger to the board in the middle of the red + on the board. After completing this step, the software will move to the next red +, press on that, etc. Keep going until there are no more red + symbols. 6. Once completed, close the popup box and the board will be calibrated correctly. You are now ready to begin your presentation! Please remember that after calibrating the software with the projector and the board, if any of the equipment gets moved accidentally or turned off, etc. you will have to recalibrate the board in order for it work correctly again. However, this is very quickly done so don't worry!
Steps to reading a technical manual Step 1: Read the questions . Step 2: Read all the instructions. Look at the text features (titles, pictures, captions) Step 3: Answer the questions. Look for evidence in the instructions to prove you have the right answer. After the computer and projector are powered up? a. you will need to shut down b. Press ctrl f7 c. You will need to use the focus and zoom features on the projector. d. Press delete
Skill development When using the Smart board what is the most important step. • Look for the pencil • calibrate the software. • Enter the “standard” pop up box. • Press the right icon
Guided Practice 1. Once the projector is showing clearly on the board…. 2.Once you have clicked on the icon you will want to choose The standard the "Orient Board" the “fine” . Press the task bar. On the memory card • On the Upgrade screen menu • Go to the main menu • choose "Orient Board“ d. go to the computer screen and single-click on the icon with the blue screen at the bottom
Closure What did we learn how to do today? Why is this important to learn? Answer the following question: What will you need to do to finish calibrate the software? a. Press your finger to the board in the middle of the red + on the board • Write on the smart board • select the blue icon on the bottom left next to the time.