Download
1 / 8

E N D
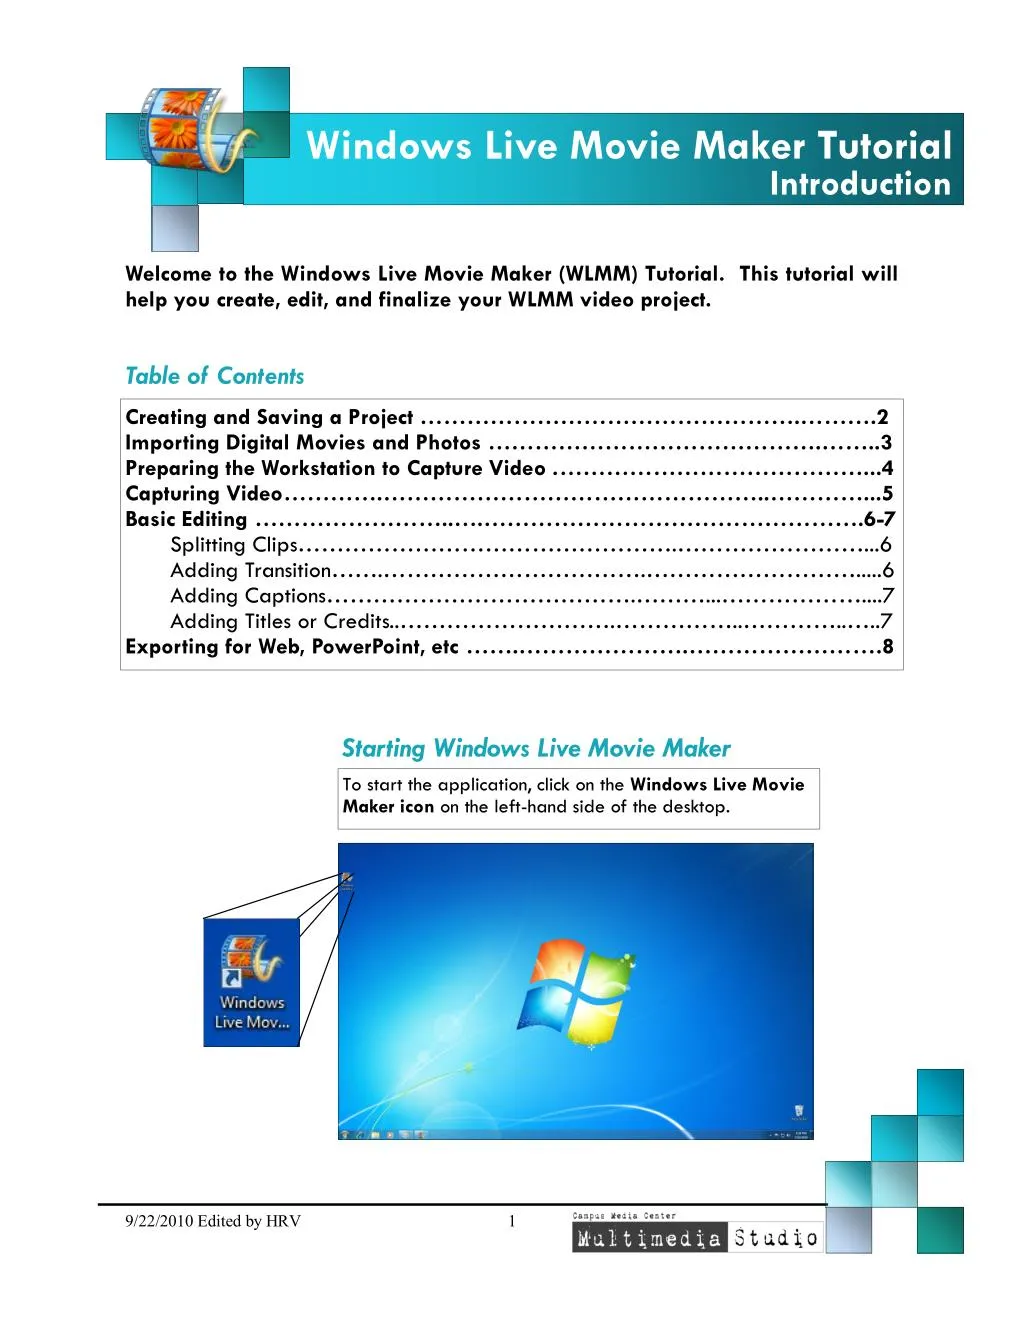
Windows Live Movie Maker Tutorial Introduction Welcome to the Windows Live Movie Maker (WLMM) Tutorial. This tutorial will help you create, edit, and finalize your WLMM video project. Table of Contents Creating and Saving a Project ………………………………………….……….2 Importing Digital Movies and Photos …………………………………….……..3 Preparing the Workstation to Capture Video .…………………………………...4 Capturing Video………….…………………………………………..…………...5 Basic Editing ……………………..….………………………………………….6-7 Splitting Clips………………………………………….……………………...6 Adding Transition…….…………………………….……………………….....6 Adding Captions………………………………….………...………………....7 Adding Titles or Credits..……………………….……………..…………..…..7 Exporting for Web, PowerPoint, etc …….………………….…………………….8 Starting Windows Live Movie Maker To start the application, click on the Windows Live Movie Maker icon on the left-hand side of the desktop. 9/22/2010 Edited by HRV 1
Windows Live Movie Maker Tutorial Creating and Saving a Project Prior to starting work on your movie, you should first save your project. 1 Click the main file menu button and then click Save Project As... 2 Type in a meaningful name for the project and then click Save. NOTE: To ensure that you don’t lose any information, save your project OFTEN by selecting the Save Project option under the main file menu or clicking the button in the upper left-hand corner. 9/22/2010 Edited by HRV 2
Windows Live Movie Maker Tutorial Importing Digital Movies and Photos 1 Click the Home tab and then click Add Videos and Photos. 2 Now browse to your external storage device, select the file(s) you would like to import, and click Open. 3 Alternatively, you can also just drag and drop video clips and photos into Movie Maker from a file browser window of your external storage device. 9/22/2010 Edited by HRV 3
Windows Live Movie Maker Tutorial Preparing the Workstation to Capture Video The touch screen allows you to import media from DVD, VHS, and MiniDV. Use the touch screen, press the import button. 1 2 In the import window press the appropriate button for the desired playback device. Cue your video watching the display monitor above the computer screen. Use the remote control on the touch screen to stop right before the desired frame. 3 KEY Touch Screen Switcher DVD Player/Recorder DVD VHS/MiniDV VCR 9/22/2010 Edited by HRV 4
Windows Live Movie Maker Tutorial Capturing Video Capturing video from a device for your movie maker project. 1 Click the main file menu button and then click Import from device. 2 Type a name you will remember for your video clip, then click Next. 3 Play your video then click the Import button to start the capture. Click Stop when you are done. Then click Finish. 4 The clip you just captured will automatically show up in the Windows Live Photo Gallery window. Now you can drag and drop the clip into your Movie Maker project. 9/22/2010 Edited by HRV 5
Windows Live Movie Maker Tutorial Basic Editing After you have imported all the clips that you want, you can begin to build your video project on the storyboard. Splitting Video Clips 1 Drag and drop the clip into the timeline. 2 Drag the black bar where you want to split the clips. 3 Go to the Edit tab and click Split. Adding Transitions 1 Select the Animations tab. Hover your mouse over any transition to preview it on your clip. 2 Once you have chosen a transition, click on the beginning of the video clip or photo that you want to add the transition to. Then click the transition you want, to apply it. 9/22/2010 Edited by HRV 6
Windows Live Movie Maker Tutorial Basic Editing After you have imported all the clips that you want, you can begin to build your video project on the storyboard. Adding Captions 1 Click on the photo or clip that you want the caption to be on. Then click on the Home tab, and then click Caption. 2 A text box will appear on the lower part of your image or video. Click inside the text box and enter your text. Adding Titles or Credits 1 Click on the Home tab, and then click either Title or Credits. 2 A black slide will appear. Click inside the text box and enter your text. 3 Note that the title will default to a slow zoom and the credits will default to downward scrolling through the text. However you can add different motion to the slide with the various options in the upper right corner, on the Format tab. 9/22/2010 Edited by HRV 7
Windows Live Movie Maker Tutorial Exporting for Web, PowerPoint, etc You can export your movie to a file format that is compatible with Microsoft PowerPoint. Click the main file menu button and then click Save movie 1 2 Then select Standard-definition (unless you filmed in HD, in which case you should select the appropriate HD resolution), type a meaningful file name and then click Save. 3 Once it has finished saving, follow the prompt and Play the final movie through, just to make sure it looks exactly the way you want. 4 Once you are satisfied, copy the finalized WMV file over to your external device for uploading to the Web or use in another project, like a PowerPoint presentation. 9/22/2010 Edited by HRV 8