Download

1 / 19
190 likes | 718 Views
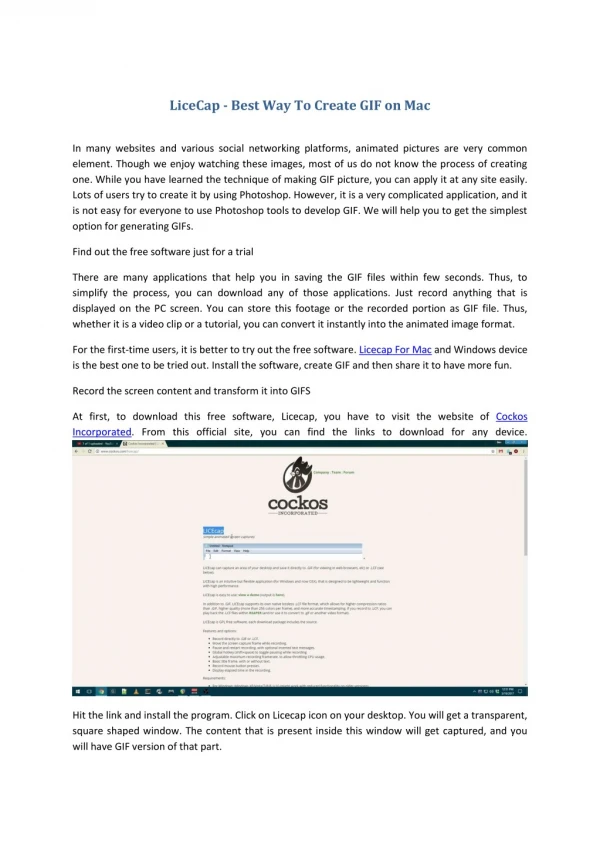
PowerPoint:mac 2004 A Way to Present Information Visually Ann Delesha and Lisa Simonet Locate PowerPoint Icon on the Desktop Double-click mouse to open Or select PowerPoint Icon on the dock. Opening PowerPoint You will then see the “Project Gallery” Click “Open” to proceed.

E N D
PowerPoint:mac 2004A Way to Present Information Visually Ann Delesha and Lisa Simonet
Locate PowerPoint Icon on the Desktop Double-click mouse to open Or select PowerPoint Icon on the dock. Opening PowerPoint
You will then see the “Project Gallery” Click “Open” to proceed.
PowerPoint:mac 2004 • You will automatically go a blank page also referred to as the title slide. • It will look like this:
The “Slide Viewer” • Click- “Click to add title” and you will see a cursor. Type: My Project • Click- “Click to add subtitle” again you will see a cursor. Type: Your Name
It should look like this… • You are ready to move on. • Let’s learn about the “Outline View”.
The “Outline View” • As you type you will begin to see on the left-hand side what you are typing. • You will also see what you have typed. • It will look similar to this
The “Notes Panes” • To enhance your presentation, you can type notes to assist you while presenting. • Click- “Click to add notes” and you will get a cursor. Begin typing.
Reviewing The Parts of PowerPoint This is the “Outline View” See Page 7 This is the “Slide Viewer” See Page 5 This is the “Notes Pane”- See Page 8
The Formatting Palette • You will need to use the formatting palette- in the event if it is not on. • Click the icon with the A on it, it is below the Window and Help selections on the toolbar. • The box will be highlighted grey when on.
How to Add a Design • On the Formatting Palette,select Change Slides. • Click on a design that will work for your presentation. • This will also format the font and layout for each slide.
Adding a New Slide • Using the Formatting Palette, you will be able to insert a new slide, click on what slide fits yours needs. • Follow instructions on slide.
Adding Clip Art • Select either of these two slides, they allow you to insert clip art. • Double click to add clip art.
The Clip Art Gallery will open. Choose a picture. Click “Insert” Adding Clip Art
After You Add Several Slides • After adding several slides try this: • Insert a chart or a flow chart, by selecting either of these two slide layouts: • Or proceed by creating pizzazz by adding “Slide Transitions” See the next page!
Adding Transitions • Transitions are an effect to move you from slide to slide. • Click on Slide Show on the Menu Bar and then select Slide Transitions.
First, Click “No Transition” A drop down menu will appear. Choose a transition. Slide Transitions Click to
How to Move About Your Presentation • To move from slide to slide. Click the mouse once to advance to the next slide. • To stop your show press the “esc” button. • Congratulations, you have successfully made a PowerPoint.