Download
1 / 5
50 likes | 82 Views
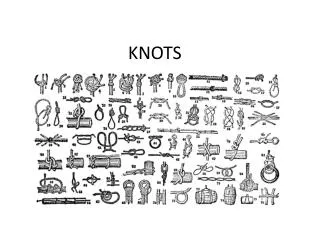
Learn the art of tying a bowline knot from scratch with this step-by-step guide. Master the technique through detailed instructions and hands-on drills to improve your knot-tying skills. Enhance your knot-tying abilities and feel confident in securing various items with this essential knot.

E N D
9 Ropes and Knots
Introduction • Instructor Introduction • Topic Introduction • Class objectives • References • Preparation Step Information
Skill Drill 9-12Tying a Bowline (1 of 3) 1. Make the desired sized loop and bring the working end back to the standing part. 2. Form another small loop in the standing part of the rope, with the section close to the working end on top.
Skill Drill 9-12Tying a Bowline (2 of 3) 3. Pass the working end over the loop, around the standing part, and back through the same opening. 4. Tighten the knot by holding the working end and pulling the standard part of the rope backward.
Skill Drill 9-12Tying a Bowline (3 of 3) 5. Tie a safety knot in the working end of the rope.