Download
1 / 28
280 likes | 431 Views
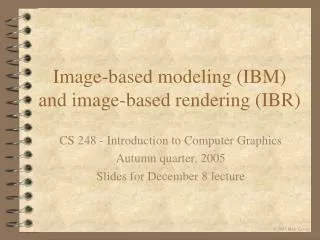
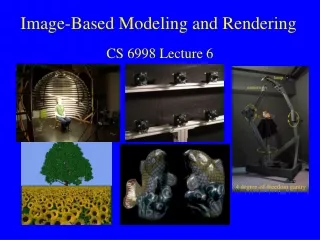
Image Based Modeling And Photo Editing. Byong Mok Oh Max Chen Julie Dorsey Frédo Durand. Photorealistic Images. Hundreds of thousands of polygons! Painstaking detail for the artist to create. Something’s not quite convincing. Use a Photo!. Already photorealistic.

E N D
Image Based Modeling And Photo Editing Byong Mok Oh Max Chen Julie Dorsey Frédo Durand
Photorealistic Images • Hundreds of thousands of polygons! • Painstaking detail for the artist to create. • Something’s not quite convincing.
Use a Photo! • Already photorealistic. • Detail exists before the artist begins to • work.
How'd They Do That? Using two proprietary tools, The Clone Brushing Tool & The Texture-Illuminance Decoupling Filter, a single image can be transformed into a three dimensional scene. • Just follow these simple steps! • Separate the source image into layers. • Assign depth. • Adjust lighting.
Layers Layering is over 75% of the work!
Depth Assignment A reference location is set, and each layer of depth is used to create perspective.
Artists can manually adjust • depth by, “chiseling”. • Depth paint is blended for • smooth transitions. Depth Painting
Surface Depth • To ensure accuracy, a planar surface is • used as a reference point. • A map is generated to represent the • surface depth. • All objects’ depth will be based on this • surface.
Primitive Geometry To create depth in simple objects, spheres, cylinders and cubes are used mask depth.
Organic Geometry For more organic looking objects, level sets are used. Level sets break an object into levels from the surface inwards, allowing the object to “bulge” out around the edges, creating fuller, more life-like depth.
Example: The Human Face Artists can tweak the depth settings and paint additional depth, or remove added depth to both organic and primitive geometry.
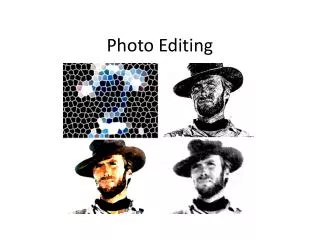
Attack of the Clone Brushing Much like Adobe Photoshop’s “Rubber Stamp” tool, Clone Brushing allows an artist to paint one part of an image with the color of another. This does not handle lighting or depth changes very well.
Eliminating Distortion Using color primarily from areas of similar depth and orientation, distortion is minimized. A reference image or layer is used as a texture. Brushing becomes real time texture mapping. U & V coordinates from the source are painted onto 3D objects.
Keep up, slow poke! 4 pixels are sampled for each pixel painted, allowing the system to interpolate color with some accuracy. Only bilinear interpolation is implemented, so textures can be painted in real time.
Optimization Pixels being painted are treated as “active” pixels. Any painting over these pixels is smoothed linearly, giving a natural look, without high overhead.
Expansion One pixel ahead of each active pixel is sampled prior to being painted. This allows the system to predict what will be painted next, in any direction, speeding up performance.
Freeze, you pixel scum! Painted pixels cannot be sampled. Textured objects are “frozen”.
Let There Be Light • The system can identify the major • light sources in a scene. • Light can then be added, removed, • replicated or altered.
Feature Separation Once the major light sources in a scene are identified, their effects can be negated, and individual objects can be discerned from a scene.
Correcting Depth Understanding the light in a scene greatly enhances the accuracy of the scene’s depth.
Soft shadows aren’t always distinguishable. Filtering helps smooth the transition between a soft shadow and an object. Bilateral Filtering
Limitations Even with filtering, some shadows will still be visible.
Possibilities Originally implemented as an Apple Quick Time Virtual Tour, panoramic stitching was the first implementation of Image Based Modeling. With this system, each object in a scene like this could be modeled.
Are There Other Options? Stereo images have been used, with limited success, to generate 3D models.
Image Based Modeling And Photo Editing With Non-Distorted Clone Brushing & Texture-Illuminance Decoupling Filters, a polygon efficient 3D scene can be generated from an image like this within 13 hours.