Download
1 / 9
190 likes | 390 Views
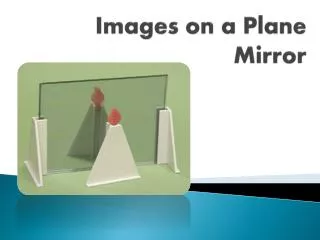
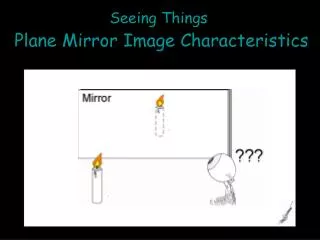
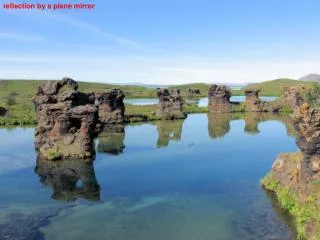
Plane mirror experiments. Tools needed. A small plane mirror A dissecting pin (2 inches long) Paper A cardboard section A textbook or holders Ruler Pencil (several colors opt.). Goal, purpose. To understand the path light takes from the object to the formation of the image

E N D
Tools needed • A small plane mirror • A dissecting pin (2 inches long) • Paper • A cardboard section • A textbook or holders • Ruler • Pencil (several colors opt.)
Goal, purpose • To understand the path light takes from the object to the formation of the image • Understand concepts of image, object, mirror line, law of reflection, real and apparent light rays
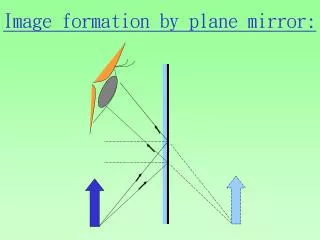
Part 1 Find the image of a pinhole
ProcedureObject set-up • Fold paper ‘hamburger ‘style. • Mark fold line as “mirror line” representing surface of the mirror • Place unfolded paper down on cardboard and put edge of textbook on mirror line • Tape mirror to bind of book, make sure mirror is vertical • Plunge pin through paper into cardboard at a point 2 inches in front of the mirror • Object is base of pin
Procedure: Location of the image • Draw 2 points (one on each side of the pin) about an inch away from the pin ,but 2 inches from mirror • Use the edge of the ruler to line up one of the drawn points and the image of the base of the pin (as it looks in the mirror) . • Draw a line along the edge of ruler through draw point towards mirror line • Repeat with 2nd drawn point. • Extend the drawn line across the mirror line, image’s apparent location is found at intersection of lines
Comparison of image location to object location • Fold the paper along the mirror line. • If perfectly done the pin-hole (object) and the intersection of lines (image) should be on top of each other • Ok if within 1 cm
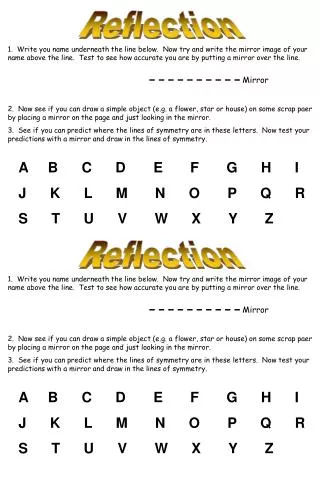
Project:Image of a letter • Redo the set-up • Instead of a pinpoint, a Capital letter will be the object • Letter must be at least 1.5 inches long, all parts made of straight line segments, no part of letter may be closer than 1.5 inches to the mirror line • No part of the letter may be parallel or perpendicular to mirror line
Create image of letter • Label every intersection and end point with a different letter. • Use the procedure that created the image point in part one for each intersection or end point of the created letter in order to create the image of the letter on the other side of the mirror line • Connect the points to create the image, color or darken and hand in.