Download
1 / 19
190 likes | 199 Views
Tools of a Scientist and Introduction to the Microscope. Scientific Measurements. Metric System (SI System) Length- meter Volume- liter Mass- grams Time- second Temp.- Celsius or Kelvin Microscopic measurements One micron (micrometer) = 0.001 millimeter

E N D
ScientificMeasurements Metric System (SI System) Length- meter Volume- liter Mass- grams Time- second Temp.- Celsius or Kelvin Microscopic measurements One micron (micrometer) = 0.001 millimeter ( there are 1000 microns in a millimeter)
Toolsof the Scientist simple microscope- one lens ex. Magnifying glass compound microscope- two lenses ocular system- 2 lenses ocular objective total magnification = ocular x objective mechanical system- base clips arm body tube stage nose piece slide coarse adj. fine adj. light system- disc diaphragm, light source
Tools of a Scientist magnification- refers to enlargement in one direction ex. 100x means 1mm will appear to be 100mm resolution- the ability of a microscope to show 2 parts that are close together. (the sharpness of the image) Preparation of slides fix the specimen in a preservative embed the sample in liquid wax or plastic and let harden section the specimen into very thin slices with a microtome. Stain the specimen to allow the parts to be seen better. The denser parts will pick up more stain and will appear darker.
Stereoscopic Microscope Two separate monocular microscopes each with its own set of eyepiece lenses Produce a three-dimensional image with a right-side-up, frontward orientation Offers a large working distance for bulky items Relatively low magnification (10x-125x) Can be lighted from below or vertically from above This microscope is actually two separate monocular eyepiece lenses. The objective lens is common to both microscopes.
Stereoscopic Microscope Stereo Microscope Compound Microscope
Phase Contrast Microscope used to see structures in living cells without staining, by manipulating light waves (changing speed and phase)
Scanning Electron Microscope Can magnify 150,000X Doesn’t magnify as much but can expose very fine detail. Electrons are bounced from the surface and collected to show great depth in a 3-D fashion Has a depth of focus more than 300X that of an optical microscope Uses electrons rather than light Offer much greater resolution than with a light microscope
Scanning Electron Microscope The SEM shows very detailed 3-dimensional images created without light waves.
Transmission Electron Microscope 300,000x (best magnification) (Needed to be invented before most cell organelles and viruses could be seen) a. uses an electron beam and electromagnetic lenses directed through a vacuum containing electromagnets. b. When the beam hits objects those electrons that pass through are focused on a screen. c. Object must be dead, dried, embedded and thinly sectioned (disadvantage)
Special Microscopy Techniques • a. microdissection- micromanipulator attached to stage uses different tools to do various things: • (1) microneedles- removes organelles • (2) microelectrode- produces an electrical current . • b. chromatography- separates chemicals in a mixture by density • c. centrifugation- separates cell parts according to density by spinning • d. DNA gel electrophoresis- Separates chemicals in a mixture by size (pieces of DNA)
Chromatography • Centrifugation • Gel Electrophoresis
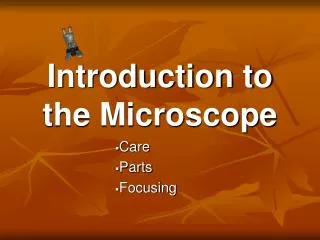
Microscope Care • Always carry with 2 hands • Only use lens paper for cleaning • Do not force knobs • Always store in cabinet • Wipe off any water on the stage
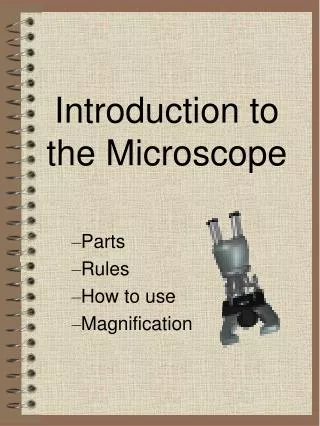
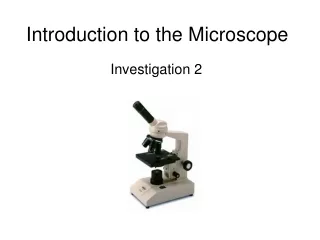
Microscope Parts Eyepiece- magnifies BodyTube- so light rays cross properly RevolvingNosepiece- to rotate lenses Arm- to carry by ObjectiveLens- magnifying lenses Stage- place slide here Stage clips-to hold slide CoarseAdjustment Knob- find and focus under lower powers Diaphragm- Regulates amount of light FineAdjustment knob- final focusing under any power Light Base- to carry by
Using the Microscope • Place the Slide on the Microscope • Use Stage Clips • Click Nosepiece to the lowest (shortest) setting • Look into the Eyepiece • Use low power objective • Use the Coarse Adjustment Knob to focus
Using High Power • Follow steps to focus using low power • Click the nosepiece to the longest objective • Do NOTuse the Coarse Adjustment Knob • Use the Fine Adjustment Knob to focus on the slide What can you find on your slide?