Download
1 / 2
20 likes | 27 Views
In this document, we have explained how to manage your tools with DIY foam tool inserts. Click here to read more or custom foam insert.<br>

E N D
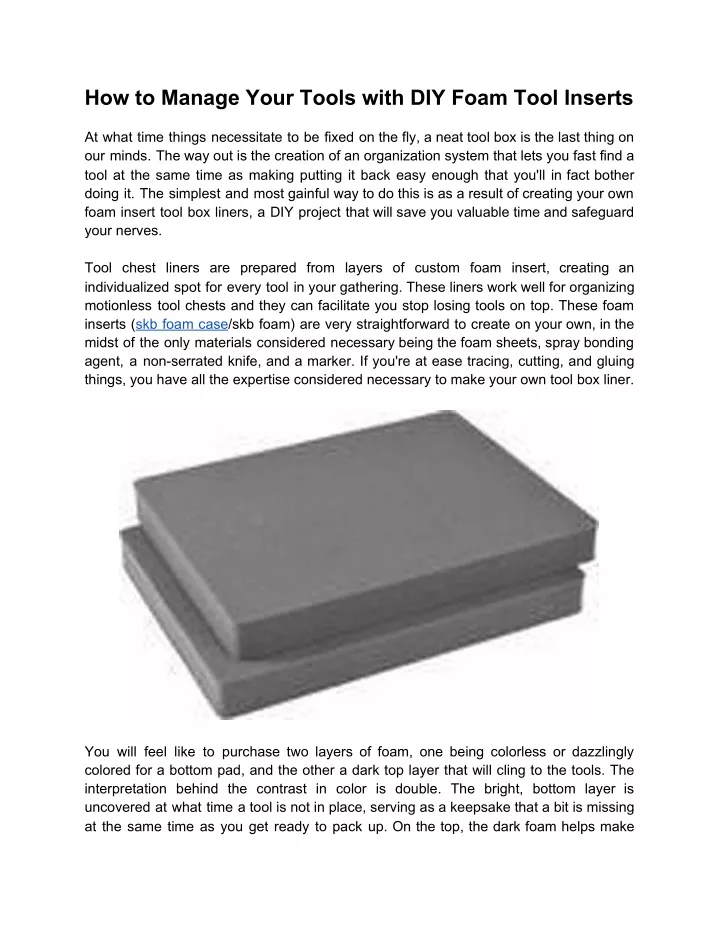
How to Manage Your Tools with DIY Foam Tool Inserts At what time things necessitate to be fixed on the fly, a neat tool box is the last thing on our minds. The way out is the creation of an organization system that lets you fast find a tool at the same time as making putting it back easy enough that you'll in fact bother doing it. The simplest and most gainful way to do this is as a result of creating your own foam insert tool box liners, a DIY project that will save you valuable time and safeguard your nerves. Tool chest liners are prepared from layers of custom foam insert, creating an individualized spot for every tool in your gathering. These liners work well for organizing motionless tool chests and they can facilitate you stop losing tools on top. These foam inserts (skb foam case/skb foam) are very straightforward to create on your own, in the midst of the only materials considered necessary being the foam sheets, spray bonding agent, a non-serrated knife, and a marker. If you're at ease tracing, cutting, and gluing things, you have all the expertise considered necessary to make your own tool box liner. You will feel like to purchase two layers of foam, one being colorless or dazzlingly colored for a bottom pad, and the other a dark top layer that will cling to the tools. The interpretation behind the contrast in color is double. The bright, bottom layer is uncovered at what time a tool is not in place, serving as a keepsake that a bit is missing at the same time as you get ready to pack up. On the top, the dark foam helps make
that needed contrast and will aesthetically show off better over time. You can create the bottom sheet as broad or as thin as you like, but for safety, the top outline layer should preferably be deeper than the tools it will cling to. It isn't utterly necessary, particularly in stationary tool chests, but it can facilitate keep tools from descending and popping out if there's a lot of movement. Once you've collected your materials, trim your foam sheets (custom foam insert) to size for the drawer they will be positioned in. Be sure to cut the foam kindly, for the reason that the sheets necessitate to in shape snugly against the drawers' sides to maintain the insert in place and you can at all times trim the sheet down if they're too big. The easiest method to cut the foam (skb foam/ skb foam case) is on a workbench, by way of a straightedge and a utility knife for clean lines. Just the once the pads are trimmed to size, put together the tools how you feel like them on the top sheet of foam. At what time you've plotted your outline, cautiously trace along the outer edge of each tool by way of a marker. Don't be bothered about any unintentional marks on the foam or sloppy tracing, seeing that this side will be unseen at what time it's glued face down to the bottom. Source:cobrafoaminserts.bookmark.com