Bridge Design Project
Bridge Design Project. Me 35a Fall 2008. STEP – 1. The required file and the instruction sheet is uploaded on the course website http://www.its.caltech.edu/~me35a Download the file and the instruction sheet. The instruction sheet has the information to download and install the software.

Bridge Design Project
E N D
Presentation Transcript
Bridge Design Project Me 35a Fall 2008
STEP – 1 • The required file and the instruction sheet is uploaded on the course website • http://www.its.caltech.edu/~me35a • Download the file and the instruction sheet. • The instruction sheet has the information to download and install the software. • Once the software is install • Using the software open the file “me_35a_bridge_design.bdc” downloaded from the course website to load the required construction site to build the bridge
Load the file me_35a_bridge_design (downloaded from the course website)
STEP 2 • Once uploaded the construction site can be seen • Now step 2 is to place joints and members to build your bridge.
Design Tools Given Construction Site
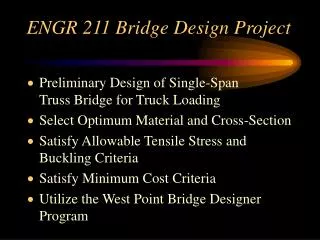
GOAL of the project • At the above given construction site – build a truss bridge at the lowest possible cost. • The necessary instructions on the project can be found in the instruction sheet on the website • Working of the software and building a bridge is briefly explained in this file.
A joint is being placed by clicking here at the desired point
Select to draw a member The joints that were created
Shows total construction cost – Objective is to minimize this
Shows status of bridge – If working – Green, If under construction – yellow, If the bridge fails when load is applied - Red
Red – Oops..!! OUR BRIDGE FAILED..!! Red colour indicates the members that are failing – Now we need to modify the members
STEP 3: Modifying the member properties • We can change the following properties of the member: • Material of the member • Diameter of the member • Cross-section of the member – Hollow or Solid cross-section
Material Properties of the material used – Shows the maximum tension and compression the member can withstand
Material of the Bar – Default is carbon steel. One can choose a superior material for higher strengths but it would be costly
C/S of the Bar – Solid or Hollow. Hint – Use Hollow c/s for members under compression & Solid for members under tension
Increase diameter of the Bar Decrease diameter of the Bar
Selected Elements – Lets now change their parameters as we have seen earlier Arrow tool to select elements
STEP 4: Check by loading the bridge • We have now changed some property of the member and we would like to check if the bridge is stable now • Lets apply the loading again as done earlier
Yahoo.. The members seem to be working well – they aren’t failing
Status is green – bridge is working fine – Excellent! Good job
Check the load test report and see what you can change for each member
STEP 5: Continue the iterate on the properties of all members • Now continue to check if you can change the properties of each member and the bridge still being stable. • Do it on every member and see what is the lowest cost you can get up to
Submission • Once you finish save the file as “Last_name(s).bdc” and mail to bhajay@caltech.edu • Further instructions for submission are in the instruction sheet that is available on the website
Critical hints • “Load Test Report” tells you if the member is in compression or tension. If subjected to: • Tension – Use Solid Bars • Compression – Use Hollow Bars • Try to take advantage of symmetry. • Many times taking 2 bars of same properties can be cheaper than using two of much inferior but different properties