Download
1 / 23
230 likes | 327 Views
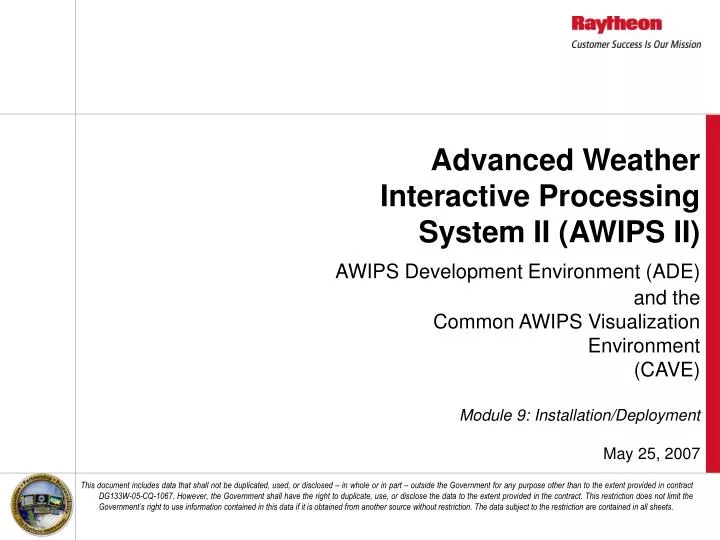
Advanced Weather Interactive Processing System II (AWIPS II) AWIPS Development Environment (ADE) and the Common AWIPS Visualization Environment (CAVE) Module 9: Installation/Deployment May 25, 2007.

E N D
Advanced Weather Interactive Processing System II (AWIPS II)AWIPS Development Environment (ADE)and theCommon AWIPS Visualization Environment(CAVE)Module 9: Installation/DeploymentMay 25, 2007 This document includes data that shall not be duplicated, used, or disclosed – in whole or in part – outside the Government for any purpose other than to the extent provided in contract DG133W-05-CQ-1067. However, the Government shall have the right to duplicate, use, or disclose the data to the extent provided in the contract. This restriction does not limit the Government’s right to use information contained in this data if it is obtained from another source without restriction. The data subject to the restriction are contained in all sheets.
Prerequisites/Objectives • Prerequisites • Root access. Only necessary if installing to a directory other than the user’s home directory • VMWare Player installed on target machine. Only necessary if the VMWare image will be used, instead of installing EDEX. • Objectives • Install the EDEX Services and CAVE Application to a Supported Platform Estimated Time: 1 hour
EDEX/Cave Installation • CAVE application and EDEX services installed using two separate installers • Each installer can install all files to the user’s home directory. Installation can occur in any directory if root access is available to the installer. • EDEX can be run as a VMWare image. This image is a set of files and is available in the distribution. This option is available for use on Windows; CAVE can interact with a running VMWare instance.
EDEX Installation (Linux) • EDEX installer available for use on RHEL 4.2 • On the start screen, select next to proceed
EDEX Installation (Linux) • Select Next on the information screen
EDEX Installation (Linux) • Accept the license agreement and select Next
EDEX Installation (Linux) • Enter the installation path (or browse to it) and select Next
EDEX Installation (Linux) • Select which components to install for the ADE • Only the EDEX Server is required. Select Next to continue
EDEX Installation (Linux) • Set the address of the PostgreSQL install, the port number to listen on, the path to store the PostgreSQL tablespaces and user/group information for the non-privileged user
EDEX Installation (Linux) • Enter the directory to store the HDF5 data and select Next
EDEX Installation (Linux) • Select the shortcuts to install and select Next
EDEX Installation (Linux) • Installation will begin, and its progress will be displayed • When complete, select the Next button
EDEX Installation (Linux) • PostgreSQL installation will begin • When complete, select the Next button
EDEX Installation (Linux) • Installation is complete • Select Done to exit the installer
EDEX Installation (VMWare Player) • EDEX VMWare image requires use of VMWare Player (1.0.3) • Locate the VMWare image on the distribution • Once located, start the VMWare player and open the file
EDEX Installation (VMWare Player) • VMWare Player will run the image • EDEX Server will be available for use from the CAVE application [placeholder for VMWare running EDEX Server]
CAVE Installation • CAVE installer available for use on RHEL 4.2 and Windows XP • On the start screen, select Next to proceed
CAVE Installation • Select Next on the information screen
CAVE Installation • Accept the license agreement and select Next
CAVE Installation • Enter the installation path (or browse to it) and select Next
CAVE Installation • CAVE is a required component • Select Next to continue
CAVE Installation • Specify the address of the EDEX server and the location of the HDF5 files • Select Next to continue
CAVE Installation • Installation is complete • Select Done to exit the installer