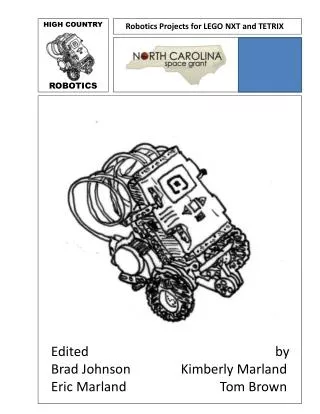
Download
1 / 39
390 likes | 576 Views
Try Science IBM LEGO Robotics Program. By Mitch Eberly. Engineer-A-Robot. An Engineering and Technology Design Adventure… An “actual” A-Mazing Robot!. AGENDA. About the Engineer-A-Robot Forming Teams Building a Robot Programming a Robot to run the matrix.

E N D
Try Science IBM LEGO Robotics Program By Mitch Eberly
Engineer-A-Robot An Engineering and Technology Design Adventure… An “actual” A-Mazing Robot!
AGENDA • About the Engineer-A-Robot • Forming Teams • Building a Robot • Programming a Robot to run the matrix
The Goal of Engineer-A-Robot Program your robot to travel around a “matrix” to find a toxic waste location, and then carry the waste to a disposal location using as few simple commands as possible Let’s have some fun!
Forming Teams • Create Teams of two people • Give Your Team A Name • Each team must: • build a robot • write a computer program for the robot • Fix any problems with the program so the robot can find and dispose of "toxic waste" using logical thinking, problem solving, and imagination.
Building Your Robot Step by step instructions
Step 2- Side Bars 2 holes behind connected holes 11 holes 2x Connect one side… …then connect the other side
Step 5- Brace & Connectors Includes the structures in steps 3 and 4.
Step 6- Brace to Sidebars (This should be gray.) Includes the structure in step 5.
Step 7- Motor #1 Same step, different viewing angles
Step 9- Motor#2 & Support Similar to step 7. But the gray connector and rod are on opposite sides.
Step 10- Attach Wheels & Motors The wheels from step 8 connect to the motors from steps 7 and 8 via the axles, and the motors connect to the NXT brick via the connectors. The beam is used to join the two motors.
Step 11- Connect wires These poorly drawn lines are supposed to be wires, connecting the left and right motors to ports B and C respectively.
Step 17- Attach Front Wheel Holds the wheel assembly in place
What is computer programming? …Creating a sequence of instructions (steps) that a computer can interpret (understand) and execute (take action) to achieve a desired operation (goal). A computer program may have many steps linked in sequence in one single set of instructions.
Engineer-A-Robot Program Below is one option to writing a program to navigate through the matrix. Can you see others? 4)“Wait” 3) Forward 5) Forward 2) Turn Right 6) Turn Right LEGO Box 7) Forward and Stop 1) Forward Place Toxic waste on Robot during ‘wait’
Launch Robot Software Look at computer screen You should see the MINDSTORMS NXT icon Double-click on it Double-click
Name your program 2) Click Here 1) Type “IBMrox” in box
Step1: Move forward Click Here Drag Here
Step1a: Set duration Set “Duration” to 2.5 rotations
Step2: Turn right 1. Click Here 2. Drag Here Drag “Steering” slider to the right until this arrow is shown. Arrow above slider should look like this: Set “Duration” to 1.8 rotations
Step3: Move forward 1. Click Here 2. Drag Here Set “Duration” to 1.3 rotations
Step4: Wait (pickup waste) 2. Click “Time” block 3. Drag “Time” block here 1. Click “Wait” icon
Step 4a: Set wait duration Set “Control” to Time And “Seconds” to 2.
Step5: Move forward 1. Drag another “move” block here 2. Set “Duration” to 1.3 rotations
Step6: Turn right 1. Drag another “move” block here Arrow above slider should look like this: Drag “Steering” slider to the right until this arrow is shown. Set “Duration” to 1.8 rotations
Step7: Move forward and end 1. Drag another “move” block here Set “Duration” to 2.5 rotations
How to program the robot • Find USB cord in box • Plug cord into USB ports on the robot and computer • Turn the robot on by pressing the orange button • Click this button to begin downloading the program!
Running the program • Look at the robot’s LCD screen. If you see “IBMrox”, the program is ready to be used. Otherwise, press the orange button until you see “IBMrox”. • Place your LEGO box on the floor. Aim the robot so that it will go around the box. • Press the orange button to start the program. • Occasionally, the robot might not follow the path correctly. Try changing the program so that it will work.