Download
1 / 13
130 likes | 393 Views
Corrugated Relief Print . Positive and. Negative Space?. Positive space can be thought of as the space that is occupied by or represents the objects in a picture. Negative space Can be thought of as the empty space that surrounds objects in a picture.

E N D
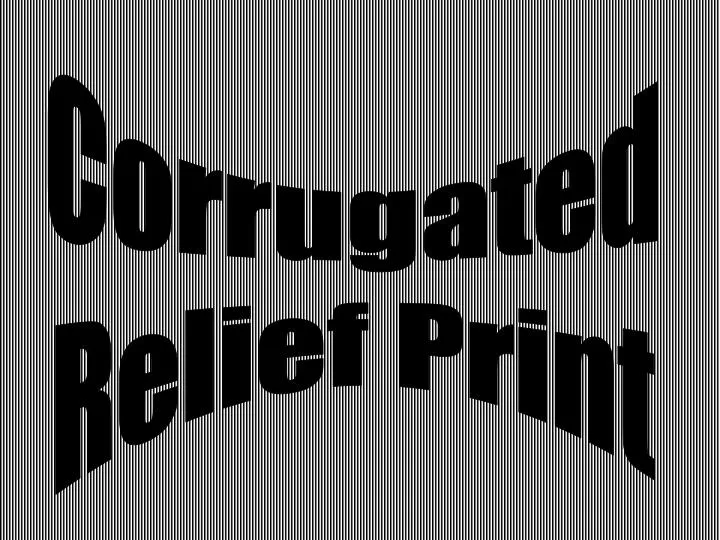
Corrugated Relief Print
Positive and Negative Space? • Positive space • can be thought of as the space that is occupied by or represents the objects in a picture. • Negative space • Can be thought of as the empty space that surrounds objects in a picture. A loose comparison can be made between the positive and negative space and the foreground and the background of an image
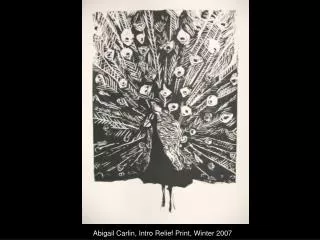
Positive and Negative space cont. The easiest way to think about positive and negative space is in terms of black objects and white background. This is in effect creating a silhouette of an object on a white surface. Well, maybe it’s a little more than a silhouette. But this is a good start. From here, all you need to do is decide what areas (shapes) you could change to white (negative) that will add to, and clarify our image without destroying its overall form. Now that’s better.
Lets Give it a Try Positive and Negative spaces can be flipped around. Using the cut away (negative) space for your image and leaving the (positive) background will give you a very different effect. When your creating your cardboard relief the spaces you cut away will become your white (negative space) areas, and the parts you leave will become your black/coloured (positive space) areas Some things will have to go, while others may need to be added.
Positive and negative space“mixing it up” Switching your positive and negative space gives the impression of your object extending beyond the frame
Some more examples of “mixing it up” Through the center of both tires • Dividing the image between a negative and positive space adds interest to the image. • Maintaining a balance between the two spaces and paying attention to where the division line falls are important considerations Through the center of the image
Choosing/Creating your image -How much detail does your image have? Images with large shapes will be easier to create using only positive and negative space, but details will add interest to your work. -Is their a balance between the positive and negative space in your image. Having balance will create a more visually appealing final product. -realism? Abstraction? Abstract? Any one of these can be used successfully with this process. Choose what you are most comfortable with. Things to think about 1 2 Difficult images may not give you the effect your looking for in the end. Remember your negative space will be made up of a series of parallel lines. What direction do you want your lines to run on your image? 3
#1- On Paper • Choose/draw and image you will use for your relief print • Experiment with different ways of producing your image using the positive and negative techniques we looked at
#2- On your cardboard • Transfer your decided upon picture on your piece of cardboard using carbon paper or making your own carbon paper • Colour in all the sections you are going to leave (your positive space) leaving all the negative space blank. • This will make it easier to keep track of what you want to remove and what not.
#3- Printing • Put one thin layer of acrylic paint on your now completed printing block and let it dry • Double check that your print is ready (that all “bits” have been removed • Ink your block (cardboard) and placing your paper on top rub it firmly in all places in all directions. • Be sure you rub up and down each space of the corrugation or your print will not turn out .
B E R E A T I V E C