Download
1 / 45
450 likes | 832 Views
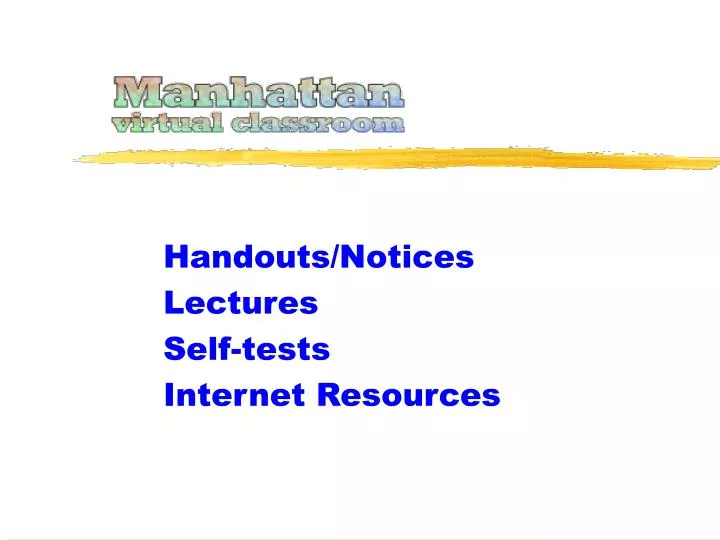
Handouts/Notices Lectures Self-tests Internet Resources A Manhattan classroom consists of up to 13 separate areas, represented by the colored buttons, called ‘modules’. Each module provides a different means of communication between people in the classroom.

E N D
Handouts/Notices Lectures Self-tests Internet Resources
A Manhattan classroom consists of up to 13 separate areas, represented by the colored buttons, called ‘modules’. Each module provides a different means of communication between people in the classroom.
Your teacher may select only these modules. As you learn about Manhattan, keep in mind that your teacher can select the modules to use at any particular time in the class.
A Manhattan classroom will almost NEVER have all thirteen modules enabled. Your teacher will decide what is bestfor their classroom.
The Handouts/Notices module is for one-way communication from the teacher to the students. Only the teacher can post messages here. It’s a place for the teacher to put materials for you to read.
Actually, the Lectures Handouts/Notices and Self-tests modules are exactly the same! These modules differ only in their names, and in what you’re likely to find in them.
We’ll also take a look at the closely related Internet Resourcesmodule. We’ll focus on the Handouts/Notices module in this tour. Keep in mind that everything you learn applies to the Lectures and Self-tests modules as well.
A Red Star on any module’s button means there’s one or more messages within that you have not yet read.
When you first enter Handouts/Notices you’ll see a list of the messages posted by the teacher.
The subject of the message. The sender of the message. When it was sent. Each message has three informative parts.
Oldest first Notice that the oldest messages are listed first. You can reverse the orderso that your newest messages are listed first. Just click the‘Reverse Order’ button.
Newest first Now the newest messagesare listed first.
These little faces can mean different things,depending on their appearance.They work in conjunction with Red Stars (new or unread messages) and “sleepy topics”. Sleepy Topics will be discussed in greaterdetail in the Discussion Module tutorial.
You can ‘gather’ more than one message on the same screen. Select the messages to gather from this list. In Handouts/Notices, there are only two options: ‘Unread’ or ‘All’. After choosing what you want to gather, click on the Gather button.
In the ‘Gather’ view all messagesare listed on one page. Different‘Topics’ are separated by alternatecolored backgrounds. Click here to return to themodule.
As you can see once you have ‘gathered’messages they are marked as read. The ‘Red Stars’ are gone.
Click To read a message in the standard view,click on the subject in the list...
This is it what it looks like to read amessage using the standard method. Take a moment toread this message.
Where? Who? When? What?
Any files attached will be listed here. Click on a file name to open it.
You’ll often find a way to quickly get back to your classroom’s Main Menu. The Info button does the same thing as the ‘?’ link in the list of messages - it provides you with more information about the message. If you wrote the message, you can click here to see who read the message! Throughout Manhattan these blue arrows, always near the upper left corner, mean ‘Go Back’. Use them instead of your browser’s Back button!
The “Read Next” and “Read Previous” buttons can be used to move through the messages one at a time. The “Read Previous” message is “grayed out” because there is no previous message. This message was the first on the list.
“Grayed out” buttons do nothing when you click on them - they are commands that are not available to you in this context. You, as a student, can’t “Add a New Message” or “Reply” to a Handouts/Notices message - this module is for one-way communication from the teacher to the students. Handout/Notices messages are not grouped into topics so the Previous/Next Topic buttons are “grayed out” as well.
Click here to return to the Handouts/Noticesmessage listing.
That’s pretty much all you need to know to get around in the Handouts/Notices module. Actually, you can apply everything you learned here to Manhattan’s other modules. In fact, the Lectures and the Self-tests modules are exactly the same as the Handouts/Notices module!
Blue Arrows mean “Go Back” - use them! If you posted the message, you can find out when others have read it! Red Stars = unread message Paperclip = attached file(s) Click on ‘?’ for more info. You can “Gather” more than one message on the same page. In Handouts/Notices, the choices are simply “All” or “Unread”.
Remember, these work the same. All three provide a place for the teacher to put materials for the students to read.
Most teachers will use at least the Handouts/Notices module. That’s where you’re likely to find the course syllabus, various “handouts”, and announcements to the class.
If the teacher regularly provides materials to simulate or add to a lecture, it makes sense to add the Lectures module. You might find PowerPoint presentations, lecture summaries, or even digitized audio recordings of lectures in the Lectures module.
Your online course may also make use of interactive quizzes called Self-tests.
If so, it makes sense for your teacher to enable the Self-tests module and put the quizzes there.
The three modules simply make your ‘virtual classroom’ a more organized place.
Like the other modules we’ve been discussing, only the teacher can post messages here. Your teacher may also use the Internet Resourcesmodule. Instead of things like PowerPoint presentations or audio files, Internet Resources is used to post a list of web sites for students to visit.
The recommended site. A description of the web site.
Click! Notice the frame with the buttonat the top of the window.This will return you directlyto your virtual classroom. You can navigateas deeply as youlike in the window,yet always havean easy way to getback to yourclassroom. The recommended website is displayedin a special window.