Download
1 / 25
250 likes | 450 Views
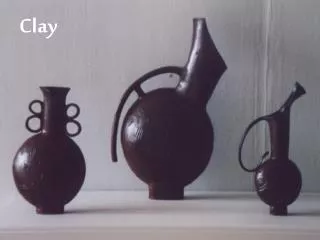
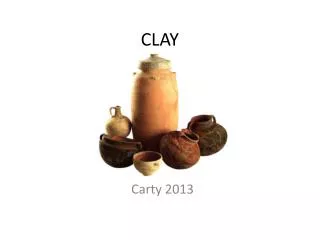
Clay Whistle Workshop. Jody Stouffer & Brian Wohleben – Lee County High School. Taking a ball of clay, use the pinch pot technique to hollow out the ball. Wall thickness should be around 1/4 inch thick.

E N D
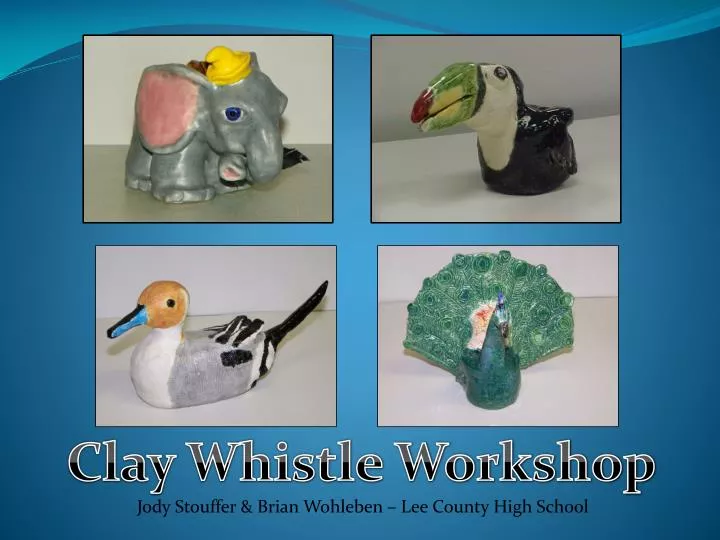
Clay Whistle Workshop Jody Stouffer & Brian Wohleben – Lee County High School
Taking a ball of clay, use the pinch pot technique to hollow out the ball.
Encourage students not to leave the opening too big. After hollowing out the ball pinch the open end close.
After finishing the first stage, students should have a hollow round ball.
Position your clay ball so the closed opening is facing away from you. Gently tap the top of the whistle on a flat surface to flatten it then form a mouthpiece with your fingers.
Mouthpiece should align with the flat side of whistle. Make sure thickness of mouthpiece is left thick enough for a popsicle stick to go through.
Insert the dow stick through the (top) flat side of the whistle. Insertion should be aligned with the middle of the mouthpiece. Dow should penetrate just inside front wall.
Wiggle dow stick to double the diameter of the hole. This is the beginning of creating the bevel.
In a side angle cut, you can see the clay that is needed to be flattened in order to create the part of the bevel that will be inside your whistle.
Roll the dow stick back and forth between your finger tips to flatten the bevel edge on the inside of the whistle. Your opposite hand thumb should be placed on top of the whistle to provide pressure pushing down so that the dow stick does not rip up through the clay.
In a side angle cut, you can see the before and after pictures showing how the clay should be rolled and flattened to create the inside bevel edge.
You will now insert the popsicle stick through the middle of the mouthpiece making sure to align it with the with already created bevel hole. This will create the air passageway for you to blow into your whistle.
As the popsicle stick is pushed through the mouthpiece, clay will get pushed into the bevel area.
Use your dow stick to clean this excess clay out of the bevel hole area.
In the final stage you will now use the dow stick and roll it back and forth between your finger tips to create the outer side of the bevel. Notice that the popsicle stick is left in place through the mouth piece to provide pressure from the inside so that the rolling of the dow stick does not cave in the bevel area.
You will continue to roll the dow stick on the outer bevel area until a “ramp” is created with the tip of the bevel being very thin.
Using the dow stick, roll the front wall on the inside of the whistle to flatten any protruding clay.
In a side angle cut, you can see that the bevel edge must align perfectly with air passage way in order for the whistle work.
If you have performed all of the steps correctly, you should now have a working whistle. If it doesn’t work, look through the next section for trouble shooting.
Trouble Shooting Why doesn’t my whistle work?
Bevel hole is too big and bevel is non existent. This whistle will probably need to have the bevel hole filled in and redone.
Here clay is obstructing the air passageway. This can be fixed by reinserting the popsicle stick through the air passage way and removing any excess clay with the dow stick. Sometimes the front inside wall needs to be rerolled and flattened.
In this side cut view, the whistle is not working because the bevel is angled incorrectly, pointing down too far.
In this side cut view, the bevel is angled pointing up too high. These problems can be resolved by reinserting the popsicle stick through the mouthpiece and re-rolling the bevel with your dow stick.