Download
1 / 7
70 likes | 224 Views
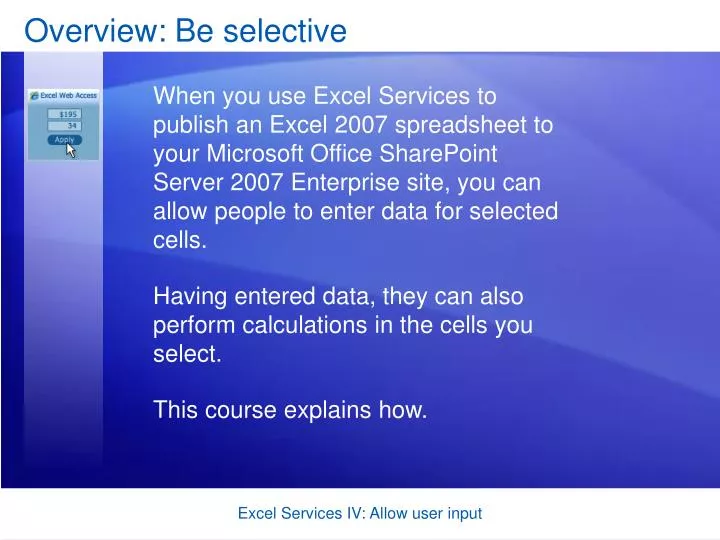
Overview: Be selective. When you use Excel Services to publish an Excel 2007 spreadsheet to your Microsoft Office SharePoint Server 2007 Enterprise site, you can allow people to enter data for selected cells. Having entered data, they can also perform calculations in the cells you select.

E N D
Overview: Be selective When you use Excel Services to publish an Excel 2007 spreadsheet to your Microsoft Office SharePoint Server 2007 Enterprise site, you can allow people to enter data for selected cells. Having entered data, they can also perform calculations in the cells you select. This course explains how. Excel Services IV: Allow user input
Allow people to do calculations in Excel Services As the first two courses in this series explained, publishing workbooks to Excel Services is a great way to keep people from typing directly in workbooks. But what if, in certain instances, you do want people to be able to enter data in Excel Services. You can. Excel Services IV: Allow user input
Step 1: Check for cell names On your SharePoint site, you want people to enter values for cells B4 (price) and B5 (of units to be sold). To do this, Excel Services requires that these cells be named. Why? As you’ll see later on, instead of typing directly in these cells, people will type values in a special pane next to the worksheet. The names for cells B4 and B5 will help people know what to do and where to type in the pane. Excel Services IV: Allow user input
Step 1: Check for cell names First, you need to make sure these cells don’t already have names. To see if cell B4 has a name, click in cell B4. Then look in the Name Box on the Formula Bar. If the cell address (B4) appears, the cell does not have a name. Excel Services IV: Allow user input
Step 2: Name cells for Excel Services Next, you’ll name the cells. With the insertion point still in cell B4, click in the Name Box on the Formula Bar. Type a name for cell B4, like this: “Enter_price_here”. Then press ENTER. Because you can’t use spaces in a cell name, the underscore stands in for a space. Excel Services IV: Allow user input
Step 3: Enable data entry in Excel Services To let people enter values for cells B4 and B5 in Excel Services, use the Excel Services Options dialog box in Excel. There, you designate the named cells as parameters that people will use to enter values in the data entry pane in Excel Services. Then you publish the workbook to Excel Services. Excel Services IV: Allow user input
Step 4: Enter values in Excel Services When people open the workbook in Excel Services, the Parameters pane appears on the right, displaying the data entry boxes, and the cell names, which tell them what to do. Those instructions indicate to enter the number of units to price in the Enter_number_of_units box, and enter the price per unit in the Enter_price_here box. After they click Apply, they’ll see whether the customer gets a discount, and what the total price is, in the workbook next to the pane. Excel Services IV: Allow user input