Download
1 / 6
60 likes | 67 Views
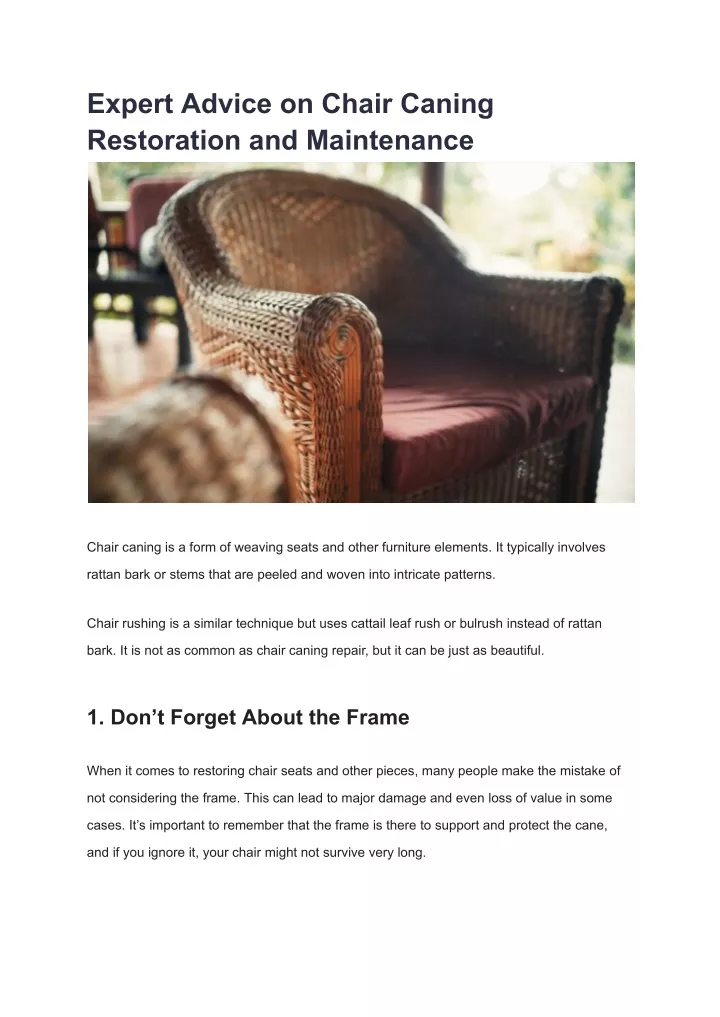
Chair caning is a form of weaving seats and other furniture elements. It typically involves rattan bark or stems that are peeled and woven into intricate patterns.<br><br>

E N D
Expert Advice on Chair Caning Restoration and Maintenance Chair caning is a form of weaving seats and other furniture elements. It typically involves rattan bark or stems that are peeled and woven into intricate patterns. Chair rushing is a similar technique but uses cattail leaf rush or bulrush instead of rattan bark. It is not as common as chair caning repair, but it can be just as beautiful. 1. Don’t Forget About the Frame When it comes to restoring chair seats and other pieces, many people make the mistake of not considering the frame. This can lead to major damage and even loss of value in some cases. It’s important to remember that the frame is there to support and protect the cane, and if you ignore it, your chair might not survive very long.
The frame is especially important if you’re attempting to weave a traditional hand cane seat, also known as lace cane. In this case, individual strips of cane are woven through a series of holes around the perimeter of the frame. Once completed, the strands form an octagon pattern. However, there are some other types of cane that aren’t woven this way. These include blind cane and splined cane, which are different from hole-to-hole traditional hand chair caning repair. Blind cane is less common and is usually found on the back of a chair. This type of cane is woven in the same way as lace cane, but the holes aren’t drilled all the way through the frame, and instead, the flat cane has little loops on it or pegs in the holes to hold it down. 2. Splined Cane Splined cane, on the other hand, is a more traditional style of cane. It’s typically found on modern wicker furniture and can be a good substitute for hand-woven cane. It’s a less costly option, but it can also be harder to weave since each strand is pressed into the groove rather than woven through it. Another popular alternative is sheet chair caning repair, which is a man-made product that is glued into the seat or frame. It’s a bit easier to work with, but it isn’t as strong and doesn’t match the look of traditional hand cane. If you’re looking for a more authentic alternative to hand chair caning repair, consider using upholstered seat fabric or a woven belt for a unique and beautiful finish. These options are not only more comfortable than traditional cane, but they can also enhance the overall look of your chair and help improve its durability. To start, it’s important to remove any old cane from the frame of your chair, if it is present. This isn’t as difficult as you might think, and it’s a great way to get the job done right the first time.
3. Keep the Cane Tight When you have finished weaving your chair cane, you will want to make sure that it stays tight. You can do this by soaking it in water regularly. You should also replace strands that have broken or are too stretched out with new ones. This will help keep the cane tight and will prevent the broken strands from becoming loose again in the future. You can soak your strands of chair cane in warm water for about ten minutes before you start weaving them on the seat, and you should periodically put more strands into the water to ensure that you have enough supply to keep you going. If you do not keep the cane soaked, it will become dry and brittle and will not be as durable. While you are weaving your chair cane, pay close attention to the directions that the strands are traveling. The strands of the chair cane will have “nodules” in their growth patterns that are not always easy to see. These nodules will act like speed bumps, causing the strands to slow down or break. 4. Weave strands To avoid this, you should weave the strands in such a way that the strands go as straight as possible from front to back and side to side. This will keep the nodules from pulling the strands of chair cane to a stop or breaking them as you are weaving. Using this guideline, you will be able to weave your chair cane in a straight line. This will not only make your weaving much easier, it will also help you weave more efficiently. Keeping the cane tight is also important for your chair’s overall safety. If you are not careful, the strands of chair cane could slip and fall out of the seat. This can lead to serious injury. So be sure to stay on top of your chair cane, and you will have a safe and comfortable chair that your family will enjoy for years to come.
5. Repair a Punctured Seat Leather is a very expensive material, so it’s best to repair any rips in leather seats as soon as possible rather than replace them. If the tear isn’t large, you can often patch it up with a leather sewing kit or a needle and thread. When you’re working on a leather seat, it’s important to remove any dirt, dust, and debris. This can help to maintain the quality of the leather and keep it looking as good as new. If you have a rip in your leather, use a small amount of leather filler to cover the hole and match it with the rest of the seat. Next, sand the rip until it’s smooth and flat, then clean the entire area. Finally, apply colorant to the area and wait for it to dry. Once you’ve completed the repair, you should put a protective coat of paint over it to keep it from rubbing off when you sit down. This will also help protect your leather from the elements. Another option is to purchase a graphic seat cover. These are easy to apply and can match most leather seats. 6. Holes You can also fix holes in cloth car seats with a fabric adhesive and interfacing. These are sold at most craft stores and can be used to repair holes from cigarette burns or animal damage. A professional can also fix these types of rips and holes. They’ll be able to find the right products for your vehicle and make sure the repair looks good. If you do decide to go with a new chair, you can replace the damaged seat with a new one. There are plenty of different styles to choose from, so you should be able to find one that will fit your needs.
Whether you have a rip in your leather or vinyl seat, it’s important to take care of it as soon as possible. If you don’t, it will only get worse and potentially cause a bigger problem in the future. 7. Repair a Sag If you have a chair that has sagged and is starting to look a bit worn, there are steps you can take to repair it. You can do this on your own with a few basic tools, or you can take it to the professionals for an expert touch-up. A sagging seat is most often caused by the stiff, spring-like structure of the chair flexing and losing its tension over time. This is especially true for mesh chairs that lack a padded seat and are exposed to the elements frequently. It can also be caused by a seat that is too thick and isn’t properly supported by a sturdy frame. If your chair has a metal framework with springs, you may need to reinforce them by adding additional wire bracing. Once the sagging is fixed, it’s important to keep the chair in good condition for years to come. The most effective way to do this is with regular maintenance and care. First, inspect the chair for any dents or scratches that can cause the seat to sag. If you notice any, treat it with a light coating of lemon oil to prevent the wood from drying out and rotting. This can be done once a year, or more if the chair is exposed to the elements frequently. Next, make sure all of the holes on your chair’s seat or forward-facing side of the back are covered with caning material. Start at the top and weave the chair caning repair material down through each hole, securing it with a peg every time you pull it through. Repeat until all the holes are filled with caning material.
When you’re finished, use a small amount of wood glue to attach the new chair caning repair material to the seat. Apply the glue with a toothpick so that the ends of the patch overlap the existing cane under the seat, tucking them into the gaps between the cane pieces. Finally, apply a coat of wax to the caning to protect it and keep it pliant. This will help it shrink back to its original size as it dries, eliminating the sag.