Download
1 / 10
110 likes | 306 Views
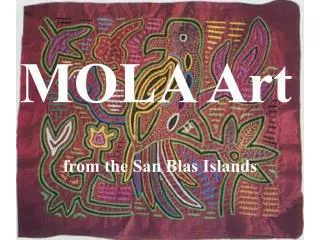
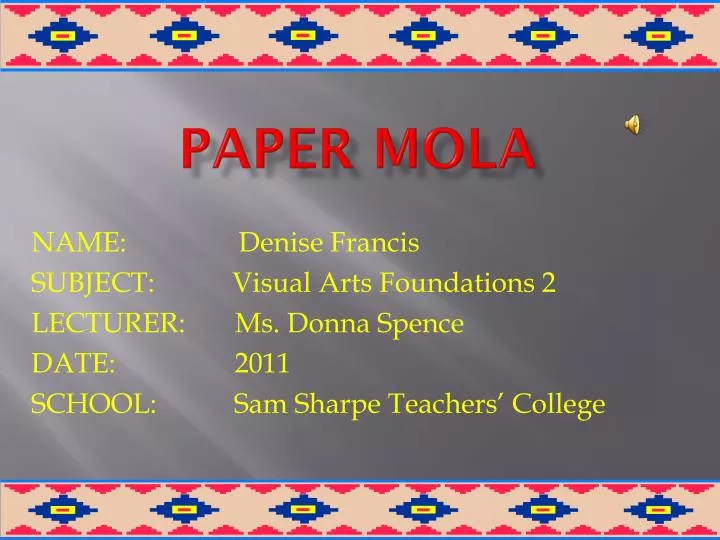
PAPER MOLA. NAME: Denise Francis SUBJECT: Visual Arts Foundations 2 LECTURER: Ms. Donna Spence DATE: 2011 SCHOOL: Sam Sharpe Teachers’ College. HOW TO DESIGN A MOLA IN PAPER. STEP 1.

E N D
PAPER MOLA NAME: Denise Francis SUBJECT: Visual Arts Foundations 2 LECTURER: Ms. Donna Spence DATE: 2011 SCHOOL: Sam Sharpe Teachers’ College
STEP 1 Select four brilliant colours of cartridge papers ; cut papers the same size.
STEP 2 Make negative shapes or designs in a sheet of coloured paper.
STEP 3 Apply a line of glue to the edge of each shapes.
STEP 4 Place an uncut coloured sheet behind the paper with the negative shapes and glue the papers.
STEP 5 Cut spaces from sheet no. 2, leaving a thin border at sheet no. 1; cut shapes through both sheets.
STEP 6 Apply glue to edges of shapes and place a third coloured sheet of paper and glue together.
STEP 7 Cut spaces from sheet no. 3, leaving a thin border at sheet no. 2; cut shapes through papers and glue on sheet no. 4.