Download
1 / 24
240 likes | 342 Views
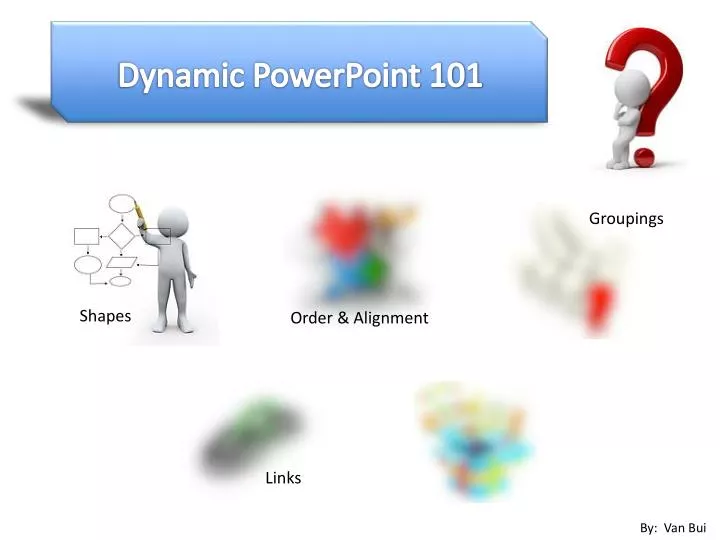
Dynamic PowerPoint 101. Groupings. Shapes. Order & Alignment. Links. By: Van Bui. Shapes. Where at? Found under the Home Tab Click on “Shape” in the “Insert” box Contains basic to complex shapes and other image construction drawing elements. Shapes. What for? Design Elements

E N D
Dynamic PowerPoint 101 Groupings Shapes Order & Alignment Links By: Van Bui
Shapes • Where at? • Found under the Home Tab • Click on “Shape” in the “Insert” box • Contains basic to complex shapes and other image construction drawing elements
Shapes • What for? • Design Elements • Flow Charts • Customizable • Scalable Size • Editable Text • Colors • Borders • Shadows • Etc… Editable Text Scalable Borders & Shadows
Dynamic PowerPoint 101 Groupings Shapes Order & Alignment Links
Order & Alignment • What for? • Order objects to configure how they overlap • Align shapes and objects for aesthetic appeal • Types of Alignment • Left, Center, & Right • Top, Middle, & Bottom • Etc…
Order & Alignment • Where at? • Found under the Home Tab • Click on “Arrange” in the “Format” box
Order & Alignment • Ordering • Newest objects are created on top of previous objects (1 2 3 is order of creation) • Can re-order objects using the bring to front/forward or back/backward options (right click arrange) 2 1 3
Order & Alignment • Alignment Top Middle Right Center Left Bottom
Dynamic PowerPoint 101 Groupings Shapes Order & Alignment Links
Groupings • What for? • Multiple objects can be grouped together to act as a single unit • Scalableand Movable as a single object • Easier to manage and orient Move 2 2 2 1 1 1 Scale 3 3 3
Groupings • What for? • Individual objects within the group can still be changed while still being part of the group object 2 2 1 1 3 3 Editable within Group (Scaled individual object)
Groupings • Where at? • Found under the Home Tab • Click on “Arrange” in the “Format” box • Must first select multiple objects before grouping objects are enabled (not greyed out)
Dynamic PowerPoint 101 Groupings Shapes Order & Alignment Links
Links • What for? • Text links to web pages • Text/Button links to other slides • Used to create a “Dynamic” presentation ??? www Slide Link
Links • What for? • Dynamic presentations allow you to control where the user goes • Flow sequence with loops capable • Can be used to reinforce memory for educational applications
Links • Where at? • Hyperlinks are created by right clicking on selected text or object and clicking on “Hyperlink…” • Can be linked to a web page, local document, or email address
Links • Where at? • Links to slides are created by right clicking on selected text or object and clicking on “Action Settings…” • Can be a previous slide, next slide, or a specific slide number
Dynamic PowerPoint 101 Groupings Shapes Order & Alignment Links
Bonus • Congratulations! You have completed the basics of creating dynamic presentations. • As reward, here is a Bonus Tip! Click on the treasure chest to learn it!
Bonus: The Master Slide • What for? • Did you know that you can design your slides in a number of different layouts and then use them in future slides as oppose to the duplicate slide option? • This way, your slides will be standardized and consistent across your presentation. • And the added bonus is you only have to design it once!
Bonus: The Master Slide • Where at? • From the main menu, go to ViewMaster Slide Master
Bonus: The Master Slide • Where at? • Here you can select the layout and design the look and feel of each layout. • Click “Close Master” when you have completed designing your slide layouts.
Bonus: The Master Slide • Where at? • Now in normal mode, you can select the “New Slide” drop down menu and see your newly created layouts for use. Great! Your efficiency has improved!
Congratulations! • You have completed Dynamic PowerPoint 101! Free Me!