Download
1 / 19
190 likes | 333 Views
Mosaicing Historic Photos with ArcGIS. James Twoteeth GIS Analyst CDA Tribe GIS. Background. We obtained 1947 aerial photography from the Forest Service in St. Maries, Idaho. Last summer, we scanned the 144 photos using a simple Office jet scanner.

E N D
Mosaicing Historic Photos with ArcGIS James Twoteeth GIS Analyst CDA Tribe GIS
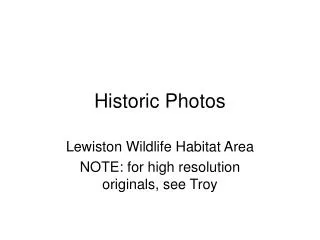
Background • We obtained 1947 aerial photography from the Forest Service in St. Maries, Idaho. • Last summer, we scanned the 144 photos using a simple Office jet scanner. • We constructed an index layer in ArcGIS and hyperlinked the photos to the points. Many People wanted a geo-registered image of the 1947 photos instead of just unregistered images that we currently had.
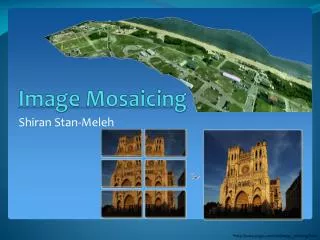
Why Mosaic Historic Photos?? • Mosaicing Historic photos can be useful by allowing a user to compare time periods and to map changes in agriculture, roads, and land cover.
Agenda • Topics to be covered: • Pre-processing of images (decisions??) • Geo-registration (Ortho-rectification, geo-correction???) • Mosaicing images using Image Analyst
Orthorectification: What, Why, How, Who? • + • Overview • Orthorectification is simply the process of removing scale variations from a remotely sensed image, such as an aerial photograph, SPOT satellite image, radar image, etc. • Benefits for Image Mosaicing • An advantage of the orthorectification process is the fact that many ortho images can be mosaiced together to form a seamless image map covering large areas.
After receiving the requests to mosaic the unregistered images, we realized that we didn’t have the necessary camera information or all of the fudical marks on the photos that were needed to orthorectify the photos. We decided that we could do just a straight georegistration of the photos and mosaic them together. Pre-processing of images (decisions??) Fudical Mark???
Since we didn’t need the fudical marks, we decided to clip out the images using MS Photo Editor to help us better identify similar areas during geo-registration. Original Scanned Image Clipped Image
Geo-registration (Ortho-rectification, geo-correction???) To do a straight geo-registration of the images we used the geo-referencing tool in ArcGIS to warp the images and save them as grids. Add Control Points Layer target Drop down menu Open Link Table • One thing to consider when geo-registering aerial photography is that the aerial photography contains distortions that are not true representations of the ground. So the most accurate part of the photograph is the center.
We then began geo-registering our images to our current data such as roads, orthoimagery, and GCDB. As shown in the photo, similar areas are identified in both the image and your reference data. You can then began to add control points in order to warp the image. On average we had between 15 to 20 control points when warping our images.
After adding a few control points, our image begins to stretch and look acceptable. When adding control points, you will want to keep your RMS error down close to zero if you can. You can look at your control points and RMS error by bringing up the link table in ArcGIS When satisfied with the image, we then saved our geo-referenced image out to a ESRI grid. It took about 80 hours to geo-reference the 144 photos.
Mosaicing images using Image Analyst Dealing with sidelap and overlap: We realized that Image Analyst doesn’t really deal with overlap of photos very well. So we wrote an AML program that makes a polygon coverage of the center of the photo based on the surrounding photos. &r mkbox.aml <center> <north> <east> <south> <west>
144 Polygon coverages created We then clipped the geo-referenced grids based upon these polygon coverages.
We then verified the clipped images lines up accordingly to mosaic them.
Thank you Any Questions????