Download
1 / 100
1k likes | 1.14k Views
1. System setup 2. Facilitator Controls 3. Setup Keypads 4. Model Copying and exporting 5. Data Importing 6. At Your Convenience (ayc) voting 7. Voting assignments 8. reporting. Getting Started. 1 . System setup. System Setup – My Settings.

E N D
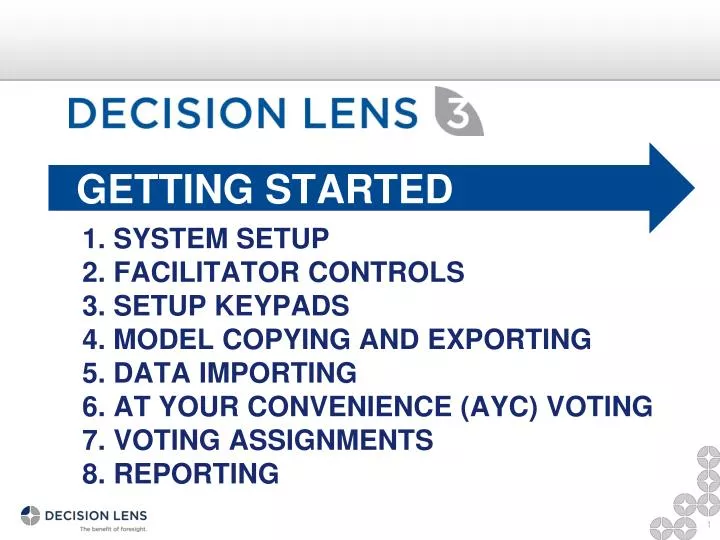
1. System setup 2. Facilitator Controls 3. Setup Keypads4. Model Copying and exporting5. Data Importing6. At Your Convenience (ayc) voting 7. Voting assignments8. reporting Getting Started
System Setup – My Settings Under System Setup, My Settings enables you to change your Password or reset Usability Hints 1 2 Click Setup 1 2
System Setup – My Settings To change your password, click Type your new password twice and click SUBMIT. The new password must contain at least six characters. Click the X on the top right hand side to go back to the lobby 1 1 2
Instance Users • Instance Users are those individuals that will create, administer, and facilitate models, or participate in a model, within an instance. • User roles include: • Group Admin • Decision Creator • Participant • Once the administrator has created a user profile, the user can be affiliatedwith a model as a participant. • The model creator is, by default, a Facilitator.
Manage Users Under System Setup, Manage Users displays all current users within the DL3 web instance 1 2 Click Setup 1 2
Add New Users 1 To add users, click 1 Add the required participant information, click SUBMIT 2
Assign Roles Click the next to the User’s Name to assign Role Select the appropriate role, Group Admin, DecisionCreator, or Participant. See the next slide for privileges assigned to each role 1 2 1 2
Search for Users To search for a specific User, type the name of the User into the Manage Users search box and click ENTER. All users with the name will be shown 1 1
Model Participants • Participants are those individuals that will facilitate, vote, or review the model. • Model roles include: • Facilitator • VotingFacilitator • Voter • Once the administrator has created a user profile, the user can be affiliatedwith a model as a participant. • The model creator is, by default, a Facilitator • Two options exists to access Manage Participants.
Option 1: Manage Participants from Lobby The Manage Participants link enables Facilitators to associate users to a model and manage the users’ role within the model
Option 1: Manage Participants from Lobby cont. • Click on the Add Participant button to manage decision participants. This will open the Add User to Decision box • Select the new participants, click on either ADD to quickly add or click on ADD & CLOSE to add and close the dialog 1 2 1 2
Option 1: Manage Participants from Lobby cont. • Once participants have been added, their roles can be changed from the drop-down menu • To Remove a participant, click the Xto the left of the user name 1 2 1 2
Option 2: Add, Remove, Assign Roles for Participants from Inside a Model • Click on the Add Participant button to manage decision participants. This will open the Add User to Decision box • Select the new participants, click on either ADD to quickly add or click on ADD & CLOSE to add and close the dialog, then select their roles from the drop-down menu 1 2 1 2
Decision Lens Lobby cont. 1 The Manage Participants link enables Administrators to associate users and manage user roles 2 The ESTABLISH PRIORITIES link is where you directly access the voting for Pairwise decisions 3 The RATE ALTERNATIVES link is where you directly access the voting on Alternatives 4 The ENTER MEETING link allows you to launch the model you wish to access 1 2 3 4
Entering A Meeting As a Facilitator, click ENTER MEETINGto open your selected model to host a meeting Click to edit the Decision Name and provide a ModelDescription, click SAVE 1 2 2 1
Participants will then click, Enter Meeting Participants will also click ENTER MEETING to enter the model you are leading 1 1 Note: Once participant enters a meeting as a Facilitator, the Facilitator drives all screens
Resync Feature • The Resync Feature will resync you back into the meeting if sync is lost • If you are the presenter, clicking resync will sync all participants to your view • If you are a participant, clicking resync will sync you up to the presenter's view (but will not affect any other participants)
Resync Feature cont. 1 Right click anywhere on the screen to access the feature then click on Resync 1
Manage Keypads Voters may vote using their keyboards by selecting and clicking on their desired cell (1-9) or by using the wireless keypads provided by the facilitator. To vote using keypads, the hardware drivers must be installed and the USB receiver must be connected to your computer via the USB port
Manage Keypads – Install Hardware • Installing the hardware: • Plug in the ResponseCard USB receiver to your local computer (located in the keypad box/bag). • Windows will initiate the Add Hardware Wizard. When prompted to specify the location of the Keypad Drivers, point to the temporary folder that contains the drivers and click OK. • The Add Hardware Wizard will locate the driver files and complete the installation. • After installing the drivers, open DL3 and launch a Decision Meeting NOTE: Both Windows 7 and Mac OS X and later should automatically find an appropriate driver for the USB receiver.
Assigning Keypads Under the MANAGE KEYPADS tab, assign keypads to each voter manually by number, enter the desired keypad number next to the voter’s name. Otherwise, the system will assign the keypads automatically by clicking Assign All Automatically 1 1 1b
Launching Keypads Click This will establish the connection with the keypads and will initiate the download and opening of the Java Keypad Client Select Open with Java Web Start Launcher, click OK 1 2 1 2
Launching Keypads cont. When the program opens you will see the following keypad client window. Voting may begin Decision Name Indicates voting receiver is attached NOTE: You must keep the keypad client open when voting. If you close the keypad client or are is connected from Decision Lens while you are voting, close the keypad client window and repeat these instructions to launch the keypad client.
About Model Copy, Import and Export Functions • Copy a decision model from the lobby • Includes option to exclude decision alternatives • Export decision models to CMF files • Import decision model from CMF or ANP file formats • DLS or DLW to DL3 Import • .ANP DLW / DLS Export • .CMF Import DL3 • .CMF DL3
Copy Decision Model From the lobby, select the model to be copied. Click the drop-down menu icon located to the left of the model name. Select COPY DECISION TO NEW DECISION to continue 1 1
Copy Decision Model cont. Confirm the decision model to be copied. Type in the new model name in the text box. Click COPY DECISION TO NEW DECISION to continue 1 1
Copy Decision Model cont. Check the Copy Alternatives checkbox to include the alternatives from the original decision model or uncheck the box to exclude them, type in the new model name in the text box and click COPY to continue 1 1
Copy Decision Model cont. Note the new decision model in the lobby once the copy has been completed 1 1
Export Decision Model From the lobby, select the model to be exported to a new .CMF file. Click the drop-down menu icon located to the left of the model name. Select Export decision to CMF file 1 1
Export Decision Model cont. A confirmation dialogue box will appear. Select SAVE to continue 1 1
Export Decision Model cont. A new dialogue box will appear. Navigate to the desired drive location and folder for saving the file. Type in the fine name. Select SAVE to complete the decision model export 1 1
About Data Import • Import data from Excel spreadsheets directly into DL3, saving time and effort • Import functionality is available for: • Criteria Names • Criteria Descriptions • Alternative Names • Alternative Descriptions • Ratings Data • Resource Budget Data
Getting Started A few helpful tips in getting your spreadsheet ready for import: • Save worksheets in Excel 97-2003 format (“xls”) – “.xlsx” files cannot be imported • Remove formulas, copy the spreadsheet; paste special – values • Remove duplicates – ensure the elements you are importing are unique • Use one spreadsheet – the import wizard will enable you to migrate between worksheets without returning to the model
Initiate Data Import From the lobby, select the Import model data from spreadsheet from the drop-down menu. If the model is open, the system will notify you the model will close for the import process and all other users in the model will be locked for the duration of the import. Click YES to continue to the Data Import Utility 1 1
Select the Spreadsheet Once in the Data Import Utility, click Select Spreadsheet and navigate to the worksheet which contains the data you want to import. Click NEXT to continue 1 1
Initiate Data Import If the selected spreadsheet has multiple worksheets, use the dropdown to select which worksheet from which you want to import. Click NEXT to continue 1
Identify the Type of Data to Import Select one of the radio buttons to indicate what type of data you are importing. Note that criteria and alternatives must be imported first if starting with a new model. Click NEXT to continue 1 1
Select the Data Import Highlight the rows that contain the data you want to import. Note you can use SHIFT to select groups of rows, or CTRL to select multiple individual rows. ALT can be used to advanced selection options. Click NEXT to continue 1 Note: If your columns and rows are flipped-flopped, you can set them straight by clicking TRANSPOSE DATA 1
Select and Map Spreadsheet Columns If you are importing alternatives, descriptions, etc., you will be asked to select and map the columns which contain the specific data in the spreadsheet to the corresponding categories in the model. Click on the column header to select. Click NEXT to continue 1 1
Preview Data 1 Review the data imported for accuracy and then click IMPORT 1
Resolve Errors • DL3 includes a data validation and reconciliation step should the data in the spreadsheet not exactly match the model (e.g. spelling, spacing, capitalization, etc.). • Follow the on-screen instructions to resolve any discrepancies
Review Data • The blue status bar will darken from left to right as the data is successfully imported into the system 1 Click FINISH to complete the data import 1
Complete an Import • Once you are finished, you may continue to import data either from the same spreadsheet or another spreadsheet or launch the model