Download

1 / 63
640 likes | 809 Views
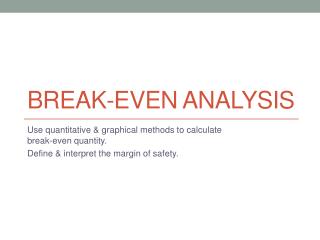
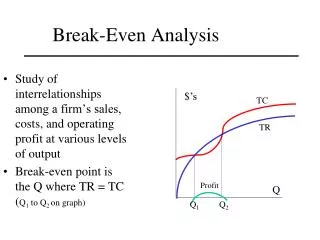
Break-even Analysis Part 3 Constructing Graphs. To publish or not to publish...

E N D
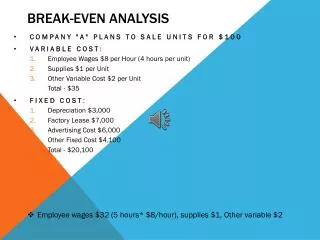
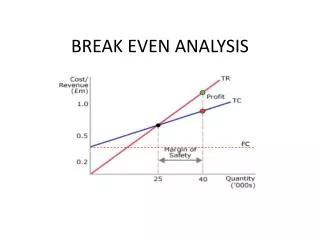
To publish or not to publish... The Babson Press must decide whether or not to publish a book. The estimated costs of publishing this book include a fixed cost (in leased equipment, rent, …) of $3,000 plus a variable cost (in materials, labor, …) of $10 for each copy printed. Projected sales figure suggest that the book can be sold at $16 per copy.Under what condition should they publish this book? Start with a problem to be formulated
Using Chart Wizard start with a prepared worksheet NOTE: Refer to the Power Point Presentation Break Even Analysis - Part 1 - Constructing a Spreadsheet
Using Chart Wizard select functions to be graphed NOTE: From this point on, the Excel window and only part of the spreadsheet will be displayed Highlight the cells E2:H23
Using Chart Wizard initiate Chart Wizard Click on the Chart Wizard icon
Using Chart Wizard initiate Chart Wizard NOTE: From this point on, only the Chart Wizard window will be displayed
Using Chart Wizard Step 1: select chart’s type Make sure that the Standard Types tab is being displayed
Using Chart Wizard Step 1: select chart’s type In the Chart type: box, click on XY (Scatter)
Using Chart Wizard Step 1: select chart’s type On the Chart sub-type: area, click on the box displaying smooth curves
Using Chart Wizard Step 1: select chart’s type Click on Next >
Using Chart Wizard Step 2: set chart’s source data Accept the defaults by clicking on Next >
Using Chart Wizard Step 3: set chart’s options Make sure that the Titles tab is being displayed
Using Chart Wizard Step 3: set chart’s options Click on Chart title: box and type Break Even Analysis
Using Chart Wizard Step 3: set chart’s options NOTE: The title is displayed on the chart
Using Chart Wizard Step 3: set chart’s options Click on Value (X) Axis box and type quantity
Using Chart Wizard Step 3: set chart’s options NOTE: The horizontal axis is labeled
Using Chart Wizard Step 3: set chart’s options Click on Next >
Using Chart Wizard Step 4: set chart’s location Accept the default (the chart will appear on your worksheet) and click on Finish
Using Chart Wizard format the legend Right-click on the legend box
Using Chart Wizard format the legend Click on Format Legend...
Using Chart Wizard format the legend Click on the Placement tab
Using Chart Wizard format the legend Click on the Top option
Using Chart Wizard format the legend Click OK
Using Chart Wizard format the legend NOTE: The legend now appears at the top
Using Chart Wizard format the horizontal axis Click anywhere on the gray area, on or below the horizontal axis
Using Chart Wizard format the horizontal axis Click on Format Axis...
Using Chart Wizard format the horizontal axis Click on the Font tab
Using Chart Wizard format the horizontal axis Highlight the Size: box
Using Chart Wizard format the horizontal axis Type 7
Using Chart Wizard format the horizontal axis Click OK
Using Chart Wizard format the horizontal axis NOTE: The font for the horizontal axis now appears smaller (7pt)
Using Chart Wizard format the vertical axis Right-click anywhere on the white area, on or to the left of the vertical axis
Using Chart Wizard format the vertical axis Click on Format Axis...
Using Chart Wizard format the vertical axis NOTE: Make sure that the Font tab is being displayed
Using Chart Wizard format the vertical axis Highlight the Size: box
Using Chart Wizard format the vertical axis Type 7
Using Chart Wizard format the vertical axis Click on the Number tab
Using Chart Wizard format the vertical axis Click on the Currency option
Using Chart Wizard format the vertical axis Click on twice to bring the number of decimal places to 0
Using Chart Wizard format the vertical axis Click OK
Using Chart Wizard format the vertical axis NOTE: The font for the vertical axis now appears smaller (7pt) with $ signs
Using Chart Wizard change the color of profit function graph Right-click anywhere on yellow line
Using Chart Wizard change the color of profit function graph Click on Format Data Series...
Using Chart Wizard change the color of profit function graph NOTE: Make sure that the Patterns tab is being displayed
Using Chart Wizard change the color of profit function graph Click on the in the Color: option
Using Chart Wizard change the color of profit function graph Click on the selected color
Using Chart Wizard change the color of profit function graph Click on OK
Using Chart Wizard change the color of profit function graph NOTE: The profit function line is now colored green
Using Chart Wizard change background color Right-click anywhere on the gray area, above the horizontal axis
Using Chart Wizard change background color Click on Format Plot Area...