Download
1 / 14
140 likes | 245 Views
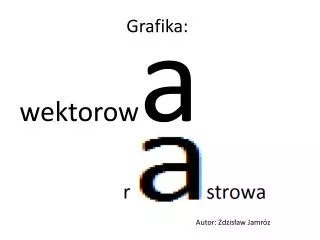
Grafika w Smalltalku. Grafika rastrowa (bit-mapy) . Piksel (pixel, picture element) - punkt na ekranie. Mapa bitowa (Bitmap) - tablica bitów, reprezentacja obrazu 1 = biały 0 = czarny Point - punkt na ekranie (na mapie bitowej), piksel Przypomnijmy (niepełny) fragment hierarchii z Dolphina:

E N D
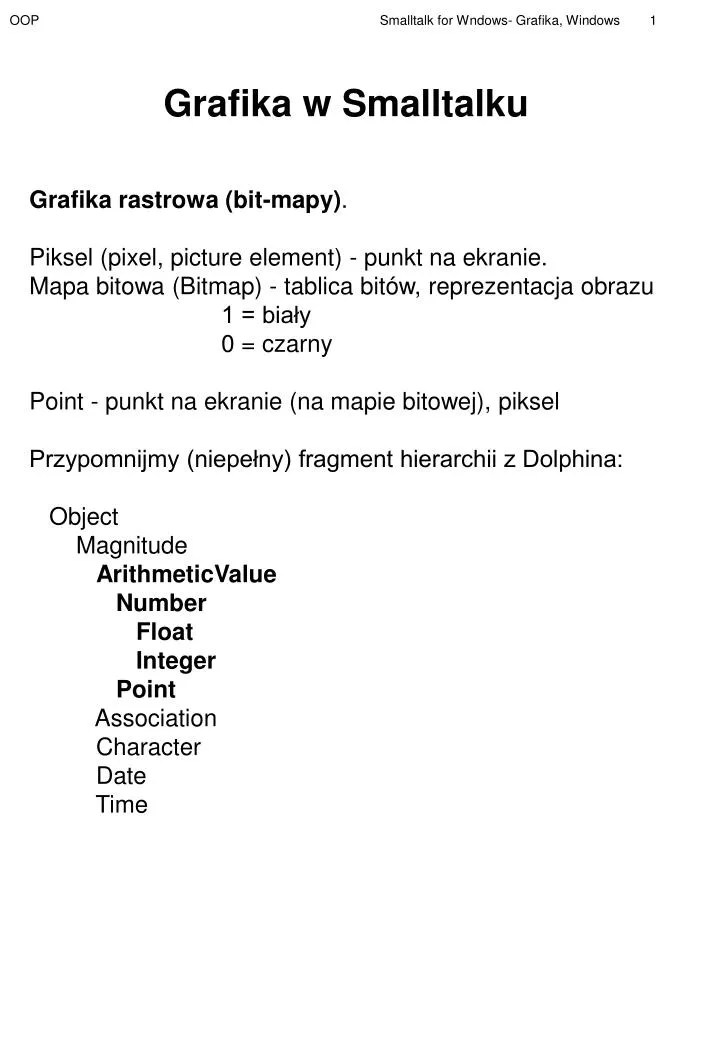
Grafika w Smalltalku • Grafika rastrowa (bit-mapy). • Piksel (pixel, picture element) - punkt na ekranie. • Mapa bitowa (Bitmap) - tablica bitów, reprezentacja obrazu • 1 = biały • 0 = czarny • Point - punkt na ekranie (na mapie bitowej), piksel • Przypomnijmy (niepełny) fragment hierarchii z Dolphina: • Object • Magnitude • ArithmeticValue • Number • Float • Integer • Point • Association • Character • Date • Time
Point 3 @ 10 punkt o współrzędnych (3, 10) Number>>@ aNumber - metoda tworząca nowy punkt (nas będą interesować tylko współrzędne całkowite) (0, 0) - współrzędne lewego górnego rogu ekranu metody klasy Point: x daje pierwszą współrzędną y daje drugą współrzędną x: aNumberustawia współrzędną y y: aNumber ustawia współrzędną y < anArithmeticValue (<= > >= = ) Uwaga: p1 <= p2 i p2 <= p1 wtw p1 = p2 --------------------- Point< anArithmeticValue | aPoint | aPoint := anArithmeticValue asPoint. ^x < aPoint x and: [ y < aPoint y ]
Point cd Point>>+ arithmeticValue (oraz * - /) ArithmeticValue>>// (oraz \\) wykonują odp. operacje na współrzędnych --------------------- Point>>+ anArithmeticValue ^anArithmeticValue addToPoint: self Point>>addToPoint: aPoint ^(aPoint x + x) @ (aPoint y + y) ArithmeticValue>>addToPoint: aPoint ^aPoint retry: #+ coercing: self ArithmeticValue>>retry: aSymbol coercing: anArithmeticValue | selfGen argGen | selfGen := self generality. argGen := anArithmeticValue generality. selfGen > argGen ifTrue: [^self perform: aSymbol with: (self coerce: anArithmeticValue)]. selfGen < argGen ifTrue: [^(anArithmeticValue coerce: self) perform: aSymbol with: anArithmeticValue]. ^self error: 'cannot coerce ArithmeticValues of same generality' Point>>coerce: anArithmeticValue ^anArithmeticValue asPoint (generality: SmallInteger<LargeInteger<Fraction<ScaledDecimal<Float<Point<Point3D) ArithmeticValue>>// operand ^(self / operand) floor
Point cd Magnitude>>between: min and: max czy wartość leży pomiędzy zadanymi Point>>min: aPoint (podobnie max:) daje nowy punkt - minimum po obu punktach Rectangle>>moveBy: aPoint (podobnie moveTo:, expandBy:, parametrem może być Point lub Number) daje prostokąt przesunięty o zadany punktem wektor Point>>transpose zamienia miejscami x i y --------------------- Magnitude>>between: min and: max ^self >= min and: [self <= max] Point>>min: aPoint ^(x min: aPoint x) @ (y min: aPoint y)
Rectangle • Reprezentuje prostokąt o bokach równoległych do osi układu współrzędnych. Sam jest z kolei reprezentowany przez 2 punkty: • origin - lewy górny róg • corner - prawy dolny róg. • (ma oba akcesory do origin i corner) • extent - punkt reprezentujący szerokość i długość, extent = corner - origin • Tworzenie nowego prostokąta: • 1 @1 corner: 100 @ 100 • lub • 1 @ 1 extent: 99 @ 99 • --------------------- • Point>>corner: aPoint • ^Rectangle origin: self corner: aPoint • Rectangle>>extent • ^self width @ self height • Rectangle>>height • ^corner y - origin y • Rectangle>>extent: newExtent • corner := origin + newExtent
Rectangle cd Prostokąt zawiera piksle, które są w środku tak, jakby prostokąt był umieszczony pomiędzy pikslami: 1 @ 1 corner: 4 @ 3 origin - zawsze w środku corner - zawsze na zewnątrz --------------------- Rectangle>>containsPoint: aPoint ^origin <= aPoint and: [aPoint < corner]
Rectangle cd center daje punkt środkowy bottom daje współrzędną y dolnego rogu (podobne top, left, right) containsPoint: aPoint sprawdza, czy punkt należy do prostokąta moveBy: delta przesuwa prostokąt expandBy: deltadaje powiększony prostokąt insetBy: delta daje zmniejszony prostokąt translateBy: deltadaje nowy prostokąt delta - liczba lub punkt Np. (10 @ 20 corner: 50 @ 30) expandBy: 5 daje: (5 @ 15 corner: 55 @ 35)
Bitmap i Image • Obiekty tej klasy przechowują obraz graficzny. Mapa bitowa jest tablicą bitów reprezentującą obraz graficzny. • Object • GraphicsTool • Brush • Font • Image • Bitmap • Icon • Menu • Pen • "Ręczne stworzenie bitmapy" • f := Bitmap displayCompatibleWithExtent: 100 @ 50. • "Wyświetlanie bitmapy w lewym górnym rogu ekranu (nie okna)" • f drawOn: Canvas forDisplay at: 0@0 extent: 100@50. • f drawOn: Canvas forDisplay • f drawOn: Canvas forDisplay at: 100@100
Bitmap i Image "Wyrysowanie bitmapy z pliku" " ... gdy znamy absolutną ścieżkę, albo zadowala nas ścieżka względem naszego programu" ImagePresenter show: 'Basic image' on: (BitmapfromFile:'c:\windows\kawa.bmp') " ... gdy chcemy liczyć ścieżkę względem katalogów systemowych" ImagePresenter show: 'Basic image' on: (BitmapfromFile: (File composePath: SessionManagercurrent windowsDirectory subPath: 'kawa.bmp') usingLocator: FileLocator absolute)
Pożyteczne drobiazgi MessageBoxnotify: <napis> wyświetla podany napis-powiadomienie i OK MessageBoxnotify: <napis> caption: <napis> j.w. ale podajemy też nagłówek okna MessageBoxconfirm: <napis> wyświetla podane zapytanie oraz Tak i Nie, wynikiem jest true lub false w zależności od tego co zrobi użytkownik (nie może zamknąć okna) MessageBoxconfirm: <napis> caption: <napis> j.w. ale podajemy też nagłówek okna Prompterprompt: <napis> caption: <napis> Pobieramy napis od użytkownika Timenowhours Bieżąca godzina
Proste rysowanie w oknie Object View ContainerView ShellView "tu podczepiamy własne podklasy" HelloWorld HelloWorld class>>show self new show HelloWorld>>onPaintRequired: aPaintEvent | canvas rect | canvas := aPaintEvent canvas. rect := self clientRectangle. canvas pen: Pen red; brush: (Brush color: Color darkBlue); ellipse: rect; setTextColor: Color white; setBkMode: TRANSPARENT; text: 'Hello from Dolphin' at: rect center - (60 @ 10).
Proste rysowanie w oknie cd onPositionChanged: aPositionEvent „Obsłuż zdarzenie zmiany pozycji okna (przesunięcielub zmiana rozmiaru).” aPositionEvent isResize ifTrue: [self invalidate]. ^super onPositionChanged: aPositionEvent onLeftButtonPressed: aMouseEvent super onLeftButtonPressed: aMouseEvent. ”Jakaś dodatkowa akcja” minExtent ^self defaultExtent // 2 Ciekawe efekty (np. przy częściowym zasłanianiu i odsłanianiu okienka daje zmiana ustawiania pędzla w onPaintRequired na: brush: (Brush color: (Color fromInteger: ((r next * 10000000) rounded))); gdzie r jest obiektem klasy Random
Przykład - graf • Będziemy chcieli narysować graf. Do klasy NetworkNode dodajemy • atrybut position: • Object subclass: #NetworkNode • instanceVariableNames: 'name position' • classVariableNames: '' • poolDictionaries: '' • drawWith: aPen • "Rysuje węzeł grafu z kółkiem dookoła nazwy” • | minor major | • major := (SysFont stringWidth: name) + 16 // 2. • minor := SysFont height + 16 // 2. • aPen • setTextAllign: TaTop; • place: position; • ellipseFilled: major minor: minor; • centerText: name • name: aString position: aPoint • "Ustawia nazwę i pozycję odbiorcy." • name := aString. • position := aPoint • position • ^position nazwa
Cztery Jeden Trzy Dwa • Do klasy Network dodajemy: • draw • “ Rysuje graf. Dla każdego węzła rysuje linię do niego • prowadzącą, a następnie węzeł. Pamięta odwiedzone wierzchołki” • | visited pen | • pen := (Window turtleWindow: ‘Graf’) pen. • pen erase. “ wypełnia pióro kolorem” • visited := Set new. • pen drawRetainPicture: [ • connections keys do: [ :nodeA | • visited add: nodeA. • (connections at: nodeA) do: [ :nodeB | • (visited includes: nodeB) • ifFalse: [ pen place: nodeA position; • goto: nodeB position] ]. • nodeA drawWith: aPen ] ] • Użycie: • N1 := NetworkNode new name: 'one' position: 300 @ 100. • N2 := NetworkNode new name: 'five' position: 350 @ 185. • N3 := NetworkNode new name: 'three' position: 500 @ 120. • N4 := NetworkNode new name: 'four' position: 200 @ 50. • Net • connect: N1 to: N2; • connect: N2 to: N3; • connect: N4 to: N2; • connect: N1 to: N3.