Download
1 / 11
110 likes | 342 Views
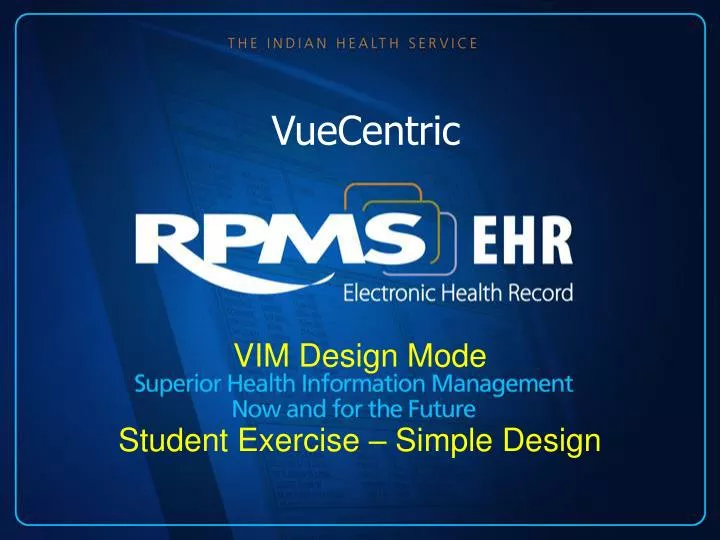
VueCentric. VIM Design Mode Student Exercise – Simple Design. Entering Design Mode. Click on the Medsphere Icon, then click “Design Mode”. You may also use the CTRL-D key combination to enter design mode.

E N D
VueCentric VIM Design Mode Student Exercise – Simple Design
Entering Design Mode • Click on the Medsphere Icon, then click “Design Mode”. • You may also use the CTRL-D key combination to enter design mode. • A Third method of entering Design Mode is right-clicking the window header (the blue bar at the top of the EHR window) Medsphere Icon Window Header Design Mode Option
VueCentric Creating a Template
Creating a Template • While in Design Mode, click on the “Design” menu at the top of the window. • In the “Design” menu, click “Clear Desktop”, then confirm your selection. Design Menu Cleared Desktop
Creating a Template (Continued) • Right-Click on the VueCentric Desktop, then click on “Add Object” in the pop-up menu. • Expand the “Name” category in the “Add an Object” dialog.
Creating a Template (Continued) • The “Tabbed Notebook” object is used to create a tabbed, multipage control. • Select “Tabbed Notebook” from the “Add an Object” dialog”, then click the ADD button. Double-clicking the “Tabbed Notebook” line will have the same effect as clicking the ADD button.
Creating a Template (Continued) • Double-clicking any added control will cause the control to expand to fill the desktop as shown below. Double-click the tabbed notebook control to expand it to fill the EHR desktop.
Creating a Template (Continued) • Right-Click on the Tabbed Notebook object, then click on “Properties” in the popup menu. • In the Tabbed Notebook’s properties dialog, click on the “Tab Editor” button. • Edit the name of the “Main” tab in the tab list by double-clicking the tab name, typing the new tab name of “Progress Notes”, then pressing the Enter key.
Creating a Template (Continued) • Right-click on the “Progress Notes” tab, then click “Add Object” in the popup menu. • Select the “Progress Notes” object to add to the tab, then click the ADD button. Double-click the control to expand it on the tab.
Creating a Template (Continued) • To save the template, click on the “Design” menu, then click the “Save as Template” menu option. Enter a name for the template on the “Save as Template”, then click the SAVE button. Save the layout we created as a template named “TEST”.
Creating a Template (Continued) • To exit design mode, click on the Medsphere Icon, then uncheck the “Design Mode” menu option. Alternately, you may use the CTRL-D key combination to exit design mode.