Download
1 / 2
20 likes | 124 Views
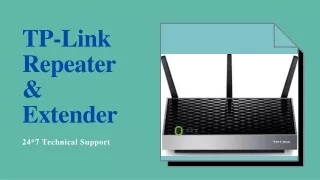
Want guidance for the Wifi Protected TP-Link Repeater Setup ? Then login via tplinkrepeater.net or myrepeater.net and you will reach the official web addresses for the repeater setup. For more information browse https://my-repeaternet.net/tplinkrepeater-net/.

E N D
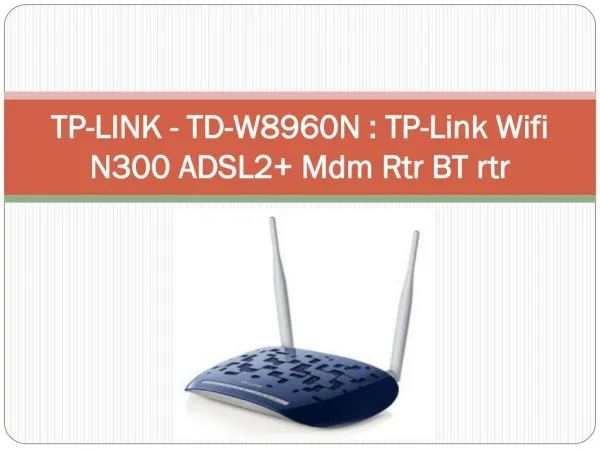
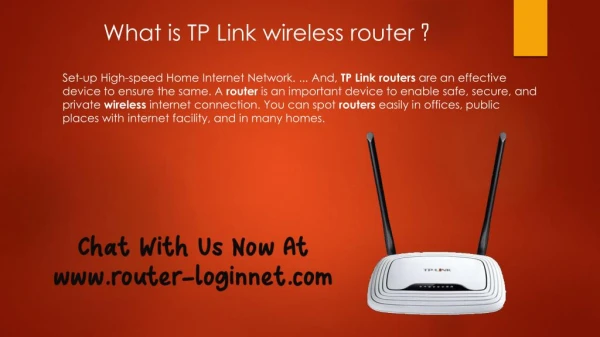
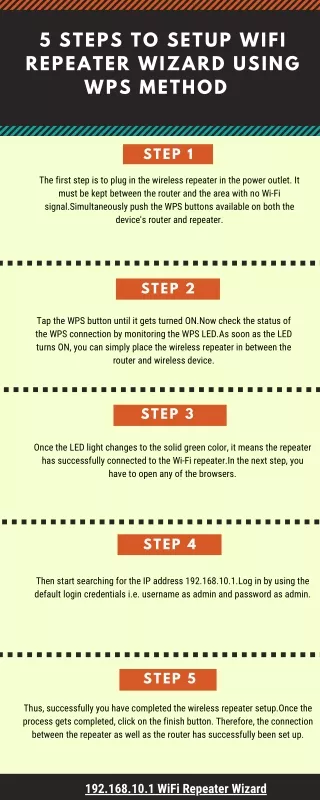
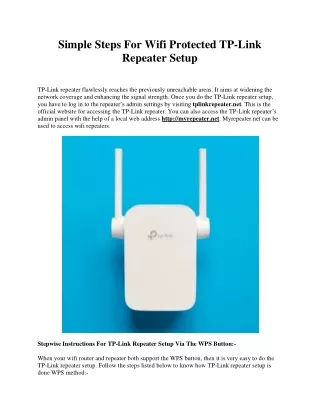
Simple Steps For Wifi Protected TP-Link Repeater Setup TP-Link repeater flawlessly reaches the previously unreachable areas. It aims at widening the network coverage and enhancing the signal strength. Once you do the TP-Link repeater setup, you have to log in to the repeater’s admin settings by visiting tplinkrepeater.net. This is the official website for accessing the TP-Link repeater. You can also access the TP-Link repeater’s admin panel with the help of a local web address http://myrepeater.net. Myrepeater.net can be used to access wifi repeaters. Stepwise Instructions For TP-Link Repeater Setup Via The WPS Button:- When your wifi router and repeater both support the WPS button, then it is very easy to do the TP-Link repeater setup. Follow the steps listed below to know how TP-Link repeater setup is done WPS method:-
1.The first step is to spot the WPS button on the wifi router and repeater. 2.Then place your repeater near the wifi router to connect the devices smoothly. 3.Then, you must push the WPS button on the TP-Link wifi repeater and the wireless router. 4.Now you will see the LED lights on the repeater and wifi router start flashing. 5. Wait patiently as it might take a few moments. 6.Once the LED lights are steady, this will imply that the connection is complete and you can associate your PC device or mobile phone to the repeater’s extended network connection. TP-Link Repeater Setup Manually Using The Web browser:- When your wifi router and repeater don’t support the WPS button then, you don’t need to worry. You can do the repeater setup manually with the help of a web browser. So follow the instructions closely to complete the setup manually; 1.Start by unpacking and unboxing the TP-Link repeater. Then throw away all the packaging material. 2.Now disconnect the modem, router, and the PC device. 3.The next step is to associate the wifi router and internet modem with the help of an ethernet wire. 4.Now you must link the PC device to the wifi router, modem, and the TP-Link wifi repeater. 5.The next step is to open the desired web browser, it could be any, Google chrome, firefox, or opera, etc. 6.In the web address field, fill www.tplinkrepeater.net or http:// myrepeater.net to access the wifi repeater’s admin settings. 7.Enter ‘admin’ in lower case in the username and password fields. TP-Link Repeater Setup Wrapped Up! Once you complete the TP-Link repeater setup using web browser method or WPS method you login to the admin settings of the repeater to check the network status or make alterations to the network settings of the repeater or change the login information. Make sure you login via tplinkrepeater.net or myrepeater.net. These two are the official web addresses for the repeater setup. When you enter the URL http//myrepeater.net you will be redirected to the TP-Link repeater’s admin page as soons as you enter the login credentials of your repeater. That’s it! The repeater setup is complete and you can now enjoy accessing a high-speed internet.