Download
1 / 32
320 likes | 399 Views
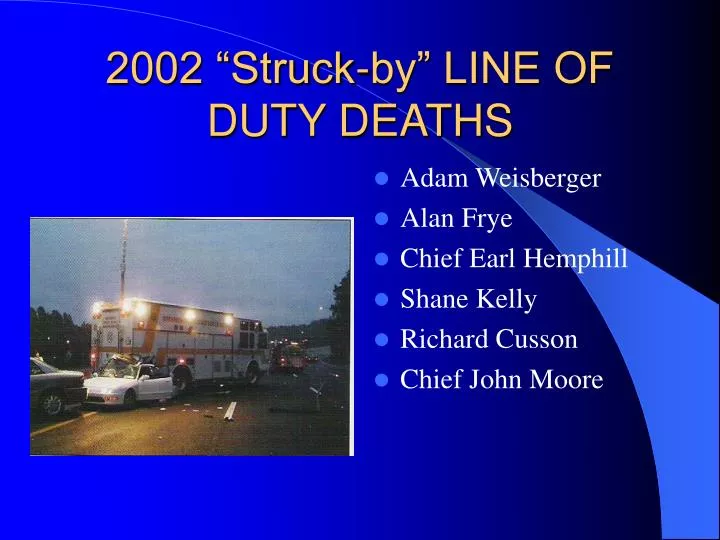
2002 “Struck-by” LINE OF DUTY DEATHS. Adam Weisberger Alan Frye Chief Earl Hemphill Shane Kelly Richard Cusson Chief John Moore. Temporary Traffic Control Zone. Section 6A.0 of the DOT MUTCD (manual on uniform traffic control devices). Highway terminology. Advanced Warning Area.

E N D
2002 “Struck-by” LINE OF DUTY DEATHS • Adam Weisberger • Alan Frye • Chief Earl Hemphill • Shane Kelly • Richard Cusson • Chief John Moore
Temporary TrafficControl Zone Section 6A.0 of the DOT MUTCD (manual on uniform traffic control devices)
Advanced Warning Area • Road users are informed about the incident area they are approaching. • May be a single sign, warning light on a vehicle, cones, flares, or emergency vehicles far in advance of the incident.
Recommended Advance Warning Distances per MUTCD guidelines • Urban Street low posted speed limit 300 Feet • Urban Street-Higher speed limit 1,050 feet • Rural Road 1,500 feet • Expressway/Freeway 5,140 feet
Transition area • The section of highway where traffic is re-directed out of it’s normal driving path. • Done through channelization. • Typically done with traffic cones or vehicles.
MUTCD Taper Length Criteria • Posted speed limit up to 40 mph 320 feet in total length • Posted speed of 55 mph 660 • Posted speed of 65 mph 780 • Posted speed 70+ mph 840+ (Each warning sing, cone, or flare used in a merging taper should be closer together than the posted speed limit; 35-ft maximum distance between cones when tapering traffic in a 35-mph zone, for example)
Activity Area • Most Critical area. • The work space, Traffic space, and buffer space. • All EMS and Fire activities should happen in this area.
Ambulance Parking • Must be positioned in a protected location (activity area). • Many line-of duty deaths have occurred during patient loading, while everyone is looking into the back of the ambulance.
Termination area • The lane or lanes of the roadway where drivers are allowed to return to their normal travel pats and resume normal speeds.
Right and Left • Orientation is used base upon facing in the direction of travel. • Left is to the drivers left. • Right is to the drivers right.
Inside and Outside • The sides of the highway when facing in the direction of travel. • Inside is the drivers left. • Outside is the drivers right.
Upstream and Downstream • Upstream is the area of the highway approaching the incident or activity area. • Downstream is the area past the incident scene.
Blocking • Position apparatus at an angle across one or more lanes of traffic to shield the activity are. • The block should completely block the lane or shoulder obstructed by the damaged vehicle, plus one lane of traffic.
Critical Wheel Angle • The steering wheel is turned all the way to the left or all the way to the right: whatever is required to turn the wheels away from the protected activity area.
Taper area • Using signs, cones, flares, or blocking vehicles to direct approaching traffic from normal traffic lanes into a fewer number of open lanes.
Flagger • Trained in traffic-control techniques • Trained in proper use of signaling equipment and placement of warning devices • Responsible at a scene for the specific traffic control responsibilities and manages the flow of vehicles as they travel through the incident scene
Exit Protocols:Fire Officer (Operations and Command) • Park the vehicle in a block-to-the right if possible. • Check all mirrors; look at approaching traffic in both the side mirrors and the interior rearview mirror • Turn your head to look rearward over your shoulder at approaching traffic
Exit Protocols:Fire Officer (Operations and Command) • Open the driver’s door partially • Check for approaching traffic • Exit the vehicle if safe to do so • Close the door • Maintain a low profile alongside the vehicle, with your eyes on the approaching traffic direction • Move to a safe location on the protected side of the vehicle
Exit Protocols: Officer and Driver/Operator • Look at approaching traffic in a side mirror. • Turn you head to look rearward over you shoulder at approaching traffic. • Open the door partially. • Check for approaching traffic. • Exit the vehicle to street if safe to do so. • Close the door. • Maintain a low profile alongside the apparatus, with you eyes on approaching traffic. • With your back to the apparatus, move to the front and around to the protected side of the apparatus.
Exit Protocols:Crew • Look out the window at approaching traffic. • Open the door partially. • Check for approaching traffic • Exit the vehicle if safe to do so • Close the door • Assure that you are in a protected-activity area • All crew members in enclosed cabs must exit out the door on the downstream side of the apparatus;no exceptions.
Moving around Corners • Move along the downstream, protected side of the apparatus • Stop at the corner of vehicle, pretend there is a stop sign at every corner of the vehicle • Look rearward at approaching traffic • Move to the compartment door • Obtain the equipment while constantly checking approaching traffic
Moving around Corners • Close the door • Maintain a low profile alongside the vehicle with your eyes on approaching traffic • Move to a safe location on the protected side of the vehicle
Deploying cones, flares, etc • Obtain a partner if possible to act upstream as your flagger, looking out for you and monitoring approaching traffic • Gather advanced warning cones • Constantly scan for the movement and location of approaching traffic • Deploy a fluorescent pink, retro-reflective sign upstream a distance equal to 12 times the posted speed limit
Deploying cones, flares, etc • Deploy the 1st cone at the corner of the blocking vehicle where the least amount of buffer space exist between it and moving traffic • Deploy additional cones at appropriate intervals while moving upstream, tapering at an angle from the corner of the emergency vehicle
Flagger • Faces Traffic • Stands near the shoulder, but in clear view of upstream vehicles • Always know your escape route • Always wear full turn out gear, including coat and helmut
Hand Signals for Flagger • To stop traffic the hand is held steady with the arm extended out to the side, palm toward traffic • To signal traffic to slow down, but continue, move the arm up and down with the palm down. • To signal a lane change, the free hand should motion in the desired direction with an exaggerated arc of movement in the direction required while being held out away from the body
Mayday Signal • Air Horn • Whistle, break away neck cord