Download
1 / 12
130 likes | 939 Views
Detection of a Human VNTR Sequence Using Polymerase Chain Reaction Determining the Genetic Variability of our Biology 22 Class Schedule Day 1 Isolate DNA from cheek cells Amplify VNTR sequences by PCR Day 2 Agarose gel electrophoresis of PCR products Data Analysis What Is PCR?

E N D
Detection of a Human VNTR Sequence Using Polymerase Chain Reaction Determining the Genetic Variability of our Biology 22 Class
Schedule • Day 1 • Isolate DNA from cheek cells • Amplify VNTR sequences by PCR • Day 2 • Agarose gel electrophoresis of PCR products • Data Analysis
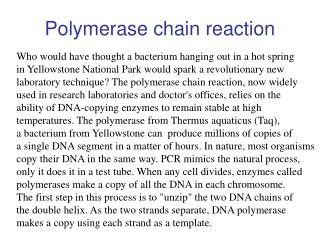
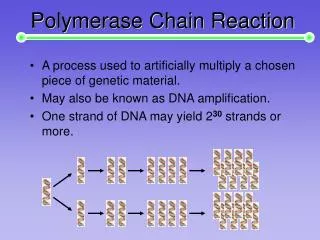
What Is PCR? • PCR is a method for amplifying DNA. • It requires the following components: • Primers---determine the sequence to be amplified • DNA Polymerase ---Taq polymerase, stable at high temperatures required by the reaction • Nucleotides • Ions, such as magnesium chloride • Target sequence (supplied by your cheek cells)
94oC for 30 seconds 65oC for 30 seconds 72oC for 30 seconds Conditions for Polymerase Chain Reaction to Detect D1S80 VNTR sequence
D1S80 VNTR amplified by PCR • VNTR= variable number of tandem repeats • D1S80 • Found on Chromosome 1 • Contains 16 nucleotide sequence repeated 16-40 times • Most individuals are heterozygous, having different numbers of repeats in each of their two D1S80 loci
Isolation of Cheek Cell DNA • Do ALL steps listed on the laboratory handout (p.14-15) • Collect cheek cells with cotton applicator. Transfer cells to PBS solution. Transfer solution to screw cap micro test tube. (1-4) • Spin micro test tube to collect PELLET, remove supernatant with pipette. (Steps 5-6) • Add 100 ul well-suspended chelating agent to PELLET and resuspend pellet. (steps 7-8)
Isolation of Cheek Cell DNA • Do ALL steps listed on the laboratory handout (p.14-15) • Place micro test tube in boiling water bath for 10 minutes. (Step 9). Cool and mix (Step 10) • Spin micro test tube, remove SUPERNATANT (containing cheek cell DNA) with pipette. Transfer to clean tube labeled with your “class number” (Steps 11-12) • Keep DNA sample on ice. (Step 13)
Setting up PCR Reactions • Follow Directions on laboratory handout (p.16): • To a (very tiny!) tube with PCR bead, add 20 ul D1S80 primer/solution (step 2) (Instructor will complete this step) • Add 5.0 ul of your cheek cell DNA to this tube(step 2), label with your “class number” • Mix and store this tube on ice prior to loading into the thermal cycler (step 6)
Polymerase Chain Reaction • Place your PCR tube in the Thermal Cycler • It is programmed for 32 cycles of 94oC, 65oC, 72oC for 30 seconds each. • After PCR, samples will be stored in the freezer until the next laboratory period.
Gel Electrophoresis • Gel electrophoresis • Add 5 ul of 10x gel Loading solution to your sample. (Step 7, p. 16) • Incubate standard (prepared by your instructor) and PCR sample for 2 minutes at 50oC • Load entire volume of standard and sample • Each gel should have one lane of standard and 5 student samples (make drawing of order by class number)
Gel Electrophoresis • Gel electrophoresis • Run gel at 125 volts for 90 minutes or until tracking dye has traveled 4.5 cm • Bring gel to UV box for illumination and photography • Record your genotype for the D1S80 locus on spread sheet
DNA Standards for VNTR Insertion Analysis Sizes of Standard Fragments in 200 bp increments • Largest fragments will not be well resolved • 1200 base pairs • 1000 base pairs • 800 base pairs • 600 base pairs • 400 base pairs • 200 base pairs