Download
1 / 7
0 likes | 2 Views
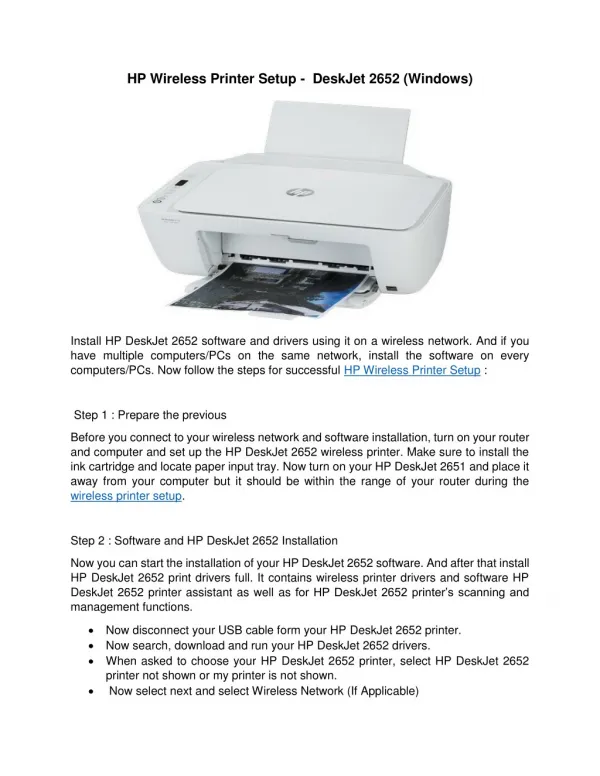
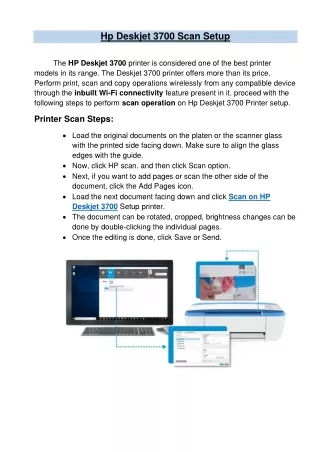
Setting up your new HP Deskjet 3700 printer is a straightforward process that involves unboxing, connecting to your computer or mobile device, installing the necessary software, and configuring the printer for use.

E N D
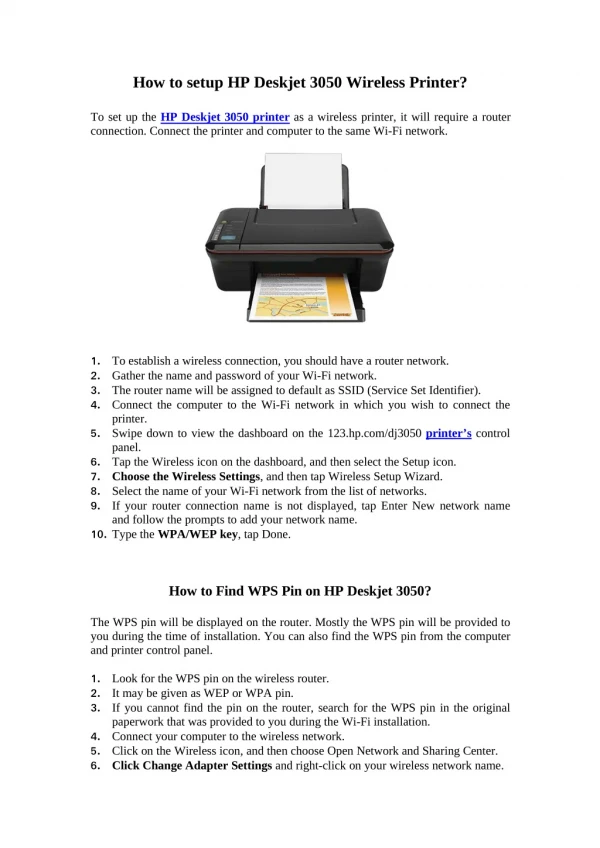
2 Step 1: Unbox the HP Deskjet 3700 Printer Remove the Printer from the Box: Carefully take the printer out of the box. Be sure to remove all protective packaging, including the plastic covers, tapes, and cardboard that may be inside and outside the printer. Check the Contents: Ensure that the box includes the following items: • HP Deskjet 3700 printer • Power cable • Ink cartridges (usually one black and one color) • Setup guide • Installation CD (if included) or instructions for downloading software Place the Printer on a Stable Surface: Set up the printer on a flat, stable surface near a power outlet and within range of your WiFi router (if you plan to connect wirelessly).
Step 2: Install the Ink Cartridges • Open the Printer Access Door: Lift the printer’s top cover to expose the ink cartridge tray. • Insert the Ink Cartridges: Remove the protective plastic from the ink cartridges and carefully insert them into their respective slots inside the printer. The black cartridge goes into the left slot, and the color cartridge goes into the right. • Close the Printer Cover: After securing the cartridges, close the printer's access door. Step 3: Power Up the HP Deskjet 3700 Printer • Connect the Power Cable: Plug the power cable into the printer and connect the other end to a power outlet. • Turn on the Printer: Press the power button to turn the printer on. The printer will go through its initialization process, including a self-test.
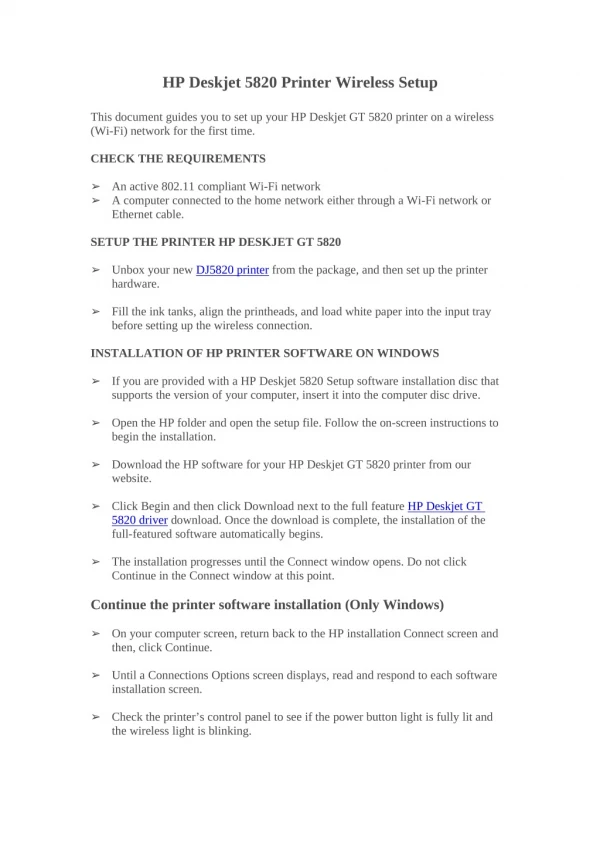
Step 4: Set Up the Printer’s Network Connection Step 5: Install the Printer Software on Your Computer • Download the Software: • For Windows or macOS, visit the HP Support website and enter your printer model (HP Deskjet 3700) to download the latest printer software and drivers. • If you have a setup CD, insert it into your computer’s CD drive to install the software. • Follow the Installation Wizard: • Once the software is downloaded, open the installer and follow the on-screen prompts. • During installation, you will be asked to choose a connection type (USB, wireless, or Bluetooth). Select Wireless if you're connecting wirelessly. • Complete the Installation: • Follow any remaining instructions to complete the installation. After installation, your computer should recognize the printer, and you’ll be able to print from any compatible application. Turn on the Printer’s Wireless Feature: Press the Wireless button on the printer's control panel. The wireless light will blink, indicating that the printer is ready to connect to a network. Use the Wireless Setup Wizard: • On the printer's control panel, tap or select the Wireless icon (it looks like an antenna) and then choose HP Wireless Setup Wizard. • The printer will search for available WiFi networks. Select your network from the list and enter your WiFi password using the on-screen keypad. Confirm Connection: Once the printer successfully connects to the network, the wireless light should stop blinking and remain solid. You can also print a test page or network configuration page to verify the connection.
5 Step 6: Test the Printer Once you’ve completed the setup, it’s time to test the printer: • Print a Test Page: Use the printer’s control panel or the HP Smart app to print a test page. This will ensure that the printer is working properly and connected to your network. • Check for Updates: You can check for firmware updates through the HP Smart app or software on your computer to ensure the printer is up to date.
Conclusion By following these steps, you should be able to set up your HP Deskjet 3700 printer quickly and efficiently. Whether you’re connecting via USB, wireless, or mobile device, the process is simple, and you’ll be ready to print documents and photos in no time.
Thank You Melin evelyn printerhelp58@gmail.com https://www.printerhelp247.com/