Download
1 / 5
70 likes | 525 Views
COIL POTS. Stack’em High. What are Coil pots??. A traditional pot create using snake like coils which are stacked upon each other to create the walls of a pot. Coiled pots require the use of scoring and slip to keep construction together. YOUR ASSIGNMENT.

E N D
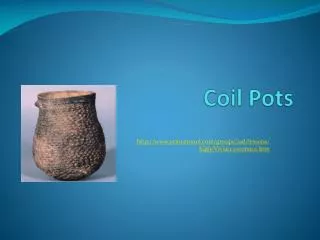
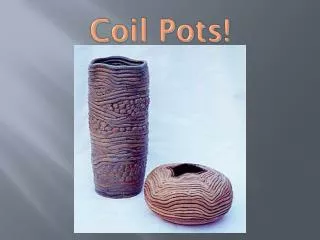
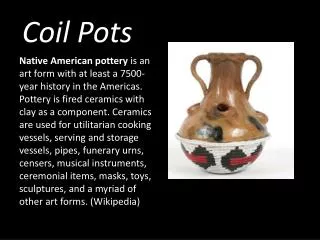
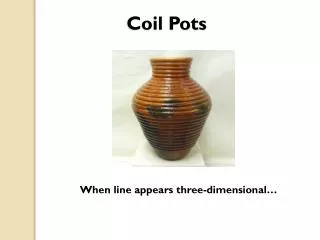
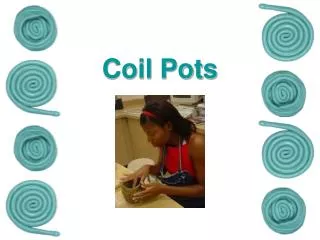
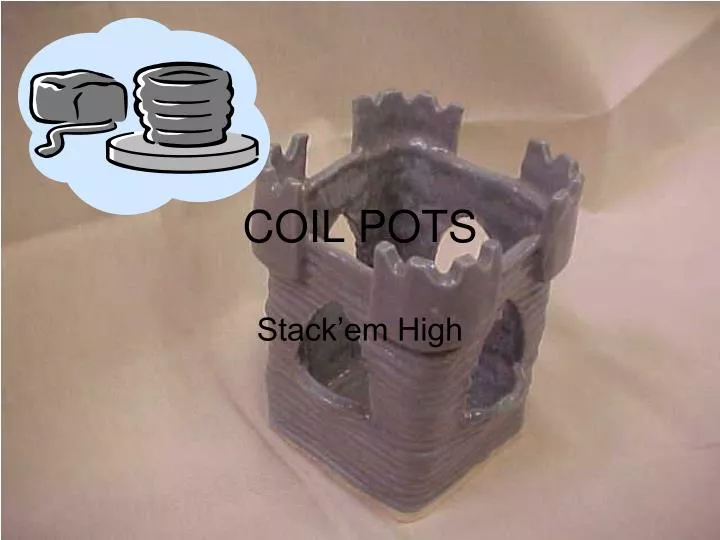
COIL POTS Stack’em High
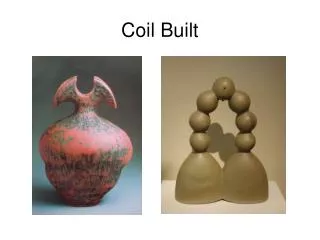
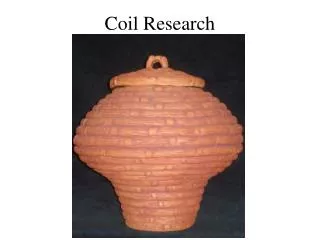
What are Coil pots?? • A traditional pot create using snake like coils which are stacked upon each other to create the walls of a pot. • Coiled pots require the use of scoring and slip to keep construction together.
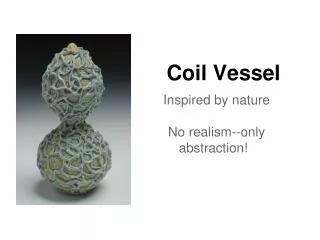
YOUR ASSIGNMENT • Student must make at least 1 pot a minimum of 8” tall or wide and may use the optional decorating technique of piercing.
VOCABULARY • Scoring: The act of scratching lines into a piece of clay in an “X” pattern. Also, referred to as cross-hatching. • Slip: A mixture of clay and water, generally of a muddy consistency. • Balance: The principle of art dealing with the relationship of the weight of one area as compared to another area. • Piercing: The process of cutting shapes, letters or designs through the wall of a pot while in the leather hard state.
Complete Ceramic Idea Sheet. Wedge clay. Begin with a small ball of clay and flatten. Use a tool to shape the flatten piece into the shape for the bottom. Begin making coils by shaping a piece of clay into a hot dog shape. Place on the table and start at the fingertips and roll all the way to the base of the palm. Roll back to the fingertips using even pressure. Replace hands to roll out the clay at the thickest part. Work clay until the coil is of consistent thickness. The coil should not be any thinner than a pencil or thicker than your index finger. Begin scoring and slipping coils on top of the base. Use the incising tool to score between the coils. Add slip to the scored area. Press the coils together. Every three or four coils smooth them together from the top coil to the bottom coil on the inside to form the bond As you add coils, begin to smooth the inside clay together, keeping one hand on the outside for support. Continue to add coils until you have a wall of at least eight inches. Finish smoothing the inside. OPTIONAL: Once leather hard, use tools to create a series of positive and/or negative cutouts which is called piercing. Once decoration has been finished, add signature and let dry to bone dry. Place on table for bisque firing. Due Date:________________. Step by Step Directions