Download
1 / 73
780 likes | 1.2k Views
Pavement Markings November 2010 Debra Lee Ricker L&D Safety Marking Corporation. Markings have been around since the 1920’s in the form of centerlines

E N D
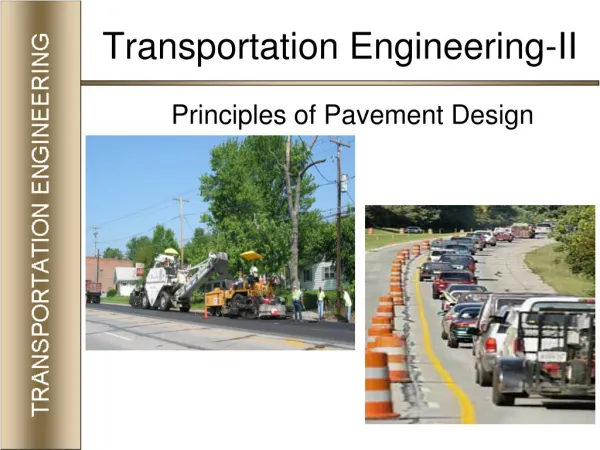
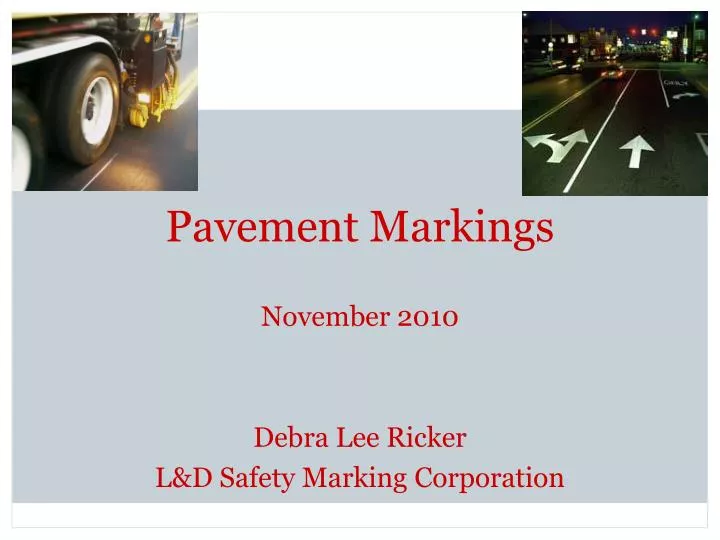
Pavement Markings November 2010 Debra Lee Ricker L&D Safety Marking Corporation
Markings have been around since the 1920’s in the form of centerlines Markings were not required until 1971, when the MUTCD was changed to require lane lines on the interstate system and were recommended (should) for use on rural, multi-lane roadways Edge lines were not required on those same roadways until December 1978 The industry relatively speaking is in its infancy History of Pavement Markings
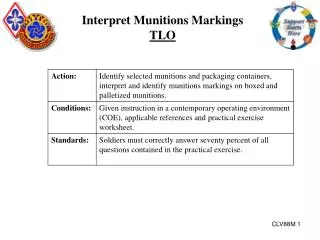
Interpretation of Standards & Guidelines Manual on Uniform Traffic Control Devices (MUTCD) a. Part III deals primarily with pavement markings b. Terminology: Should- An advisory condition. Recommended not mandatory. Shall-A mandatory condition. May-A permissive condition. No requirement for design or application is intended.
Regulations Three federal agencies set the majority of regulations regarding hazardous materials DOT: Deals with driver qualifications & vehicle maintenance. OSHA: Deals mostly with safety. EPA: Deals mainly with the generation, storage, and disposal of hazardous waste.
EPA Example Hazardous Materials: Many types of pavement marking installations will involve the use of hazardous materials. There are 5 times you need to be concerned with regulations for hazardous materials: 1) Before you begin using hazardous materials or generating hazardous waste. 2) When you receive hazardous materials. 3) When you store hazardous materials. 4) When you transport hazardous materials. 5) When you dispose of hazardous materials.
Standardization • Standard markings shall be used on roadways as prescribed • No white center lines! • No single yellow center lines! • Section 3B.01 prohibits the use of this marking on a two-way roadway.
Classes of Markings Temporary Markings Specified during construction. May be used to show a temporary path around a work zone or between the layers of pavement when the pavement is opened to traffic at the end of the day. May be used for a year or longer. Temporary markings may be classified as removable or non-removable. Removable markings are designed to be removed without the need for grinding, blasting, or other special methods. Permanent Markings Permanent markings are intended as the final markings for the roadway. All types of marking materials other than removable markings are considered permanent.
Color of Markings • Whiteis used: • To indicate that traffic on both sides of the marking is traveling in the same direction. • To mark the edge of the pavement to the driver’s right. • For words, symbols, and legends. • Yellow is used: • To indicate that traffic on the other side of the marking is traveling in the opposite direction. • To mark the left edge of divided highways and one-way streets. • Black: • May be used to provide contrast. For example, white pavement markings do not show up well on concrete pavements because the pavement itself is light in color. For this reason some agencies use black around the white marking so the markings are easier to see.
Color of Markings (Cont.) • Red: • With one exception*, the only markings that are RED are special raised pavement markers (reflectors on/or in the pavement) that are placed to be visible to "wrong-way" drivers. These special markers warn drivers not to enter one-way roadways or one-way ramps in the wrong direction • *The exception is the special red, white, and blue Interstate route shield pavement marking • Blue is used for: • Supplementing white lines in a parking area. • MUTCD: 3A.05
Pavement Marking Applications Longitudinal Markings Transverse Markings Symbols & Legends Raised Pavement Markings Curb Markings
Longitudinal Markings Markings that are “long”, such as centerlines, edge lines, and lane lines. Centerline markings may be white or yellow; solid, broken, or dotted; single or double; or normal or wide. Each characteristic carries some measure of guidance & warning. By combining the various characteristics, more or less guidance may be given to the motorist. Solid lines are restrictive and are used to show motorists that the line should not be crossed. Edge lines are always solid. Centerlines and lane lines are solid where passing is prohibited. Broken lines are permissive and consist of lines separated by spaces, normally at a ratio of 1 to 3 – for example, 10 foot lines separated by 30 foot spaces. Commonly used to mark the lanes on multi-lane highways. They also can be used for the centerline on two-lane, two-way roads where passing is permitted. Dotted lines are also permissive and are used in special situations such as intersections and interchanges, to show motorists where to drive. Normally the segments are 2 feet long and separated by gaps 4 feet or longer.
Center Lines • Rural Districts • 2-lane highways > 16 feet and – speeds > 35 mph • Residential and business districts • All highways with significant traffic volumes (ADT>1000) • All undivided pavements of 3 or more lanes • No single yellow lines
Edge Lines • Provide positive guidance to drivers • Should not be broken for driveways • Shall be provided for all highways with pavement > 20 feet and ADT >6000 • Shall be white except on left edge of one-way highways
Transverse Markings Transverse markings go across the road and are typically white, but markings visible to traffic attempting to travel in the wrong direction may be red. Examples: • Crosswalks • Stop Bars • Chevrons • Legends and words • Parking lines
Crosswalks/Crosswalk Lines • Intersections: -Guide pedestrians -Warn motorists of pedestrian crossing • Non-intersection locations: -Legally establish the crosswalk -Pedestrian crossing sign recommended -Shall be solid white
Different Types of Crosswalks • Crosswalks controlled by “walk” and “don’t walk” signals - Pedestrians have the right-of-way over all vehicles, including turning vehicles, as long as they comply with the signal. • Crosswalks controlled by traffic signals or police officers - Pedestrians using crosswalks controlled by traffic signals (such as traffic lights or stop signs) or by police officers may not cross againstthe traffic signal or direction of the officer.
Different Types of Crosswalks (Cont.) • Any Crosswalk Indicated by Devices, Lines, or Markings on the Surface of the Road - Pedestrians have the right-of-way over all vehicles, including turning vehicles, while in a crosswalk which is indicated by devices, markers, or lines on the surface of the road. Typically, these types of crosswalks are located near schools, churches, and in outdoor shopping districts. They allow pedestrians to cross a street in the middle of a block in addition to an intersection. - See MUTCD 3B.17 for more details and guidance. Detectable Warning Surface- MUTCD 3B.17
Widths & Patterns Normal line width: • 4 inch to 6 inch Wide line: • Twice a normal line width Double line: • 2 normal lines separated by a space (typically 4”)
Widths & Patterns (Cont.) • Segments and Gaps • 3:5 ratio or ratio (15 ft. segment, 25 ft. gap) • 1:3 ratio (10 ft. segment, 30 ft. gap) • Dependent on traffic speeds
Symbols & Legends All symbols and legends must conform to the Standard Alphabets for Highway Signs and Pavement Markings. http://mutcd.fhwa.dot.gov/ser-shs_millennium_eng.htm This document provides the exact dimensions for all letters and symbols.
Used for: • Regulating Traffic • Warning Traffic • Guiding Traffic • Limited to Three: Words • Symbols • Lines of words and/or symbols • Shall be white in color • Symbol messages preferred to words • Messages should be one lane width, except for school messages Pavement Words and Symbols
Stop Lines A badly placed stop bar is unsafe. A stop line must never be placed more than 30 feet or less than 4 feet from the nearest edge of the intersecting roadway. If used with a stop sign it should be placed in line with the sign. It is not always possible to place the stop sign exactly where you want the vehicle to stop. In all cases the stop line should be installed at the desired stopping point. Stop lines typically are 12” to 2’ wide and extend across the entire approach lane.
Raised Pavement Markers Raised pavement markers may be used to supplement other markings or as substitutes for other marking materials. They must be the same color of the marking they are supplementing or replacing. When used to supplement double lines, raised pavement markers should be placed in pairs, either on the two lines or outside of them. The pattern of the markings should simulate the pattern of the markings being substituted, and the spacing of the rpm should be chosen in relationship to the standard length of the line in accordance with the MUTCD.
Curb Markings • Uses • Delineation around islands • Parking prohibition
Retroreflectivity The visibility of an object, such as a pavement marking, is determined by the amount of light reflected off a surface into your eye. It is imperative that a motorist be able to see traffic control devices when they are needed. All markings must be reflectorized. FHWA is currently developing retroreflectivity standards for pavement markings.
Obliteration Obliteration is the removal of pavement markings. Obliteration is necessary whenever changes in the traffic pattern make the markings inappropriate or confusing. As a rule, no roadway, detour, or other traffic pattern change should be opened to traffic until all inappropriate or confusing markings are obliterated. Sand-blasting, water-blasting, wire brushing, and mechanical grinding are all common methods of obliteration. When using these methods, special care is required to protect the workers and passing motorists and to avoid damaging the pavement. Painting over existing stripes does not meet the requirements of removal or obliteration.
Matching Existing Lines On maintenance, widening, and/or resurfacing projects, locating longitudinal lines usually involves matching the new lines with existing ones. Avoid abrupt transitions. New alignment should be built in gradually.
Tapers & Transitions A taper is simply a diagonal offset or transition in the alignment of a center line or edge line. Such an offset might be required for a turn lane or merging movement. Adequate taper lengths are critical for safe deceleration or acceleration. If a taper is too short, drivers might not be able to slow down enough to turn safely. Inadequate taper lengths will also affect the “storage space” of a turn lane.
Dots and Dashes A dotted line is a special marking used to extend other lines. It may be an extension of a lane line or centerline through an intersection, or it may be a curved dotted line through an intersection to help guide turning vehicles as they move through their turn. A DOTTED line may extend an edge line especially where the road widens for an added lane for deceleration or turning. MUTCD Section 3B.08
Personal Safety Safety Is an Attitude • Always remember where you are • Know the equipment • Dress for the work • Know first aid • Use good judgment
Safety Tips • If your striper has been left outside during a rainstorm, check the melter for water before heating. If water is on top of the thermoplastic when heat is applied, it will cause excessive steam and could spit out of the tank. • When loading propane, always wear gloves and goggles. Propane is extremely cold and can cause serious burns. • When entering a work zone, use the proper access areas. • When pulling into traffic with the striping train, all vehicles should first get up to speed on the shoulder and when safe the last vehicle in the train should pull out first to alert motorists and to protect the rest of the train. • When working at night, wear reflectorized Type III vest and light-colored clothes. • Never leave a vehicle containing hazardous materials unattended.
TrafficControl Need for traffic control
Installation of Materials & Quality Control 1) Make sure the surface is properly prepared. 2) Make sure the weather is suitable. 3) Have the right equipment for the job, and ensure it is working properly. 4) Have the right materials for the job. 5) Install the markings at the right locations. 6) Maintain quality control through the installation. 7) Know how to handle emergency situations.
Surface Preparation A strong bond between the marking and the pavement surface is critical to a successful installation. Any material will fail if dirt, dust, oil, grease, or moisture prohibit bonding. Sweeping and air blasting are usually sufficient to clean new asphalt. Old asphalts, new concrete pavements, and pavements already marked require more extensive surface preparation.
Surface Preparation (Cont.) Sandblasting and water blasting are used to remove curing compound from new concrete pavements. Grinding and shot blasting are the most common methods used to remove existing markings. These can damage so extreme caution is necessary. All blasting methods require extra safety precautions to protect the workers and traffic.
Surface Preparation (Cont.) A surface preparation also is done to allow the marking to be applied in a recessed area that protects it from snowplows which extends the life and performance of the marking.
Weather For all installations be sure you meet or exceed manufacturer’s recommendations. As a rule, marking materials, or primers and adhesives can set slower at cooler temperatures. Because temperature affects cure time it can also affect the bond. All manufacturer’s specify minimum air and surface temperatures for application. Wind is also a concern, with materials that are sprayed as the winds can cause overspray and improper bead distribution. Some materials are sensitive to humidity.
Moisture Test Methods • Plastic Wrap: Place a 12” x 12” clear plastic on pavement. Seal the edges with tape. Examine plastic after 15 minutes. If you see moisture on the plastic, the surface moisture is too high to apply the marking material. • Roofing Paper Method: (Thermo only) Place an 18” x 18” piece of roofing paper on the pavement. Apply heated thermoplastic to the paper. After two minutes check the underside of paper for moisture.
Equipment Types Liquid Pavement Marking Dispensing Equipment: 1) Airless spray system with pressurized tanks that push material to high pressured pump. (Poly) 2) Atomized spray system with pressure diaphragm pumps. 3) Atomized spray system with pressurized tanks.
Equipment Inspection • General inspection • Housekeeping • Lubrication • Tire pressure • Light and glass • Fluid levels • Hoses and belts • Filters • Shoe or guns • Placards • Pressure • Safety equipment • Calibration
Thermoplastic Dispensing Screed Extrusion Device When working with screed devices, make sure that the front and sides of the device are in direct contact with the road surface. Ribbon Dispenser The device is heated and suspended above the road surface. Spray Dispenser This type of equipment utilizes compressed air that mixes with the molten thermoplastic which can cause a number of problems.
Quality Control Quality control is a part of every facet of our work Proper amount of material must be applied Edges of applied markings well defined Markings must look good Markings must bond securely to the surface Applied markings must be consistent throughout Markings must follow the correct alignment New markings have to be protected from traffic until cured or dry
Material Measuring Procedures Wet-Mil Thickness Test plate (strip of metal about 6” long, no thicker than 1/16” and a little wider than the marking being applied. Secure test strip on roadway ahead of the striper. When the striper reaches the test strip, shuts off the beads but continues to apply material over test plate. Measure with thickness gauge or micrometer.
Speed • If the striper is operating correctly and traveling at the proper speed, one gallon of material will make a 15 mil. thick line, 320 feet long, 4” wide. • Computer controlled guns increase and decrease the amount of material applied as the striper’s speed increases and decreases. Other stripers have to be calibrated manually. • This chart only applies when installing a 15-mil-thick line, 4” wide.
Yield The most common and popular procedure to check the thickness is yield. (Average thickness for an entire day production.) Divide the length covered by the number of gallons of feet = Number of feet covered per gallon. Divide number of feet per gallon into 4.8125, the constant = thickness in inches x 1,000 = mils thick.
Types of Materials Glass BeadsPaintsThermoplastic Preformed Thermoplastic Preformed Tapes Liquid Pavement Markings Profile Markings Contrast MarkingsPavement Markers
Reflective Components Glass Beads: a) Major component in nearly every type of pavement marking material. b) Provide the marking with durability & reflectivity. c) Beads may be pre-mixed in the marking or applied immediately behind the marking material (drop-on). d) As a rule, applied at a rate of 6 lbs/gallon for paint, and 7 lbs per 100 square feet for thermoplastic. Ceramic Elements: Microcrystalline beads that have twice the crush strength of standard glass beads and retain their ability to reflect to unprecedented levels which improves visibility, especially during poor weather conditions. Available in white and yellow. Used with 3M poly-urea only.
Paints Curing and No-Track Condition: Fast dry: No track condition in 2-7 minutes Quick-dry: No track condition within 30-120 seconds Instant dry: No track condition within 30 seconds Cold applied: Takes 7 minutes to several hours to cure Cure Time Depends On: Paint temperature- Higher the temp-quicker the cure Pavement temperature- Higher the temp-quicker it will cure Humidity- The more humidity the slower the cure Wind speed- The higher the wind speed the quicker the cure Paint thickness- The thicker the paint-the slower the cure